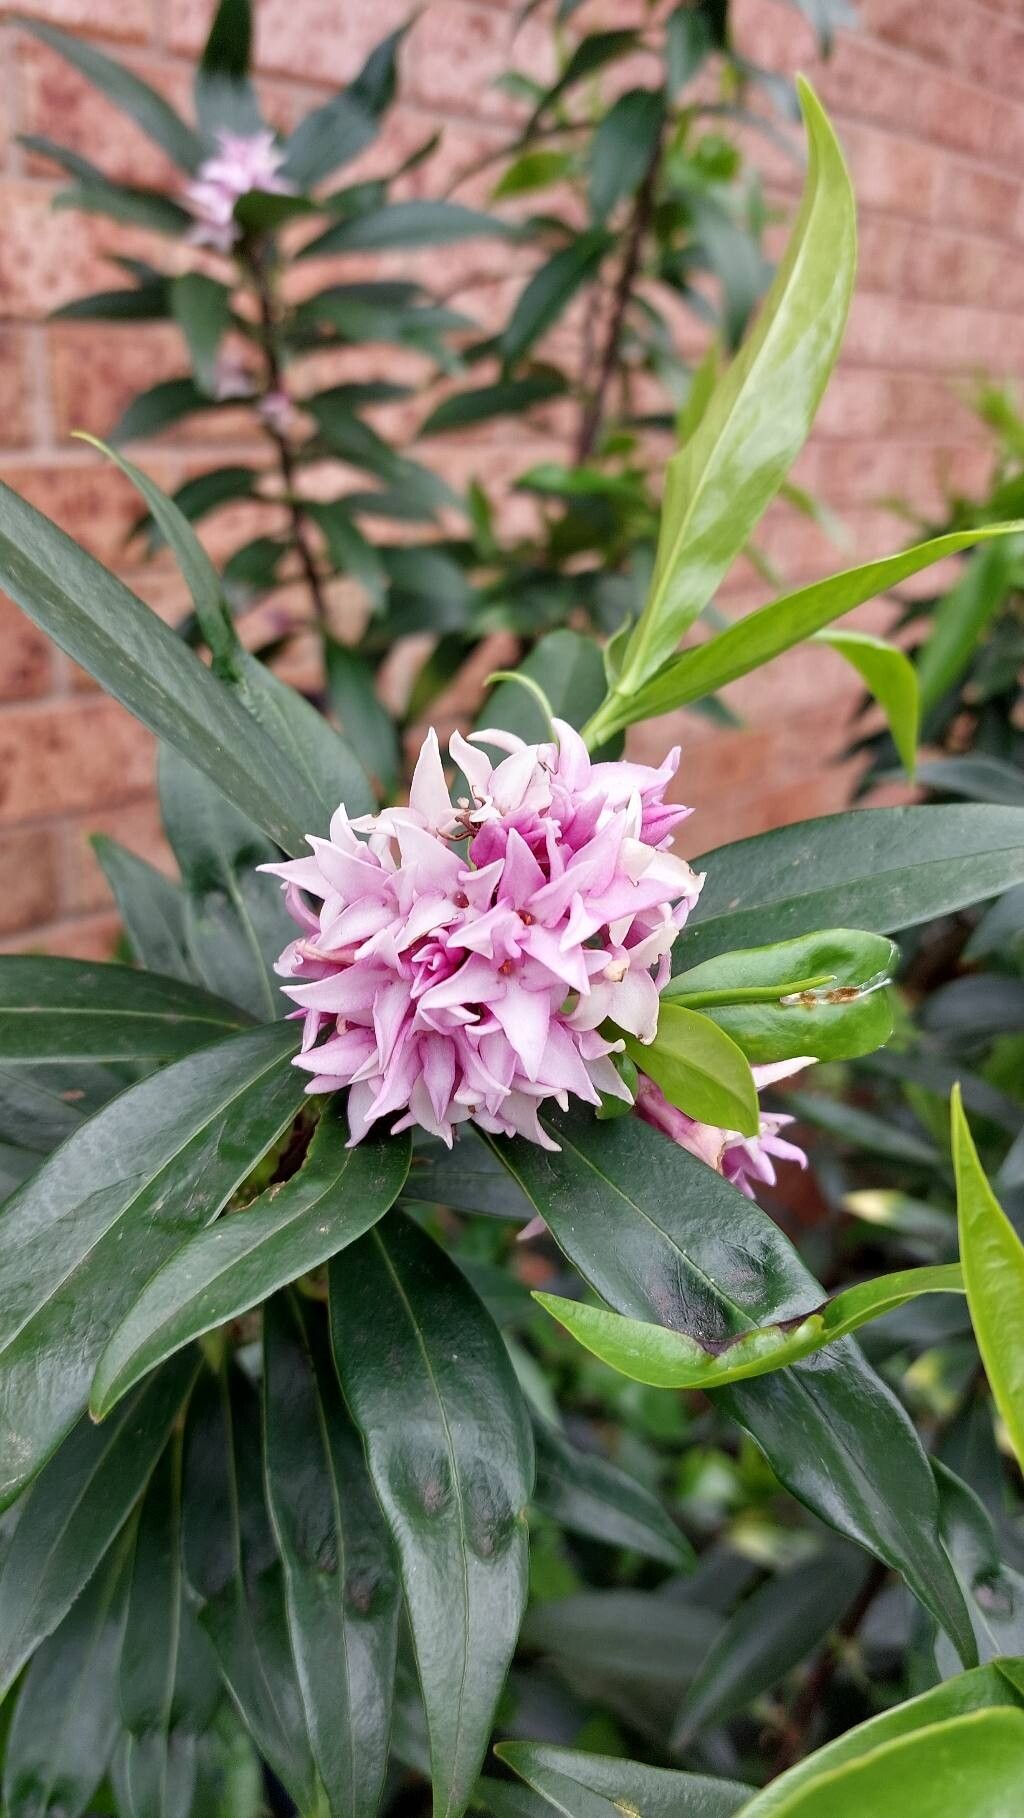
Oh, my dear gardening friends, let’s talk about a plant that truly captures the senses. Daphne odora. If you’ve ever caught its intoxicating, sweet perfume on a crisp winter day, you know exactly why it’s earned a special place in so many hearts. Its glossy evergreen leaves and clusters of delicate, often pink or white, flowers are a sight for sore eyes when much of the garden is sleeping.
And you know what’s even more rewarding than admiring a beautiful Daphne? Growing your own! Propagating Daphne odora can feel a little bit like a special project, and while it’s not always a slam dunk for absolute beginners, with a little guidance, you’ll find success. It gives you a wonderful sense of accomplishment.
The Best Time to Start
For Daphne odora, I’ve found the late spring to early summer is absolutely prime time. You want to take cuttings when the plant is in active growth, but before it gets too woody. Look for new stems that are firm but still a little flexible. Think of them like a young, ambitious shoot ready to take on the world.
Supplies You’ll Need
Gathering your tools beforehand makes the whole process smoother. Here’s what I always have on hand:
- Sharp pruning shears or a clean knife: For making nice, clean cuts.
- Rooting hormone powder or gel: Daphne can be a bit fussy about rooting, so this really helps.
- A well-draining potting mix: I like a blend of peat moss, perlite, and a bit of coarse sand. You can also buy specific “propagation mixes.”
- Small pots or seed trays: With drainage holes, of course!
- Plastic bags or a propagator: To create a humid environment.
- Labels: So you don’t forget what you planted!
Propagation Methods
The most reliable way I’ve found to propagate Daphne odora is through stem cuttings. Let’s walk through it:
- Select your cutting: Find a healthy, non-flowering stem from the current year’s growth. Aim for a piece about 4-6 inches long.
- Make the cut: Using your sharp shears, make a clean cut just below a leaf node. This is where roots are most likely to form.
- Prepare the cutting: Gently remove the lower leaves, leaving just a few at the very top. If the leaves are really large, you can even cut them in half to reduce water loss.
- Apply rooting hormone: Dip the cut end of the stem into your rooting hormone, tapping off any excess.
- Plant your cutting: Make a small hole in your potting mix with a pencil or your finger. Insert the cutting, ensuring the leaf node is buried in the soil. Gently firm the soil around the base of the cutting.
- Water and cover: Water the potting mix thoroughly. Then, cover the pot with a clear plastic bag, creating a mini-greenhouse. You can prop it up with a few stakes if needed so the plastic doesn’t touch the leaves.
The “Secret Sauce”
Now, for a couple of little tricks I’ve picked up over the years that really boost my success rate with Daphnes:
- Bottom heat is your friend! If you can, place your pots on a heated propagator mat. Daphnes appreciate that warmth at their base, as it encourages root development. You don’t need it scorching hot, just gently warm.
- Don’t let those leaves touch the water! If you’re doing water propagation (which is less common for Daphne but can sometimes work for very specific cuttings), make sure only the stem is submerged, not the leaves. Moist leaves sitting in water are just an invitation for rot. For stem cuttings in soil, this means ensuring the plastic cover doesn’t droop onto the foliage.
Aftercare & Troubleshooting
Once your cuttings are planted, the wait begins. Keep them in a bright, indirect light location. Resist the urge to peek too often! After several weeks, gently tug on a cutting. If you feel resistance, that’s a good sign roots are forming.
At this point, you can start to gradually introduce them to less humid conditions by opening the plastic bag for longer periods each day. Once they look established, you can remove the bag entirely.
The most common issue you might face is rot. If you see your cuttings turning black and mushy, it’s usually a sign of too much moisture and not enough air circulation. Unfortunately, this is often unrecoverable for that particular cutting. Don’t be discouraged! It’s all part of learning. Sometimes, even with the best care, not every cutting will make it.
A Little Patience Goes a Long Way
Propagating Daphne odora is a journey, and like all good gardening projects, it requires a bit of patience. Enjoy the process, celebrate each little success, and remember that every gardener has had their share of cuttings that didn’t quite make it. You’ve got this! Happy propagating!
Resource:
https://identify.plantnet.org/k-world-flora/species/Daphne%20odora%20Thunb./data