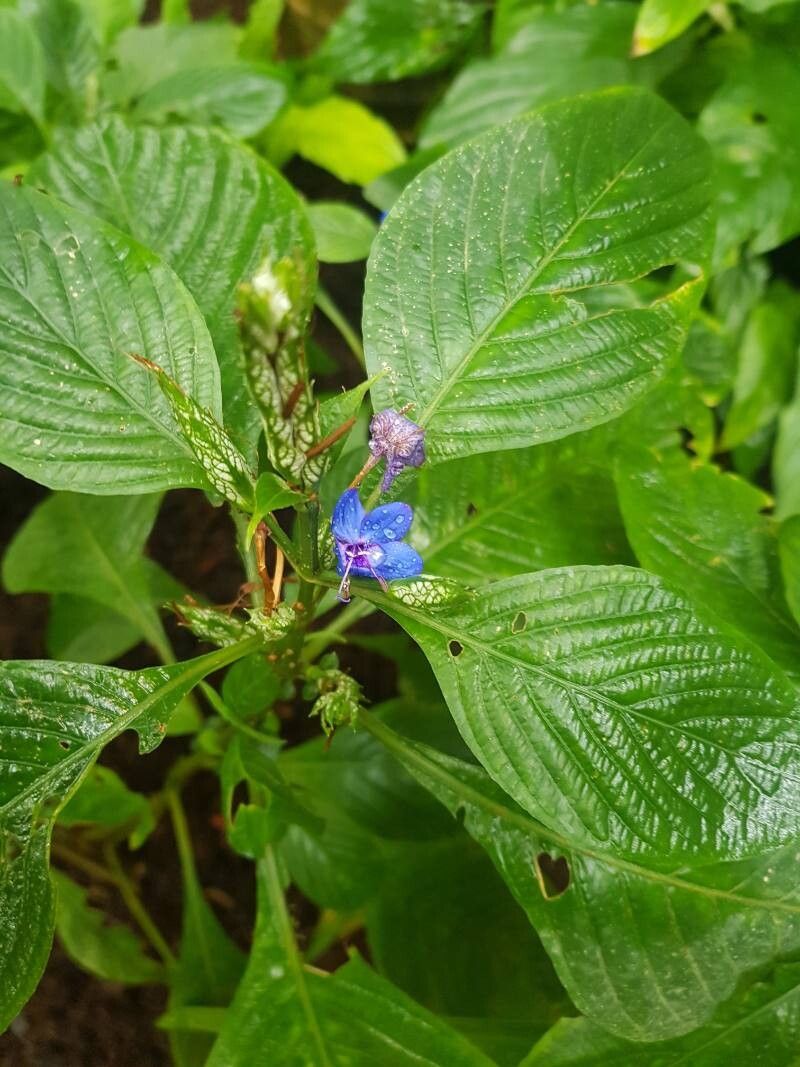
Hello fellow garden lovers! Today, I want to chat about a plant that brings a beautiful splash of color and a touch of exotic flair to any space: Eranthemum pulchellum, also known as the Blue Sage or Wildjeeling. If you’re looking for a plant that’s a joy to grow and even more rewarding to multiply, you’ve come to the right place. Propagating this beauty is a wonderfully accessible project, even for those of you just dipping your toes into the world of plant parenthood. Let’s get those hands dirty!
The Best Time to Start
When it comes to getting the most bang for your propagation buck with Eranthemum pulchellum, spring and early summer are your golden windows. This is when the plant is in its most vigorous growth phase. You’ll be working with young, pliable stems that are eager to root. Waiting until after this initial burst of energy gives you the best chance for quick success.
Supplies You’ll Need
Gathering your supplies beforehand makes the whole process smooth. Here’s what I usually have on hand:
- Sharp pruning shears or a clean, sharp knife: For making precise cuts.
- Well-draining potting mix: A good quality starter mix, or a blend of peat moss, perlite, and compost.
- Small pots or seedling trays: Ensure they have drainage holes!
- Rooting hormone (optional but recommended): A powder or gel form. This really speeds things up.
- Clear plastic bags or a propagation dome: To create a humid environment.
- Spray bottle: For misting.
- Labels: To mark your new little plant babies!
Propagation Methods
Eranthemum pulchellum is quite forgiving, and I find stem cuttings to be the most reliable and straightforward method.
Stem Cuttings: Step-by-Step
- Select Your Stem: Look for young, healthy stems that haven’t flowered yet. They should be flexible, not woody. Aim for pieces that are about 4-6 inches long.
- Make the Cut: Using your clean shears or knife, make a clean cut just below a leaf node. A leaf node is that little bump where a leaf grows. This is where the magic of rooting happens.
- Prepare the Cutting: Gently remove the lower leaves from your cutting, leaving just 2-3 leaves at the top. This prevents them from rotting in the soil or water.
- Apply Rooting Hormone (Optional): Dip the cut end of the stem into your rooting hormone, tapping off any excess. This step really encourages faster root development.
- Plant Your Cuttings: Fill your small pots or trays with your potting mix. Make a small hole with your finger or a pencil and gently insert the cut end of the stem. Firm the soil around the base to ensure good contact.
- Water Gently: Water the soil thoroughly but gently. You don’t want to dislodge your cuttings.
Water Propagation (An Alternative)
If you prefer to see the roots form, you can try water propagation. Follow steps 1-3 above. Then, simply place the prepared cuttings in a jar or glass of water, ensuring that no leaves are submerged. Change the water every few days to keep it fresh. Once you see sturdy roots forming (about an inch long), you can transplant them into soil.
The “Secret Sauce” (Pro Tips)
Over the years, I’ve picked up a few tricks that make a big difference.
- Humidity is Key: Eranthemum pulchellum loves a humid environment, especially when rooting. Once you’ve planted your cuttings, cover the pot with a clear plastic bag or a propagation dome. This creates a mini-greenhouse. Make sure the leaves aren’t touching the plastic if possible. You might need to prop it up a bit.
- Warmth Encourages Roots: While not strictly necessary, giving your cuttings a little bottom heat can significantly speed up rooting. I’ve used a heating mat designed for seedlings, or even placed them on top of a warm appliance. Just ensure it’s not too hot.
- Don’t Rush the Transplant: Even when you think they have enough roots, a gentle tug on a cutting in soil can tell you a lot. If there’s resistance, roots are forming! Don’t be tempted to repot too early.
Aftercare & Troubleshooting
Once you see new growth on your cuttings, that’s a good sign roots are developing! Gradually acclimate your new plants to normal room humidity by opening the plastic bag a little each day over a week. Continue to keep the soil consistently moist but not waterlogged.
The most common issue you might run into is rot. This usually happens when the soil is too wet or the air circulation is poor. If a cutting looks limp or the stem turns mushy, unfortunately, it’s probably beyond saving. Remove it immediately to prevent it from affecting other cuttings. On the flip side, if a cutting just sits there and does nothing after a few weeks, don’t despair! Sometimes they just take their time. Keep the conditions right and be patient.
A Little Patience Goes a Long Way
Propagating Eranthemum pulchellum is such a rewarding way to expand your collection of this gorgeous plant. Remember to use sharp tools, keep those cuttings happy and humid, and most importantly, be patient. Gardening is a journey, and celebrating these small successes adds so much joy to the process. Happy propagating!
Resource:
https://identify.plantnet.org/k-world-flora/species/Eranthemum%20pulchellum%20Andrews/data