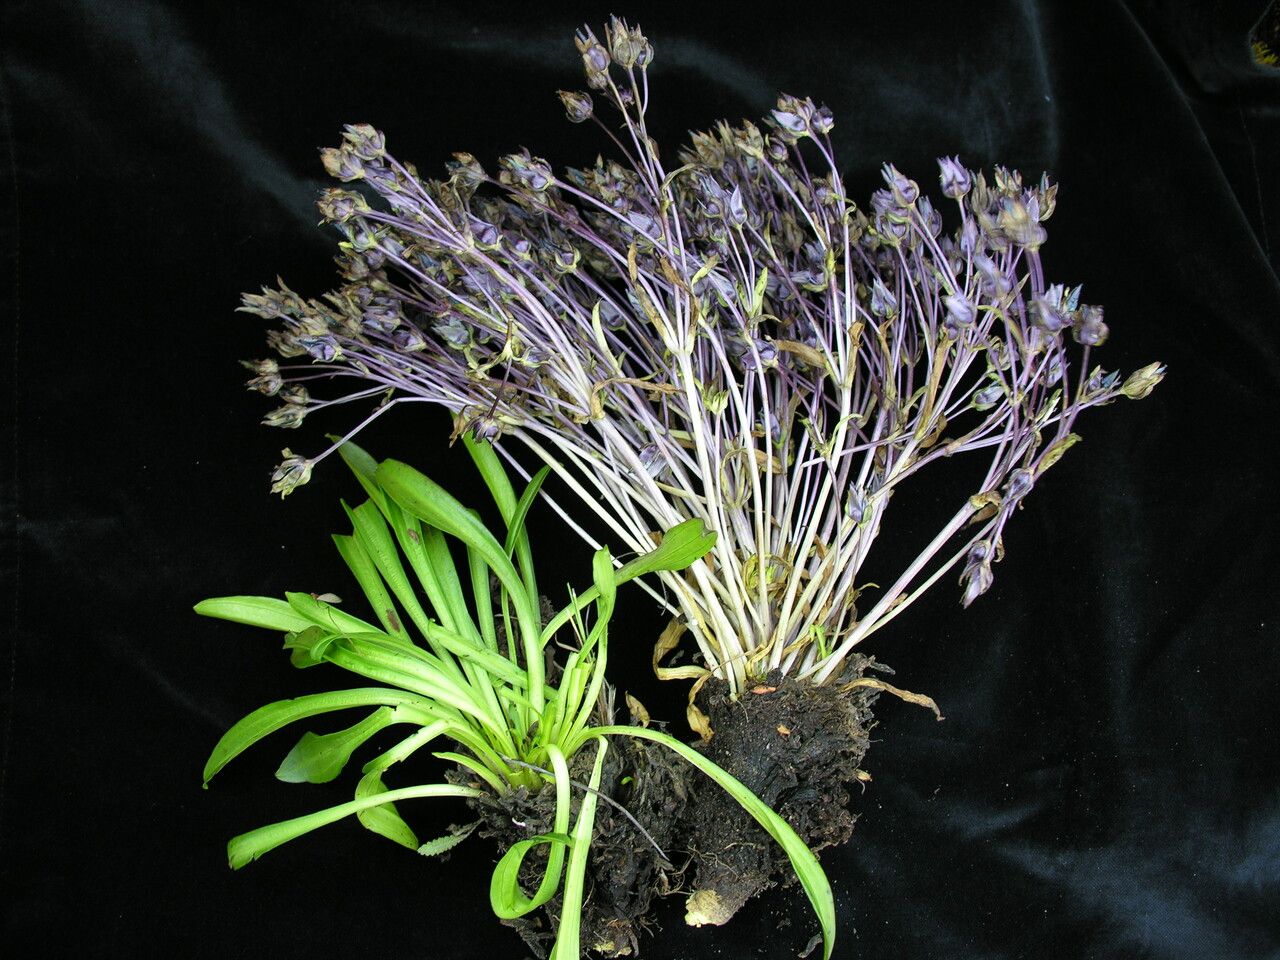
Oh, hello there, fellow plant lover! It’s so good to have you join me today. We’re going to talk about a plant that, while perhaps not a household name, holds a special place in my heart, and I think it might just win you over too: Swertia multicaulis.
Why Swertia multicaulis? And Why Propagate?
Swertia multicaulis is a gem. It often sports these lovely, star-shaped flowers, typically in shades of blue or violet, and its delicate foliage can be quite attractive even when not in bloom. It brings a touch of wild elegance to any garden. And the reward of propagating it? It’s a real thrill to witness a new little plant sprout from a piece of its parent. It’s also a wonderfully economical way to fill your garden spaces or share beauties with friends. Now, if you’re asking if it’s a beginner-friendly plant to propagate, I’d say it leans towards the intermediate gardener. It requires a bit of attention to detail, but with a little care, you’ll be rewarded.
The Best Time to Start
For Swertia multicaulis, spring, just as new growth is really kicking off, is your golden window. You want to catch the plant when it’s actively growing and full of energy. Starting too late in the summer might mean your cuttings don’t have enough time to establish before cooler weather sets in.
Supplies You’ll Need
Here’s what you’ll want to have on hand:
- Sharp, clean pruning shears or a sharp knife: For making clean cuts.
- A well-draining potting mix: I like a blend of equal parts perlite, peat moss, and compost.
- Small pots or seed trays: Make sure they have drainage holes!
- Rooting hormone (optional but recommended): A powder or gel works well.
- A clear plastic bag or propagation dome: To maintain humidity.
- Spray bottle filled with water: For misting.
- Labels: To keep track of what you’ve planted and when.
Propagation Methods: Let’s Get Our Hands Dirty!
The most reliable way I’ve found to propagate Swertia multicaulis is through stem cuttings.
- Select Your Cuttings: In spring, look for healthy, non-flowering stems. You want pieces that are about 3-4 inches long. Make your cut just below a leaf node (where a leaf attaches to the stem).
- Prepare the Cuttings: Gently remove the lower leaves from the cutting. You want to leave just a couple of leaves at the top to help with photosynthesis.
- Apply Rooting Hormone (Optional): If you’re using rooting hormone, dip the cut end into the powder or gel. Tap off any excess. This step can really give your cuttings a boost.
- Plant Your Cuttings: Fill your small pots with your prepared potting mix. Make a small hole in the center of the mix with your finger or a pencil. Insert the cut end of your stem cutting into the hole, ensuring the leaf nodes that will be below the soil surface are covered. Gently firm the soil around the cutting.
- Create a Humid Environment: Water the soil lightly. Then, cover the pot with a clear plastic bag, creating a mini-greenhouse effect. You can use stakes to keep the bag from touching the leaves. Alternatively, place the pot inside a propagation dome.
The “Secret Sauce” (Pro Tips)
Here are a few little tricks I’ve learned over the years that can make a big difference:
- Don’t Crowd Your Cuttings: Give each cutting enough space in its pot. Overcrowding can lead to poor air circulation and increase the risk of fungal issues.
- Bottom Heat is Your Friend: If you have a heat mat designed for seedlings, placing your pots on it can really speed up root development. Swertia multicaulis loves a little warmth from below.
- Patience with Foliage: Resist the urge to mist the leaves too much. A light misting is fine, but overly wet foliage can lead to rot. Focus on keeping the soil consistently moist, but not waterlogged.
Aftercare & Troubleshooting
Once your cuttings are planted, place them in a bright location with indirect light. Avoid direct sun, which can scorch their delicate leaves. Water when the top inch of soil feels dry.
Keep an eye out for signs of root development. You should start to see new leaf growth within a few weeks. A good indicator that roots are forming is when the cutting is firmly anchored in the soil and you see that fresh greenery.
If you see your cuttings wilting and turning black or mushy, that’s usually a sign of rot. This often happens due to overwatering or poor air circulation. If you notice this, remove the affected cutting immediately to prevent it from spreading. Sadly, not every cutting will make it, and that’s perfectly okay!
Keep Going, You’ve Got This!
Propagating plants is a journey, and each little success is a reason to celebrate. Be patient with your Swertia multicaulis cuttings. Enjoy the process of nurturing them, and before you know it, you’ll have new plants to admire and share. Happy gardening!
Resource:
https://identify.plantnet.org/k-world-flora/species/Swertia%20multicaulis%20D.Don/data