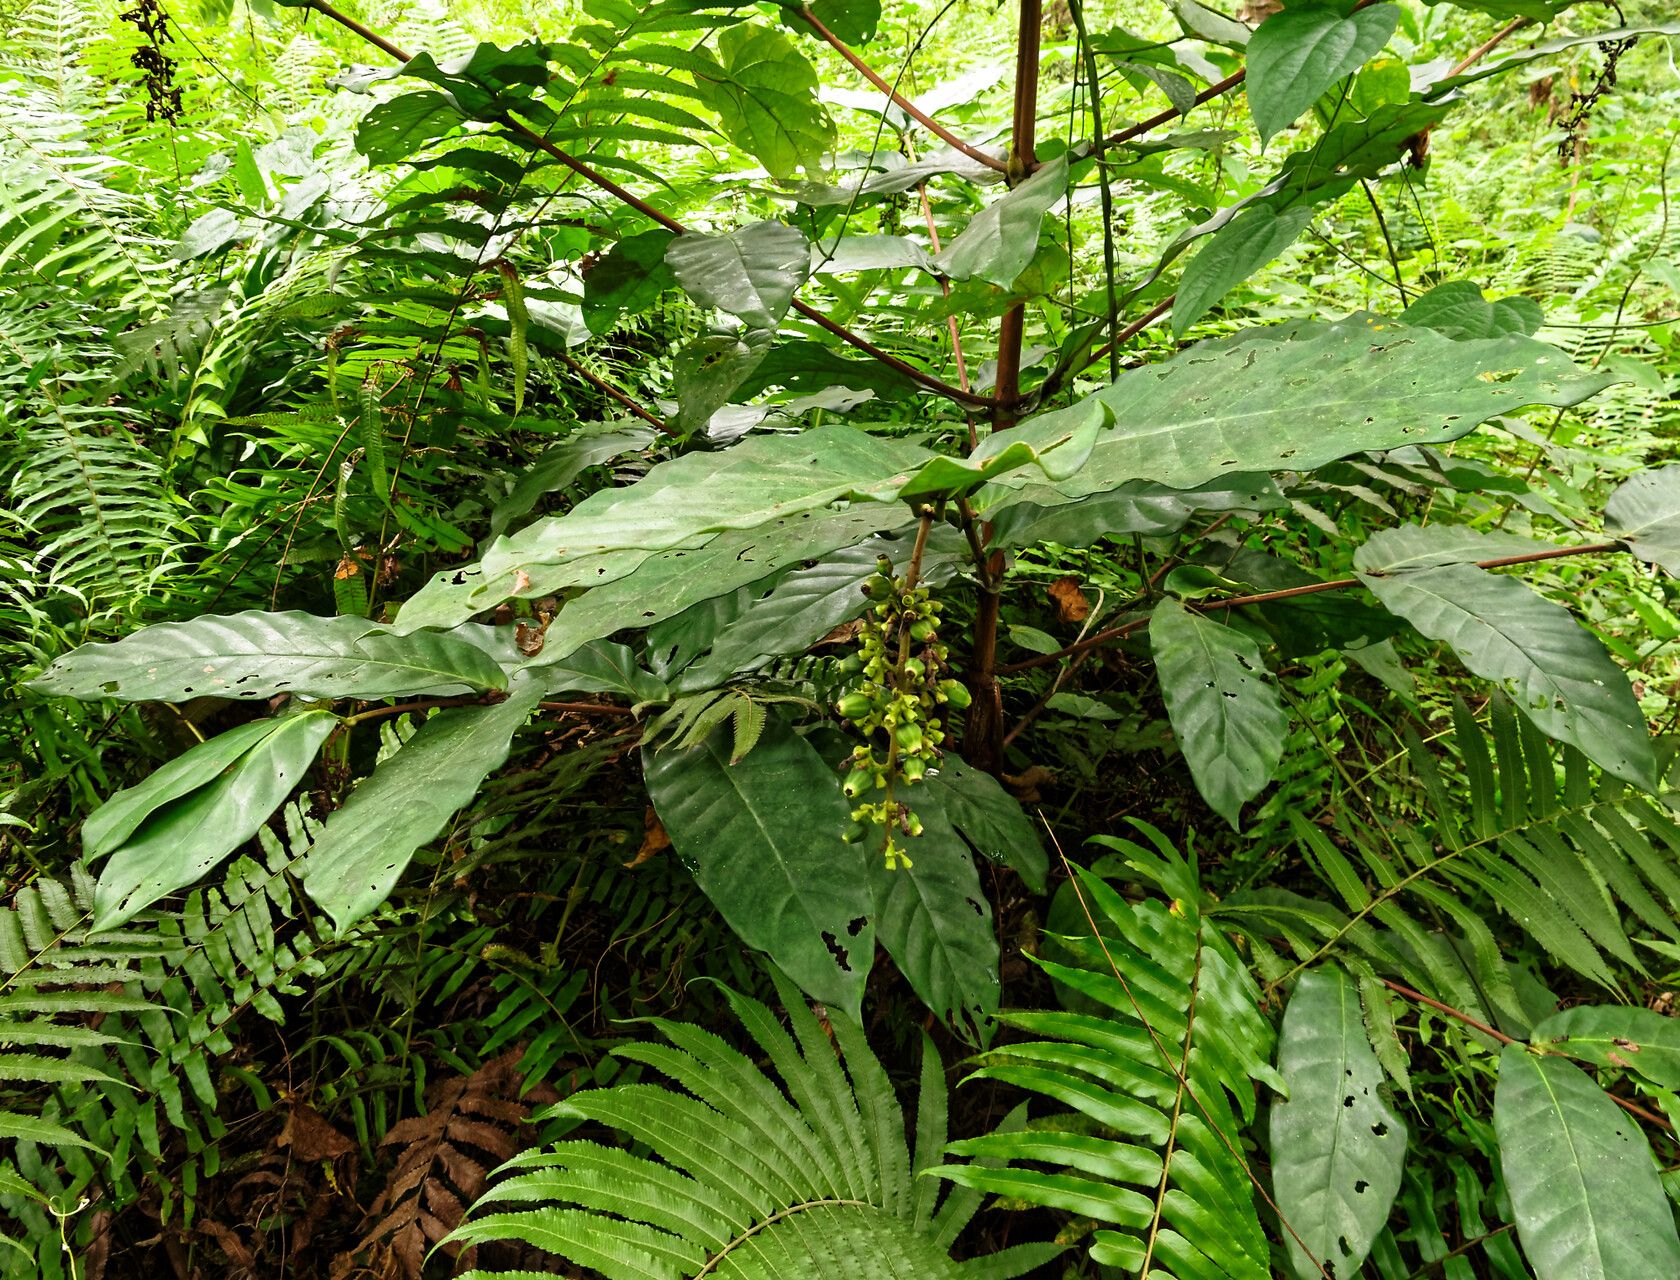
Hello there, fellow green thumbs! Today, I want to introduce you to a bit of a hidden gem for your garden repertoire: Bertiera racemosa. This delightful plant, with its charming clusters of star-shaped flowers and glossy green foliage, brings a touch of understated elegance to any shady nook. Propagating it is such a rewarding experience, a chance to share its beauty and expand your own leafy kingdom without breaking the bank. Now, I wouldn’t call it a completely foolproof beginner plant, but with a little patience and these tips, you’ll be well on your way to success.
When to Get Your Hands Dirty
The sweet spot for propagating Bertiera racemosa is generally during its active growing season, which usually falls in late spring through early summer. You’re looking for healthy, vigorous new growth. Avoid taking cuttings from old, woody stems or when the plant is stressed, perhaps from drought or extreme heat. That vibrant green growth is where the magic happens!
What You’ll Need
Gathering your supplies upfront makes the whole process smoother. Here’s what I recommend:
- Sharp Pruning Shears or a Clean Knife: For taking nice, clean cuts.
- Rooting Hormone (Optional but Recommended): This can give your cuttings a lovely boost. I prefer a powdered hormone, but liquid works too.
- Well-Draining Potting Mix: A good blend of peat moss or coco coir, perlite or vermiculite, and a little compost is perfect. You want something airy that won’t hold too much moisture.
- Small Pots or Seed Trays: Clean pots are a must to prevent disease.
- Plastic Bags or a Humidity Dome: To create a mini greenhouse effect.
- Watering Can with a Fine Rose: For gentle watering.
- Labels and a Marker: To keep track of what’s what!
Let’s Get Propagating!
There are a couple of reliable ways to multiply your Bertiera racemosa. I find stem cuttings to be the most effective and straightforward.
Method 1: Stem Cuttings
- Select Your Cuttings: Look for healthy, non-flowering stems that are about 4-6 inches long. These are often called “semi-hardwood” cuttings.
- Make the Cut: Using your clean shears or knife, make a clean cut just below a leaf node. This is the point where a leaf attaches to the stem, and it’s rich in growth hormones.
- Prepare the Cutting: Gently remove the lower leaves from the bottom half of the cutting. Leave just a few leaves at the top to photosynthesize. If you have very large leaves, you can even cut them in half horizontally to reduce water loss.
- Dip in Rooting Hormone (Optional): If you’re using rooting hormone, dip the cut end into the powder or liquid, tap off any excess.
- Plant Your Cuttings: Fill your small pots or seed trays with your prepared potting mix. Make a small hole with your finger or a pencil and gently insert the cut end of the stem, ensuring at least one leaf node is buried in the soil. Firm the soil gently around the stem.
- Water Gently: Water thoroughly but gently, making sure the soil is moist but not waterlogged.
- Create a Humid Environment: Immediately cover the pots with a plastic bag or place them under a humidity dome. Make sure the plastic doesn’t touch the leaves if possible. This is crucial for preventing the cuttings from drying out before they can root.
Method 2: Water Propagation (Less Common, but Worth a Try)
While I primarily stick to soil for Bertiera cuttings, some folks have success with water.
- Follow Steps 1-3 above for preparing your stem cuttings.
- Place Cuttings in Water: Fill a clean jar or vase with room-temperature water. Place the cuttings in the water, ensuring no leaves are submerged. Leaves in water will rot and can take down your whole cutting.
- Change Water Regularly: Change the water every few days to keep it fresh and oxygenated.
- Watch for Roots: You should see tiny white roots starting to emerge from the nodes. Once roots are about an inch long, you can carefully transplant them into potting soil, following the planting instructions in Method 1.
The “Secret Sauce” for Success
There are a few little tricks I’ve picked up over the years that can really boost your propagation success.
- Bottom Heat is Your Friend: If you have a seedling heat mat, placing your pots on it can make a world of difference. Slight warmth at the base encourages root development without drying out the top growth. It’s like a cozy little foot bath for your cuttings!
- Don’t Be Afraid to Mist: Even with a plastic bag, I often give the inside of the bag and the leaves a light misting with water every few days. This keeps things consistently humid, which is exactly what those tentative roots need.
- Patience is a Virtue (Seriously!): Bertiera can be a bit of a slow starter when it comes to rooting. Don’t get discouraged if you don’t see tiny new leaves popping up immediately. Give it at least 4-6 weeks before you start to worry. Tug gently on a cutting – if you feel resistance, that’s a good sign roots are forming!
Aftercare and What to Watch For
Once you spot those first signs of new growth – tiny leaves unfurling or a gentle tug yielding resistance – you know your cuttings have rooted!
- Acclimate Slowly: This is a critical step. Gradually introduce your new plants to drier air over a week or two. Start by opening the plastic bag for an hour or two each day, then progressively longer.
- Transplant Carefully: Once they can handle the ambient humidity, carefully transplant them into slightly larger pots with fresh, well-draining potting mix.
- Watering: Water them as you would any young plant – keep the soil consistently moist but never soggy.
- Troubleshooting: The most common issue you’ll encounter is rot, which is usually caused by overwatering or poor drainage. If a cutting turns black and mushy, it’s likely lost. Another sign of trouble is wilting that doesn’t improve after misting, which can indicate it hasn’t rooted or has dried out too much. Keep an eye out for pests too, though they are less common on fresh cuttings.
Keep Growing!
There you have it – your guide to propagating Bertiera racemosa. Don’t get discouraged if your first attempts aren’t perfect. Gardening is a journey, and propagation is a wonderful skill to hone. Take your time, enjoy the process of nurturing these new little lives, and before you know it, you’ll have a whole collection of these lovely plants to admire. Happy propagating!
Resource:
https://identify.plantnet.org/k-world-flora/species/Bertiera%20racemosa%20(G.Don)%20K.Schum./data