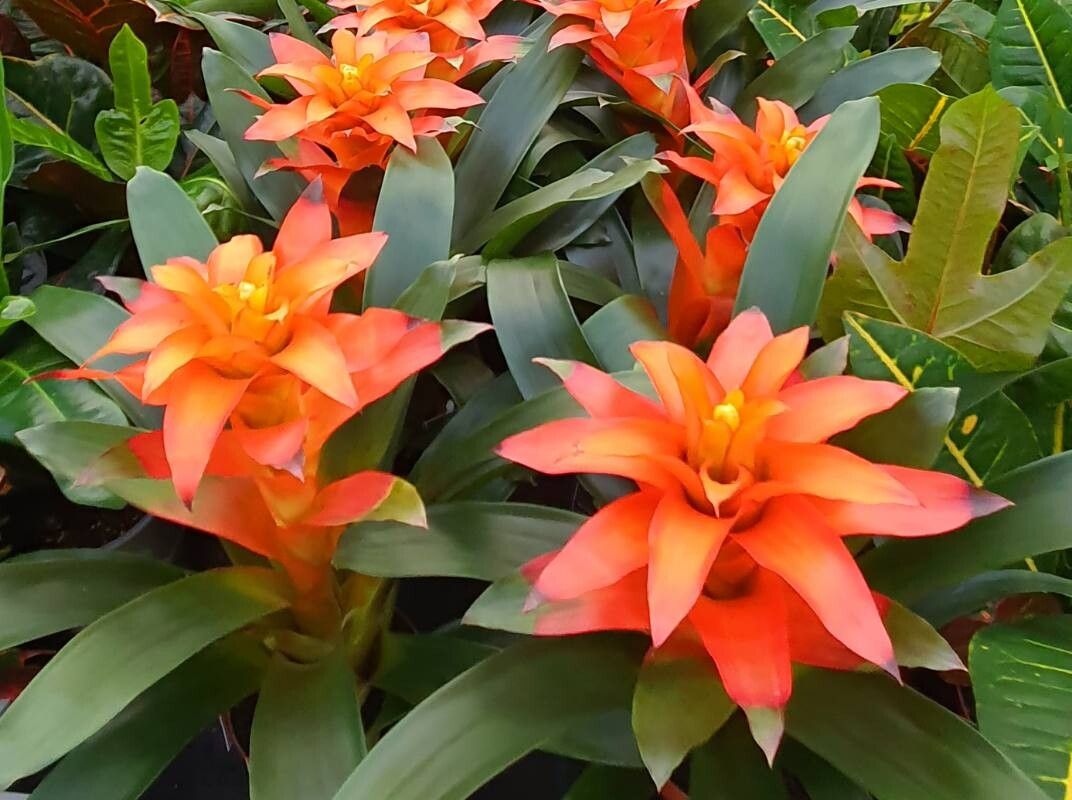
Hello, fellow plant lovers! If you’ve ever admired those vibrant Guzmania bromeliads with their striking, colorful bracts, you’re not alone. They bring such a pop of tropical flair to any space, don’t they? And the best part? You can easily multiply these beauties yourself! Propagating Guzmania monostachia is a wonderfully rewarding experience, letting you fill your home with even more of these joyful plants. While they might seem a bit exotic, don’t be intimidated! I find them to be quite manageable, especially when you know a few key tricks.
The Best Time to Start
Timing is everything in gardening, and with Guzmania, the sweet spot for propagation is when the mother plant is actively producing pups, those smaller baby plants that emerge from the base of the main rosette. This usually happens after the Mother plant has finished blooming. Think late spring into summer. The plant is strong and full of energy then, ready to share the love!
Supplies You’ll Need
Gathering your supplies beforehand makes the whole process smooth sailing. Here’s what I usually have on hand:
- Sharp, clean pruning shears or a strong knife: Sterilize them with rubbing alcohol to prevent disease.
- A well-draining potting mix: I often use a blend of orchid compost, perlite, and a little bit of peat moss. This is key for bromeliads.
- Small pots or containers: These should have drainage holes, of course!
- Rooting hormone (optional but helpful): A powder or gel can give new cuttings a boost.
- Watering can or spray bottle: For gentle hydration.
- Gloves (optional): If you prefer not to get your hands dirty.
Propagation Methods
The most common and successful way to propagate Guzmania monostachia is through division of pups. Here’s how I do it:
- Assess the Mother Plant: Look for pups around the base of the main plant. You want pups that are at least one-third the size of the mother plant and have developed their own tiny root system. If you can gently tug and it feels firm, it’s likely ready.
- Gently Remove the Pups: Carefully loosen the soil around the base of the mother plant and the pup you want to separate. Using your sterilized pruning shears or knife, carefully cut the pup away from the mother plant, making sure to get as many of its roots as possible. Sometimes they separate quite easily with just a gentle twist.
- Allow to Callus: This is a crucial step! After separating the pup, I like to let it sit in a dry, airy place for a day or two. This allows the cut surface to dry and callus over. This prevents rot, which is the biggest enemy of pup propagation.
- Potting Up: Once the cut has callused, it’s time to plant! Find a small pot that the pup will comfortably fit into. Fill it with your well-draining bromeliad mix. Make a small hole in the center and plant the base of the pup, ensuring the roots are covered with soil.
- Initial Watering: Water the newly potted pup gently. I usually don’t water immediately upon potting – letting it sit for that callus period usually means the soil has enough moisture to start. The next day, I give it a light watering. Avoid letting water sit in the “cup” formed by the leaves at this stage.
The “Secret Sauce” (Pro Tips)
Over the years, I’ve learned a few little tricks that really make a difference:
- Don’t be afraid to coax: Sometimes, pups can be a little stubborn. If a pup isn’t separating easily, a gentle wiggle or a careful use of a trowel can help loosen its connection to the mother plant without damaging it unnecessarily.
- Bottom heat is your friend: If you’re propagating in a cooler part of the year or your home tends to be chilly, placing your potted pups on a heat mat can significantly speed up root development. They love a little warmth!
- Less is more with watering: While it’s tempting to drench them, overwatering is a quick way to invite rot. It’s far better to let the soil dry out slightly between waterings. I usually mist the air around the plant and only water the soil when the surface feels dry.
Aftercare & Troubleshooting
Once your pup is potted, place it in a spot with bright, indirect light. Avoid direct sun, which can scorch those delicate new leaves. Keep the soil consistently moist but not waterlogged. You might see new leaf growth within a few weeks to a couple of months, a sure sign your pup is happy and rooting.
The most common issue you might encounter is rot. This usually happens due to overwatering or insufficient air circulation. If you notice mushy, brown spots on the leaves or the base of the pup, it’s a sign of trouble. Sadly, if rot sets in deep, it can be difficult to recover. My best advice is to act fast: remove the affected parts with a clean tool and try to increase airflow. Sometimes, you might have to start over with a new pup if the rot is too extensive.
A Gentle Reminder
Propagating can be a bit of a waiting game, but that’s part of the charm! Be patient with your new Guzmania babies. With a little care and attention, you’ll soon have a whole collection of these stunning bromeliads to enjoy. Happy propagating!
Resource: