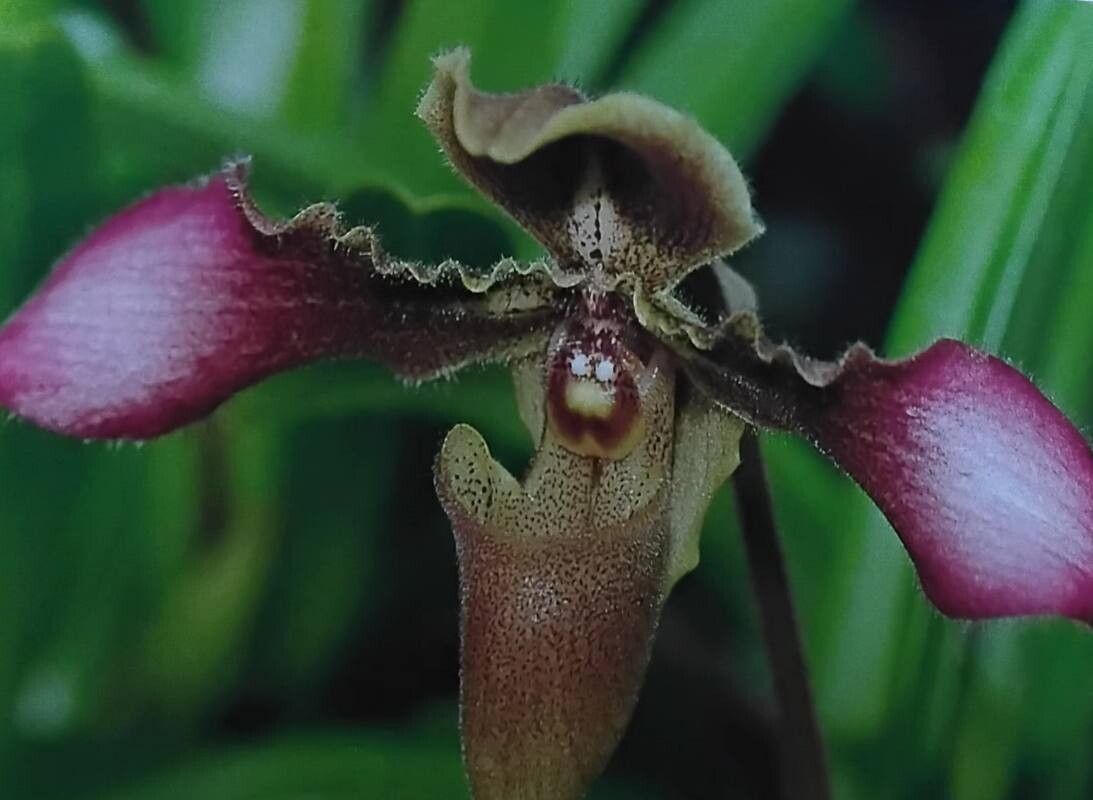
Oh, hello there! Grab a mug of your favorite brew, because today we’re diving into the delightful world of propagating Paphiopedilum hirsutissimum. I’ve spent more than a few years with these beauties, and let me tell you, the satisfaction of coaxing a new slipper orchid into life from a parent plant is something truly special.
Paphiopedilum hirsutissimum, with its wonderfully hairy pouch and striking dorsal sepal, is a real showstopper. It’s the kind of orchid that stops you in your tracks. If you’ve admired one in a collection, you might be wondering about getting more. Now, before we get too far, I should be honest with you. While I adore this orchid, propagating it isn’t exactly a “set it and forget it” kind of task for a total beginner. It requires a bit of attentiveness and understanding of its needs. But don’t let that deter you! With a little patience and these tips, you absolutely can do it.
The Best Time to Start
For Paphiopedilum hirsutissimum, the sweet spot for propagation is usually spring or early summer. This is when the plant is actively growing after its rest period. You’ll often see new growth emerging, and this is exactly what we want to tap into. Trying to divide or take cuttings when the plant is dormant or stressed is a recipe for disappointment. Think of it as starting when the plant has the most energy to spare.
Supplies You’ll Need
Here’s what I keep handy when I’m ready to propagate:
- Sterile pruning shears or a sharp knife: Cleanliness is paramount here to prevent disease.
- Orchid bark mix: A good quality, coarse mix is essential. I often use a blend that includes fine fir bark, perlite, and charcoal. You want excellent drainage.
- Hormone rooting powder (optional but helpful): For divisions, it can give that extra boost.
- Small pots or community trays: Clean and with drainage holes, of course!
- Sphagnum moss: Long-fibered is best, as it holds moisture without becoming waterlogged.
- A spray bottle: For gentle misting.
- Plastic bags or propagation domes: To create a humid microclimate.
- Bottom heat mat (highly recommended): This really speeds up root development.
Propagation Methods
The most successful way I’ve found to multiply Paphiopedilum hirsutissimum is through division. These orchids don’t typically produce the kind of stems you’d easily take as cuttings, and other methods can be too slow or risky for their liking.
Division: The Gentle Art
- Assess Your Plant: Look for a mature plant that has at least two or three healthy growths (which look like leafy fans). Ideally, you’ll see new growths starting to emerge from the base of older ones.
- Gently Remove from Pot: Carefully take your orchid out of its pot. You might need to gently loosen the edges with your knife if it’s tightly rooted.
- Clean the Roots: Gently tease away as much of the old potting mix as you can. I find working over a newspaper or a large tray helps keep things tidy. You’re looking to expose the rhizome – the thick, horizontal stem that connects the growths.
- Identify Division Points: Look for natural breaks in the rhizome where a new growth has developed its own set of roots. Do NOT force a break. You want to find where the plant naturally wants to split.
- Make the Cut: Using your sterilized pruning shears or knife, carefully cut through the rhizome. Make sure that each division has at least two healthy growths and a good portion of its original root system. It’s better to have a slightly smaller division with good roots than a larger one with none.
- Trim Damaged Roots: Snip off any bruised or dead roots from your divisions. This helps prevent rot.
- Potting Up: Now, don’t pot them too deep. I like to use my coarse orchid bark mix and position the division so the base of the new growth is just at the surface of the mix. You can gently press some long-fibered sphagnum moss around the base for a little extra support and humidity.
- Water Sparingly: Initially, water very lightly. You don’t want to saturate the new potting mix.
The “Secret Sauce” (Pro Tips)
Okay, here are a couple of things I’ve learned over the years that really make a difference:
- Don’t Overcrowd Divisions: This is crucial for Paphs. While it might seem like a good idea to pack multiple divisions into one pot, they really need space and good air circulation. I always pot each division individually for best results.
- Introduce Bottom Heat Gradually: Once potted, place your divisions on a bottom heat mat set to around 70-75°F (21-24°C). This consistent warmth encourages root and new growth development much faster than ambient room temperature alone. But, and this is key, don’t let the top of the pot get too hot, especially if you’re using a dome. The roots benefit, but the leaves don’t want to bake.
Aftercare & Troubleshooting
Once your divisions are potted and settled, it’s time for careful nurturing.
- Humidity is King: Enclose each division in a plastic bag or under a propagation dome to maintain high humidity. This is vital because the plant doesn’t have a developed root system yet to take up water efficiently.
- Light Levels: Provide bright, indirect light. Think of where you’d keep a mature slipper orchid, but perhaps slightly less intense at first. No direct sun, please!
- Watering Routine: Mist lightly every few days, or whenever the sphagnum moss at the base starts to feel dry. Avoid water sitting in the crown of the new growth, as this is a prime spot for rot. If you see water pooling, gently tip the pot to let it drain.
- Watch for Roots and Growth: Be patient! It can take several weeks, sometimes longer, to see new root activity. You might see it appearing as tiny green nubs at the base. Then, a new leaf or growth will start to emerge.
- Signs of Trouble: The most common issue is rot. If you see a division quickly turning black and mushy, it’s likely rot. This usually happens from overwatering or poor air circulation. If you catch it early, you might be able to trim away the rotten parts and repot in fresh, dry mix, but often, it’s a loss. Another sign of stress is yellowing leaves that aren’t new growth; this could indicate problems with watering or light.
A Little Encouragement
Propagating orchids is a journey, not a race. There will be times you’ll wonder if anything is happening, and sometimes, things just don’t work out. That’s part of the learning curve. But when you see that first new root emerge, or a tiny shoot unfurl, it’s incredibly rewarding. Enjoy the process, learn from each attempt, and soon you’ll have more of these stunning Paphiopedilum hirsutissimum to admire and share. Happy growing!
Resource: