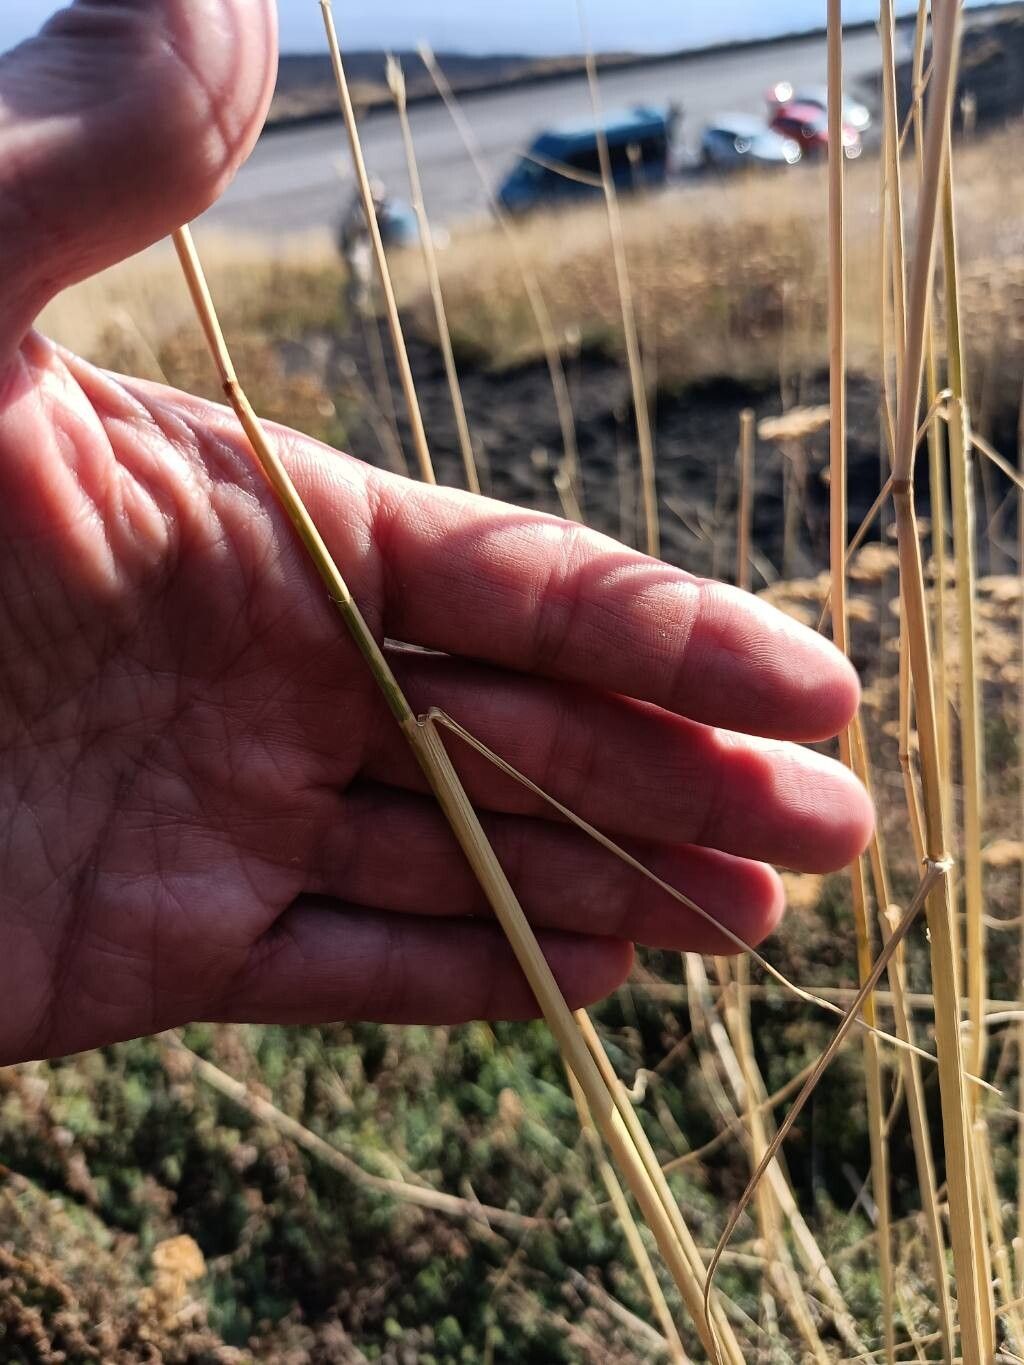
Hey there, fellow garden enthusiasts! I’m so excited to chat with you today about a plant that has completely captured my heart (and my garden borders!) over the years: Helictochloa cincinnata. You might know it by its common name, the Curly Oat Grass, and let me tell you, it’s an absolute stunner. Its graceful, arching foliage, often with those delightful little spiraled tips, adds such a unique texture and movement to any space. Plus, it’s pretty darn low-maintenance once established, which is always a win in my book!
Now, about propagating this beauty. I’d say Helictochloa cincinnata falls into the “moderately easy” category for beginners. It’s not quite as hands-off as some succulents, but with a little attention and the right approach, you’ll be rewarded with plenty of new plants to share or spread around your own landscape. It’s incredibly satisfying to watch a tiny cutting or division transform into a full, flourishing clump.
The Best Time to Start
For the highest success rate with Helictochloa cincinnata, I always recommend working with it in early spring. This is when the plant is really coming out of its dormancy and has that surge of new growth energy. You’ll see fresh shoots emerging, and the plant is more receptive to being divided or taking cuttings. If you miss that window, late summer or early fall can also work, but aim to give your new propagations plenty of time to establish before the cold weather sets in.
Supplies You’ll Need
Here’s a quick rundown of what you’ll want to have on hand:
- Sharp, sterile pruning shears or a clean knife: For making clean cuts.
- Potting mix: A well-draining mix is crucial. I like to use a blend of about 70% good quality potting soil and 30% perlite or coarse sand. Some gardeners even swear by a mix specifically for ornamental grasses.
- Small pots or trays: For your new starts.
- Rooting hormone (optional but helpful): A powder or gel form can encourage faster root development.
- Watering can with a fine rose: To water gently without disturbing your new plants.
- Labels: To keep track of what you’ve planted and when.
- A trowel or dibber: For making planting holes.
Propagation Methods
Helictochloa cincinnata is most commonly and successfully propagated through division. This method is perfect for this clumping grass, and it’s my go-to.
Division Method:
- Dig it up gently: In early spring, before the grass really takes off, carefully dig up your mature clump. You might need a garden fork to loosen the soil around the edges. Lift the entire clump out of the ground, shaking off some of the excess soil.
- Examine the roots: You’ll see that the clump has a base with many roots and shoots. Look for natural divisions – areas where the plant seems to naturally want to split apart.
- Separate the clumps: You can do this with your hands, gently pulling the sections apart. If it’s a bit stubborn, use your clean knife or shears to cut through any crowded roots, making sure each new division has a good amount of roots and at least a few healthy shoots.
- Pot them up: Fill your small pots with your prepared, well-draining potting mix. Make a hole in the center of each pot with your trowel or dibber.
- Plant your divisions: Place each new division into its hole, ensuring the crown (where the shoots emerge from the roots) is at or slightly above the soil line. Backfill with soil and gently firm it around the base.
- Water thoroughly: Water each pot well until you see excess water draining from the bottom. This helps settle the soil around the roots.
The “Secret Sauce” (Pro Tips)
Here are a couple of things I’ve learned over the years that really give your propagations a leg up:
- Don’t overwater dormant divisions: While you want to keep the soil consistently moist, avoid waterlogging the newly planted divisions. They don’t have established root systems yet and are much more susceptible to rot if their crowns sit in soggy soil. Let the top inch of soil dry out slightly between waterings.
- Give them some shade initially: Once divided and potted, don’t immediately plunge your new Helictochloa cincinnata starts into full, blazing sun. Partial shade for the first week or two will help them acclimate and prevent the foliage from drying out too quickly before they can develop new roots. You can gradually introduce them to more sun as they show signs of new growth.
Aftercare & Troubleshooting
Once your divisions have settled in and you see signs of new growth peeking through, you’re well on your way! Continue to water them regularly, ensuring the soil stays consistently moist but not soggy. As they grow stronger, you can begin to fertilize them lightly with a balanced liquid fertilizer once a month during the growing season.
The most common issue you might encounter is rot, which almost always comes down to overwatering or poor drainage. If you see the foliage of a new division turning yellow and mushy at the base, or if it just looks generally unhealthy and lifeless, it’s likely a sign of root rot. Unfortunately, this is often difficult to recover from, but it’s a great learning opportunity to adjust your watering habits for future attempts.
A Warm Encouragement
Propagating plants is such a beautiful way to connect with nature and expand your garden. Be patient with your new Helictochloa cincinnata starts. It might take a little time for them to get going, but with consistent care and a little love, you’ll be rewarded with stunning clumps of Curly Oat Grass. Enjoy the process, and happy gardening!
Resource: