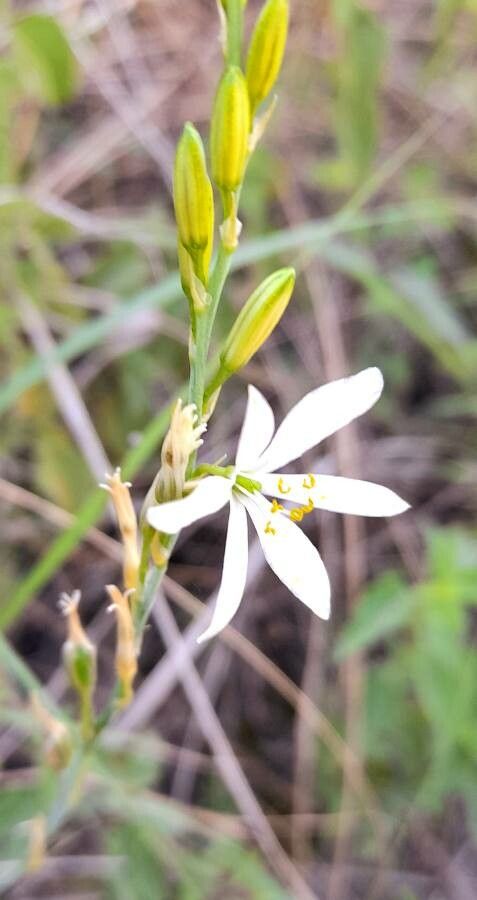
Oh, hello there! So glad you’ve stopped by. Today, we’re going to talk about a plant that brings a little bit of sunshine and graceful elegance to any space: Echeandia ciliata. You might know it by its common name, Mexican butterfly orchid, though it’s not actually an orchid at all. Those lovely, upright, strappy leaves with their delicate white fringes are just so charming, aren’t they? I’ve found propagating Echeandia ciliata to be a wonderfully rewarding experience, and honestly, it’s a pretty forgiving plant for us beginners. You’ll be making baby plants in no time!
The Best Time to Start
My favorite time to take cuttings is during the late spring or early summer. This is when the plant is in its active growing phase. The days are getting longer, the temperatures are warming up, and that stored energy just seems to make everything happy and ready to take root. You’re essentially giving your new little ones the best possible start with plenty of natural light and warmth.
Supplies You’ll Need
Here’s what I usually gather before I get started:
- Sharp, clean pruning shears or a sharp knife. Sterilize them with rubbing alcohol to prevent any nasty bug or disease transfer.
- A well-draining potting mix. I like to use a mix specifically for succulents or cacti, or I make my own by combining equal parts potting soil and perlite.
- Small pots or seed trays. Whatever you have available for your new babies.
- Optional: Rooting hormone. While Echeandia ciliata is often eager to root on its own, a little rooting hormone can speed things up and give you that extra boost of confidence.
- A watering can or spray bottle.
- Labels and a marker. You’ll thank me later when you have a few different propagation projects going!
Propagation Methods
The most straightforward way I’ve found to multiply my Echeandia ciliata is through stem cuttings, and it’s incredibly successful.
- Identify a Healthy Stem: Look for a mature, healthy stem that’s at least 4-6 inches long. You want one that’s firm and shows good growth.
- Make a Clean Cut: Using your sterilized shears or knife, make a clean cut just below a leaf node. This is the small bump on the stem where a leaf grows from.
- Prepare the Cutting: Gently remove the lower leaves from the cutting, leaving just a few at the top. This helps the plant focus its energy on rooting rather than keeping those leaves alive.
- Let it Callus (Optional but Recommended): This is a super important step! Place your cuttings in a dry, shaded spot for 24-48 hours. This allows the cut end to dry and form a protective callus. It significantly reduces the risk of rot once planted.
- Dipping in Rooting Hormone (Optional): If you’re using rooting hormone, dip the callused end into it according to the product’s instructions. Tap off any excess.
- Planting: Fill your small pot with your well-draining potting mix. Poke a hole in the center large enough for the cutting. Insert the callused end of the cutting into the hole, ensuring the leaf nodes are buried. Gently firm the soil around the stem.
- Watering: Give the soil a light watering. You want it to be moist, but not soggy.
The “Secret Sauce” (Pro Tips)
Here are a couple of tricks I’ve picked up that make a world of difference:
- Don’t Drown Your Cuttings: This is huge! When you water your potted cuttings, be gentle. You’re aiming for consistently moist soil, not a swamp. Overwatering is the quickest way to invite rot. I often prefer to water from the bottom if I can, letting the soil wick up the moisture.
- A Little Warmth Goes a Long Way: If you have a propagator or even just a sunny windowsill that gets a bit of indirect warmth, your cuttings will thank you. Bottom heat (warmth coming from beneath the pot) can really encourage root development. I’ve found using a seedling heat mat set on low for a few hours a day can give them that extra nudge.
Aftercare & Troubleshooting
Once your cuttings are planted, place them in a bright spot with indirect light. Direct sun can scorch those tender new leaves. Keep the soil consistently moist but never waterlogged.
You’ll know your cutting is rooting when you see new leaf growth! This can take anywhere from 3 to 6 weeks, sometimes even longer, so patience is key. Gently tug on a leaf – if there’s resistance, you’ve got roots!
If your cutting starts to look mushy or black at the base, that’s a sign of rot. Unfortunately, this often means you’ve lost that cutting. It’s usually a sign of too much moisture or not letting the cutting callus properly. Don’t despair, though! Just grab another stem and try again.
A Warm Encouragement
Propagating plants is such a beautiful way to connect with nature and to spread the joy of gardening. Be patient with your little Echeandia ciliata cuttings. They’re working hard to grow, and seeing that first tiny new leaf emerge is pure magic. Enjoy the process, learn as you go, and soon you’ll have a whole collection of these lovely plants to share! Happy growing!
Resource:
https://identify.plantnet.org/k-world-flora/species/Echeandia%20ciliata%20(Kunth)%20Cruden/data