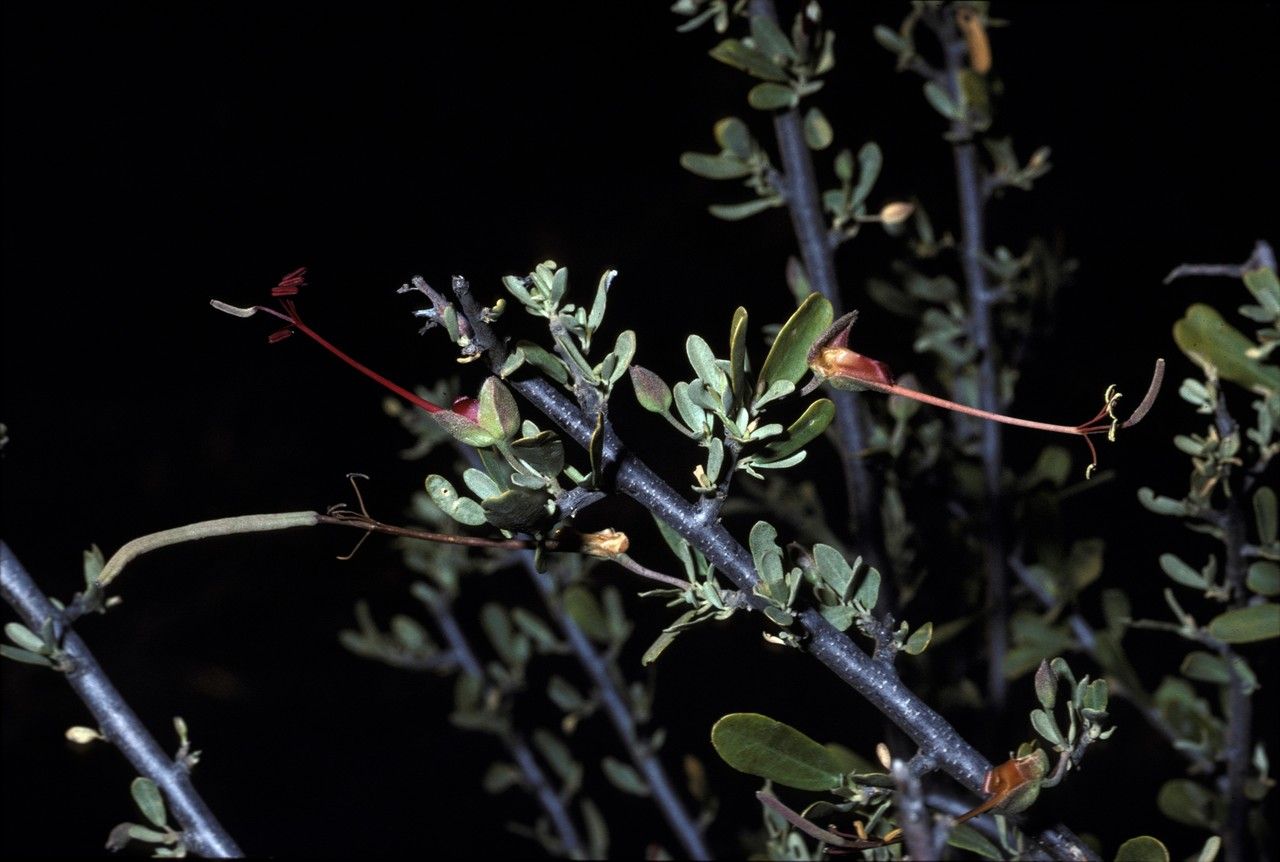
Hello fellow plant lovers! Today, we’re going to dive into the wonderful world of propagating Cadaba termitaria. If you’ve ever seen this delightful plant gracing a garden or a friend’s sunroom, you know it’s got a certain charm. Its delicate, often fragrant blooms and attractive foliage make it a real standout. And the best part? It’s surprisingly rewarding to multiply this beauty yourself! For those just starting out on their propagation journey, I’d say Cadaba termitaria is a moderate challenge. It’s not going to root with just a casual wave of your hand, but with a little attention and the right approach, you’ll be celebrating success.
The Best Time to Start
To get the highest success rate with your Cadaba termitaria cuttings, aim for the late spring or early summer. This is when the plant is actively growing, and the new shoots are giving the best energy to put out roots. You want to take cuttings from semi-hardwood, meaning the stems are no longer completely soft and pliant, but they haven’t fully woody yet. Think of it as that perfect balance – firm enough to hold shape, but still full of life.
Supplies You’ll Need
Gathering your supplies beforehand makes the whole process smoother. Here’s what I always have on hand:
- Sharp, clean pruning shears or a craft knife: Essential for making clean cuts.
- Rooting hormone: This is a game-changer, especially for trickier plants. I like to use one with a powdered form.
- Well-draining potting mix: A good mix of perlite, peat moss, and perlite works wonders. You want something that won’t hold too much moisture.
- Small pots or propagation trays: Clean pots are a must to prevent diseases.
- Plastic bags or a propagation dome: To create a humid environment.
- Watering can with a fine rose: Gentle watering is key.
- Labels and a marker: To keep track of what’s what!
Propagation Methods
Let’s get our hands dirty! For Cadaba termitaria, stem cuttings are generally the most reliable method for me.
Stem Cuttings:
- Select Your Cuttings: As I mentioned, choose semi-hardwood stems that are about 4-6 inches long. Look for stems that have healthy leaves and no signs of flowers or developing fruit.
- Make the Cut: Using your clean pruning shears or knife, make a clean cut just below a leaf node. The leaf node is where new roots are most likely to form.
- Prepare the Cutting: Gently remove the lower leaves from the cutting, leaving just a few at the top. This helps prevent rot and directs the plant’s energy into rooting.
- Dip in Rooting Hormone: Dip the cut end of the stem into your rooting hormone, tapping off any excess. This step is highly recommended for Cadaba termitaria as it really gives the cutting a boost.
- Planting: Fill your small pots with your well-draining potting mix. Create a small hole in the center with your finger or a pencil.
- Insert the Cutting: Gently insert the hormone-coated end of the cutting into the hole. Firm the soil gently around the stem to ensure good contact.
- Water Gently: Water the potting mix thoroughly but gently, using your fine-rose watering can. You want the soil to be moist but not waterlogged.
- Create Humidity: Cover the pot with a plastic bag or place it under a propagation dome. Make sure the leaves of the cutting don’t touch the plastic. You can use stakes to hold the bag up if needed.
- Place in Bright, Indirect Light: Find a spot that receives bright, indirect light. Avoid direct sunlight, which can scorch the delicate cuttings.
The “Secret Sauce” (Pro Tips)
Over the years, I’ve picked up a few tricks that seem to make all the difference:
- Bottom Heat is Your Friend: If you have access to a heating mat, placing your pots on it can significantly speed up root development. The warmth mimics the natural conditions the plant prefers and encourages faster root growth. Don’t let it get too hot, though – a gentle warmth is all you need.
- Don’t Mist Too Much: While humidity is crucial, over-misting can actually encourage fungal diseases. Instead of constantly spraying, focus on maintaining that consistently humid environment with the cover. If you see condensation on the inside of the plastic, that’s a good sign!
- Take Multiple Cuttings: It’s always wise to take more cuttings than you think you’ll need. Not every cutting will be a success story, and having extras increases your chances of a thriving new plant.
Aftercare & Troubleshooting
Once you start to see new leaf growth appearing on your cuttings, that’s a fantastic sign they are rooting! This usually takes anywhere from 4-8 weeks, sometimes longer.
- Acclimatize Gradually: Once roots are established, slowly begin to acclimate them to normal air. This means gradually opening the plastic bag or propagation dome for longer periods each day over a week or two.
- Transplanting: When the roots have filled the small pot and you can see them coming out of the drainage holes, it’s time to transplant your new Cadaba termitaria into a slightly larger pot with fresh potting mix.
- Watch for Rot: The most common problem you’ll encounter is rot. If your cuttings turn black and mushy, or if the soil stays saturated for too long, it’s likely due to overwatering or poor drainage. Always err on the side of underwatering in the early stages. If you see signs of rot, you may need to discard the affected cuttings and re-evaluate your watering and soil mix.
A Encouraging Closing
Propagating plants can feel like a bit of magic, can’t it? Watching a seemingly dormant stem transform into a living, breathing new plant is incredibly gratifying. Don’t be discouraged if your first attempt isn’t perfect. Gardening is a journey of learning and patience. Keep trying, enjoy the process, and soon you’ll be surrounded by even more of your beloved Cadaba termitaria! Happy propagating!
Resource:
https://identify.plantnet.org/k-world-flora/species/Cadaba%20termitaria%20N.E.Br./data