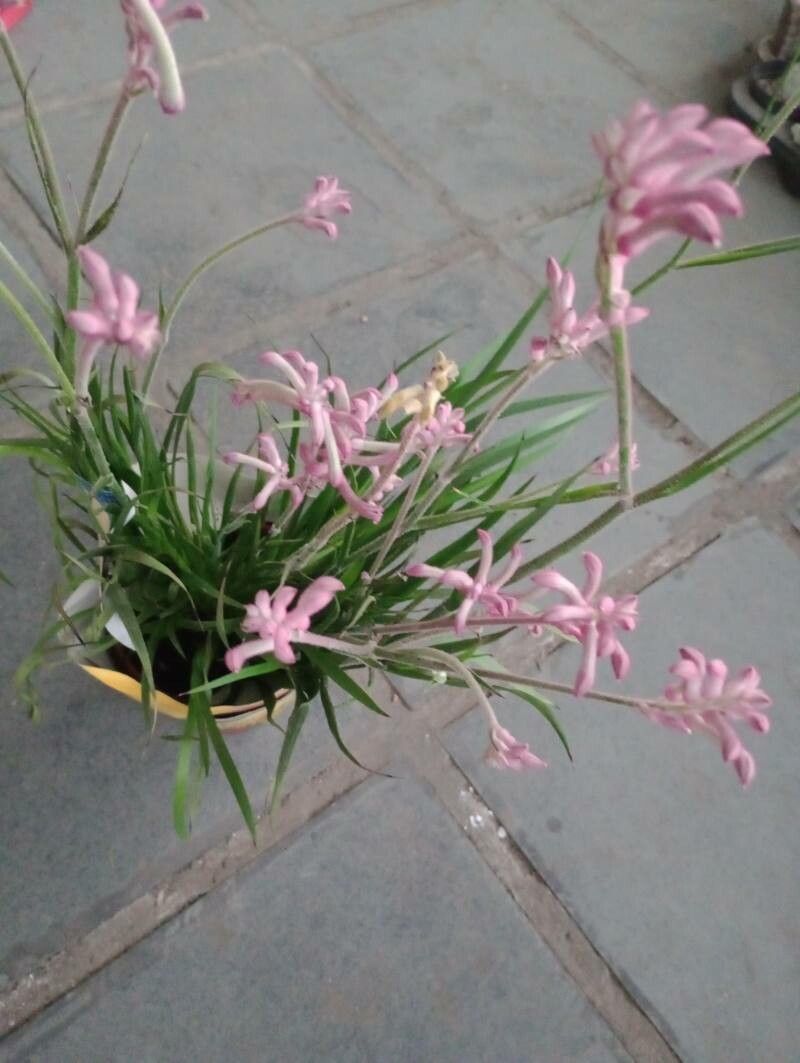
Oh, the Australian sunset in a plant! If you’ve ever marvelled at the striking, velvety blooms of Anigozanthos pulcherrimus, or the Kangaroo Paw as it’s affectionately known, then you know its allure. Their fuzzy, vibrant flower spikes are truly a sight to behold, and I can tell you from experience, coaxing a new life from an existing plant is one of the most satisfying garden joys. Now, if you’re wondering if it’s a breeze for beginners, I’d say it’s moderately easy. With a little patience and the right approach, you’ll be well on your way!
The Best Time to Start
For Kangaroo Paws, the sweet spot for propagation is generally late spring to early summer. This is when the plant is actively growing and has plenty of energy reserves. You want to catch them after they’ve finished their main flowering flush but before the intense heat of mid-summer really sets in. This gives your new cuttings or divisions a chance to establish themselves before any stressful weather.
Supplies You’ll Need
To give your Anigozanthos pulcherrimus the best start, gather these items:
- Sharp, clean pruning shears or a sharp knife: Essential for making clean cuts to prevent disease.
- Well-draining potting mix: A good blend of perlite and coarse sand with a base of coco coir or peat moss works beautifully. Avoid heavy, water-retentive soils.
- Rooting hormone powder (optional but recommended): This can give your cuttings a little boost.
- Small pots or seed trays: Ensure they have drainage holes.
- Watering can with a fine rose or spray bottle: For gentle watering.
- Labels and a marker pen: To keep track of what you’ve planted and when.
- A tray or shallow dish: For bottom watering.
- Heat mat (optional, but a game-changer!): For promoting root development.
Propagation Methods
There are two main ways I find success with Kangaroo Paws: division and stem cuttings.
1. Division: The Most Reliable Route
This is usually the easiest and most successful method, especially for more established plants.
- Gently unpot your Kangaroo Paw. Be careful not to damage the rhizomes, which are the underground stems.
- Inspect the root ball. You’re looking for natural breaks where the plant has divided itself. You’ll see new shoots emerging from thickened roots or rhizomes.
- Using your clean hands or a sharp trowel, carefully separate the divisions. Aim for divisions that have at least one or two healthy shoots and a good portion of roots.
- Pot each division into its own small pot filled with your well-draining mix.
- Water gently and place in a bright spot, out of direct, harsh sun. Keep the soil consistently moist but not soggy.
2. Stem Cuttings: A Bit More Patience Required
This method can be a little trickier but is very rewarding when successful.
- Take cuttings from a healthy, actively growing plant. Look for stems that are semi-hardwood – not too soft and leafy, but not woody either.
- Using your clean shears, cut a stem about 4-6 inches long. Cut just below a leaf node (where a leaf attaches to the stem).
- Remove the lower leaves. Leave just a few at the top.
- If using rooting hormone, dip the cut end into the powder, tapping off any excess.
- Insert the cuttings into pots filled with your well-draining rooting mix. Make a little hole with a pencil or your finger first to avoid rubbing off the rooting hormone.
- Water gently.
- Place the pots in a bright location, but again, keep them out of direct, intense sunlight.
The “Secret Sauce” (Pro Tips)
After years of getting my hands dirty, a few things have become absolute must-dos for me:
- For cuttings, bottom heat is your best friend. Placing your pots on a heat mat set to around 70-75°F (21-24°C) really encourages those roots to form quickly. It mimics the warmth of spring soil and makes a world of difference.
- Don’t let those leaves touch the water (if you were attempting water propagation, which I don’t recommend for Kangaroo Paws!). This is more of a general tip for cuttings in water, but it applies here if any bits of your pruned leaves fall into the pots. Any decaying organic matter can invite fungal issues. Keep things clean and dry around the base of your plants.
- After dividing, I always let my divisions sit for a day or two uncovered. This allows any cut surfaces to callus over a bit, which helps prevent rot before they go into the soil. It’s a small step that can save you a lot of heartache.
Aftercare & Troubleshooting
Once your divisions or cuttings show signs of new growth – little leaves unfurling! – that’s your cue they’re rooting.
- Continue to water gently. As they grow stronger, you can gradually introduce them to more light.
- Don’t rush to transplant them into larger pots. Let them become well-established in their starter pots.
- Watch for signs of rot. Mushy stems or leaves, a sour smell from the soil, or a plant that just wilts despite watering are all indicators of overwatering or poor drainage. If you see this, act fast. Sometimes you can salvage a division by cutting away the rotted parts and repotting in fresh, dry mix.
A Warm Encouraging Closing
Propagating Anigozanthos pulcherrimus is a journey, and like any good garden adventure, it requires a little patience and a lot of observation. Don’t be discouraged if not every attempt is a smashing success – that’s part of the learning process for all of us, myself included! Enjoy the quiet satisfaction of nurturing new life, and before you know it, you’ll have a beautiful display of these iconic Australian beauties all your own. Happy gardening!
Resource:
https://identify.plantnet.org/k-world-flora/species/Anigozanthos%20pulcherrimus%20Hook./data