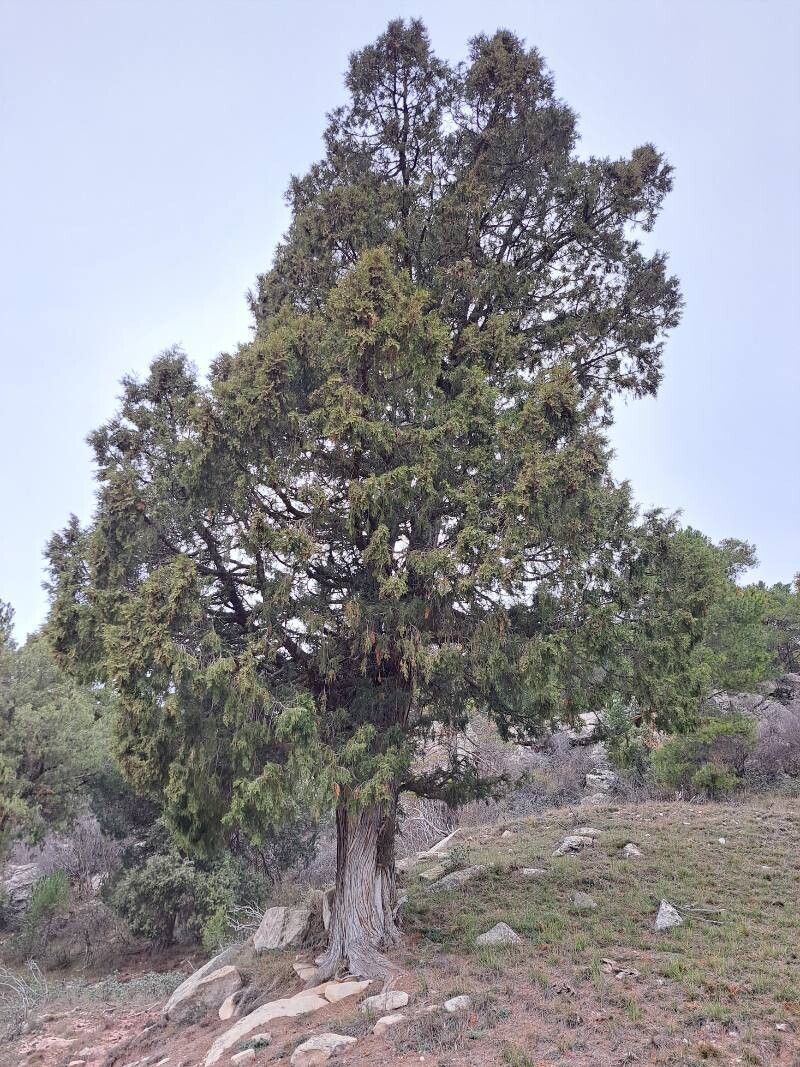
Hello, fellow garden enthusiasts! If you’ve ever admired the stately, architectural beauty of a Juniperus thurifera, or Spanish Juniper, you’re not alone. Its rugged charm and ability to transform a landscape make it a real showstopper. And guess what? Bringing more of this magnificent evergreen into your garden through propagation is absolutely doable, and incredibly satisfying. It’s a bit of a project, yes, but for those of us who love getting our hands dirty and watching life begin anew, it’s a truly rewarding endeavor. For beginners, it might be a touch challenging, but with a little patience and know-how, you’ll be well on your way.
The Best Time to Start
When it comes to getting your Juniperus thurifera cuttings to root, timing is everything. I’ve found the late spring to early summer is generally your sweet spot. This is when the new growth has had a chance to mature a little but is still somewhat soft and pliable. You’re looking for those slightly woody, but not completely hard, stems. Think of it like this: the plant is actively growing and has plenty of energy to put into developing roots.
Supplies You’ll Need
To give your cuttings the best possible start, gather these essentials:
- Sharp Pruning Shears or a Craft Knife: Clean cuts are crucial for preventing disease.
- Rooting Hormone: A good quality powder or gel will significantly boost your success rate.
- Propagating Medium: A well-draining mix is key. I like a blend of perlite and peat moss (about 1:1 ratio) or even just coarse sand. Avoid heavy garden soil.
- Small Pots or Trays: With drainage holes! This is non-negotiable.
- Plastic Bags or a Humidity Dome: To create a humid environment for your cuttings.
- Labels and a Marker: To keep track of what you’ve planted!
- Watering Can with a Fine Rose: Gentle watering prevents disturbing the cuttings.
Propagation Methods
For Juniperus thurifera, the most reliable method is stem cuttings.
- Select Your Cuttings: In late spring or early summer, choose healthy, vigorous stems from a mature plant. Look for stems that are about 4-6 inches long and have developed side shoots.
- Prepare the Cuttings: Using your sharp shears or knife, take clean cuttings from the parent plant. Remove the lower foliage, leaving about 1-2 inches bare. If there are any leaves in the area where you’ll be inserting the cutting into the soil, snip them off.
- Apply Rooting Hormone: Dip the cut end of each stem into rooting hormone, ensuring it’s coated. Tap off any excess powder.
- Plant the Cuttings: Fill your small pots or trays with your chosen propagating medium. Make a small hole in the center with a pencil or your finger. Gently insert the treated end of the cutting into the hole, ensuring the hormone-coated part is in contact with the soil. Firm the medium gently around the cutting.
- Water Gently: Water your pots thoroughly but gently, ensuring the medium is moist but not waterlogged.
The “Secret Sauce” (Pro Tips)
Here are a couple of little tricks I’ve learned over the years that can really make a difference for junipers:
- Don’t Overcrowd: Give your cuttings a bit of space in the pot. Too much crowding can lead to fungal issues and competition. I usually plant 3-4 cuttings per 4-inch pot.
- Bottom Heat is Your Friend: If you have a seedling heat mat, this is where it shines! Placing your pots on a gentle heat source can significantly speed up root development. It mimics the warmth of spring soil.
Aftercare & Troubleshooting
Once your cuttings are planted, it’s time for them to do their magic.
- Create Humidity: Cover your pots with a plastic bag or humidity dome. This is crucial for preventing the cuttings from drying out before they can develop roots. Make sure the plastic doesn’t touch the foliage if possible – poke a few small holes or use stakes to keep it elevated.
- Provide Bright, Indirect Light: Place your cuttings in a bright spot but out of direct sunlight. Too much sun will scorch them.
- Monitor Moisture: Keep the propagating medium consistently moist but not soggy. Check it regularly. You might need to mist the inside of the plastic bag occasionally.
- Be Patient: Rooting can take time, sometimes several weeks, or even a few months for junipers. You’ll know they’re rooting when you see new growth appearing or gently tug on a cutting – if there’s resistance, you’ve got roots!
The most common sign of failure is rot. If your cuttings turn mushy or black, it’s usually a sign of too much moisture and not enough air circulation. If you see signs of rot, remove the affected cuttings immediately and ensure your remaining ones have adequate drainage and aren’t sitting in water.
A Encouraging Closing
So there you have it! Propagating Juniperus thurifera might require a bit more attention than some other plants, but the reward of seeing new life emerge from a simple cutting is truly unparalleled. Be patient with the process, enjoy the tactile experience, and don’t be discouraged if not every cutting makes it. Each attempt is a learning opportunity, and soon you’ll have a whole new generation of Spanish Junipers gracing your garden. Happy propagating!
Resource:
https://identify.plantnet.org/k-world-flora/species/Juniperus%20thurifera%20L./data