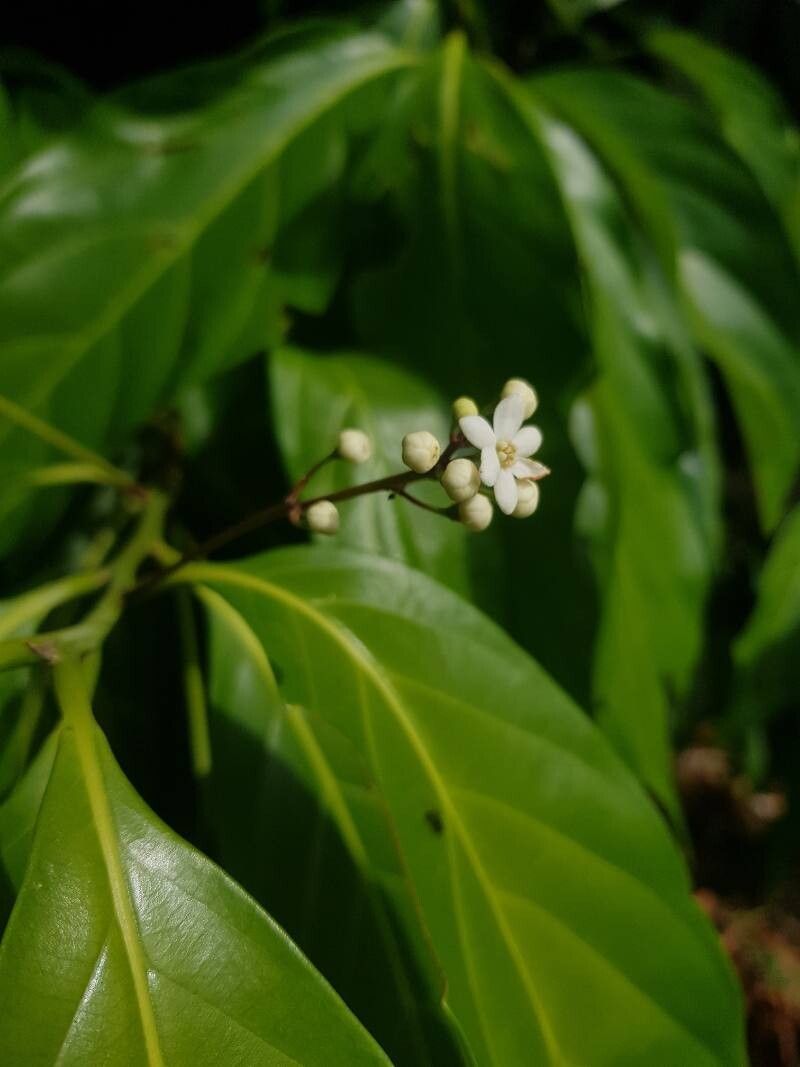
Oh, hello there! Come on in, grab a mug. I’ve been so excited to chat with you about Nectandra hihua. This absolutely gorgeous tree, with its glossy leaves and often sweet-smelling flowers, is a real gem for any garden. Watching a new plant sprout from a tiny cutting or seed? It’s pure magic, isn’t it? Propagating Nectandra hihua might sound a little daunting, but honestly, with a bit of patience and the right approach, it’s a wonderfully rewarding venture. For beginners, it’s probably best to start with simpler methods, but don’t let that discourage you from trying a few things out!
The Best Time to Start
Honestly, the absolute sweetest spot for propagating Nectandra hihua is when the plant is in its active growth phase. Think late spring into early summer. This is when the plant has plenty of energy to put into developing new roots. You’ll want to use stems that are semi-hardwood, meaning they’re not the brand-new, bright green shoots, but also not woody and old. They should have a bit of flex when you bend them gently.
Supplies You’ll Need
Gathering your supplies beforehand makes the whole process so much smoother. Here’s what I usually have on hand:
- Sharp pruning shears or a clean knife: For making clean cuts.
- Rooting hormone powder or gel: This really gives cuttings a boost.
- A well-draining potting mix: I love a blend of peat moss, perlite, and a little bit of coarse sand. You want good aeration.
- Small pots or seed trays: Clean ones are essential to prevent disease.
- Plastic bags or a propagator: To create a humid environment.
- Watering can with a fine rose or a spray bottle: For gentle watering.
- Labels and a marker: You’ll thank me later when you have multiple projects going!
Propagation Methods
Let’s get our hands dirty! I find stem cuttings to be the most reliable way to go with Nectandra hihua.
Stem Cuttings:
- Select your cutting: Look for healthy, semi-hardwood stems. Choose ones that have at least two or three leaf nodes (the little bumps where leaves emerge).
- Make the cut: Using your clean shears, make a clean cut just below a leaf node. This is where roots are most likely to form. Aim for cuttings about 4-6 inches long.
- Prepare the cutting: Gently remove any lower leaves, leaving only the top couple. If the remaining leaves are very large, you can even prune them in half to reduce water loss.
- Apply rooting hormone: Dip the cut end of the stem into your rooting hormone, tapping off any excess.
- Plant the cutting: Make a small hole in your potting mix with a pencil or your finger. Gently insert the cutting, ensuring the node where you removed the leaves is buried. Firm the soil gently around the base.
- Water lightly: Water the soil so it’s moist but not soggy.
- Create humidity: Pop the pot into a plastic bag (making sure the leaves don’t touch the sides, if possible) or place it in a propagator. Seal it loosely.
- Placement: Put your cuttings in a bright spot with indirect light. No direct sun!
The “Secret Sauce” (Pro Tips)
Now, for those little tricks that make all the difference:
- Bottom Heat is Your Friend: If you can, place your pots on a heat mat designed for propagation. This keeps the soil temperature consistently warm, encouraging root development from below. It’s like giving them a cozy, warm bed to grow in!
- Don’t Drown Those Leaves: When you water, be gentle. If you’re water propagating (which I find less successful for Nectandra hihua but some try), ensure no leaves are submerged. Rot loves damp leaves sitting in water.
- Sterilize Everything: I can’t stress this enough. Clean tools, clean pots, clean hands. It’s the easiest way to prevent fungal diseases that can wipe out your precious cuttings. A quick wipe with rubbing alcohol on your shears goes a long way.
Aftercare & Troubleshooting
Once your cuttings have started to root – you’ll know when you gently tug on them and feel resistance, or see new leaf growth! – it’s time for a little different care.
Gradually introduce them to more light, but still avoid harsh direct sun. Water them when the top inch of soil feels dry. You can also start to remove the plastic bag for short periods, gradually increasing the time they are exposed to normal room humidity.
Now, the tricky part: signs of trouble. Root rot is the most common enemy. If your cutting looks black and mushy at the base, or the leaves are turning yellow and falling off rapidly, it’s often a sign of too much moisture and poor drainage. If you spot this early, you might be able to save it by repotting into drier soil and ensuring better airflow, but often it’s too late. Another sign of failure is if the cutting just stays limp and never shows signs of rooting after many weeks. Patience is key here, but if it looks like it’s dying rather than just waiting, it might not have taken.
A Encouraging Closing
So, there you have it! Propagating Nectandra hihua is a journey, and like any good journey, there will be moments of anticipation and perhaps a few bumps along the way. Don’t get discouraged if your first attempt isn’t perfect. Each time you try, you learn more. Just enjoy the process of nurturing these little bits of life. Happy propagating, and I can’t wait to hear about your successes!
Resource: