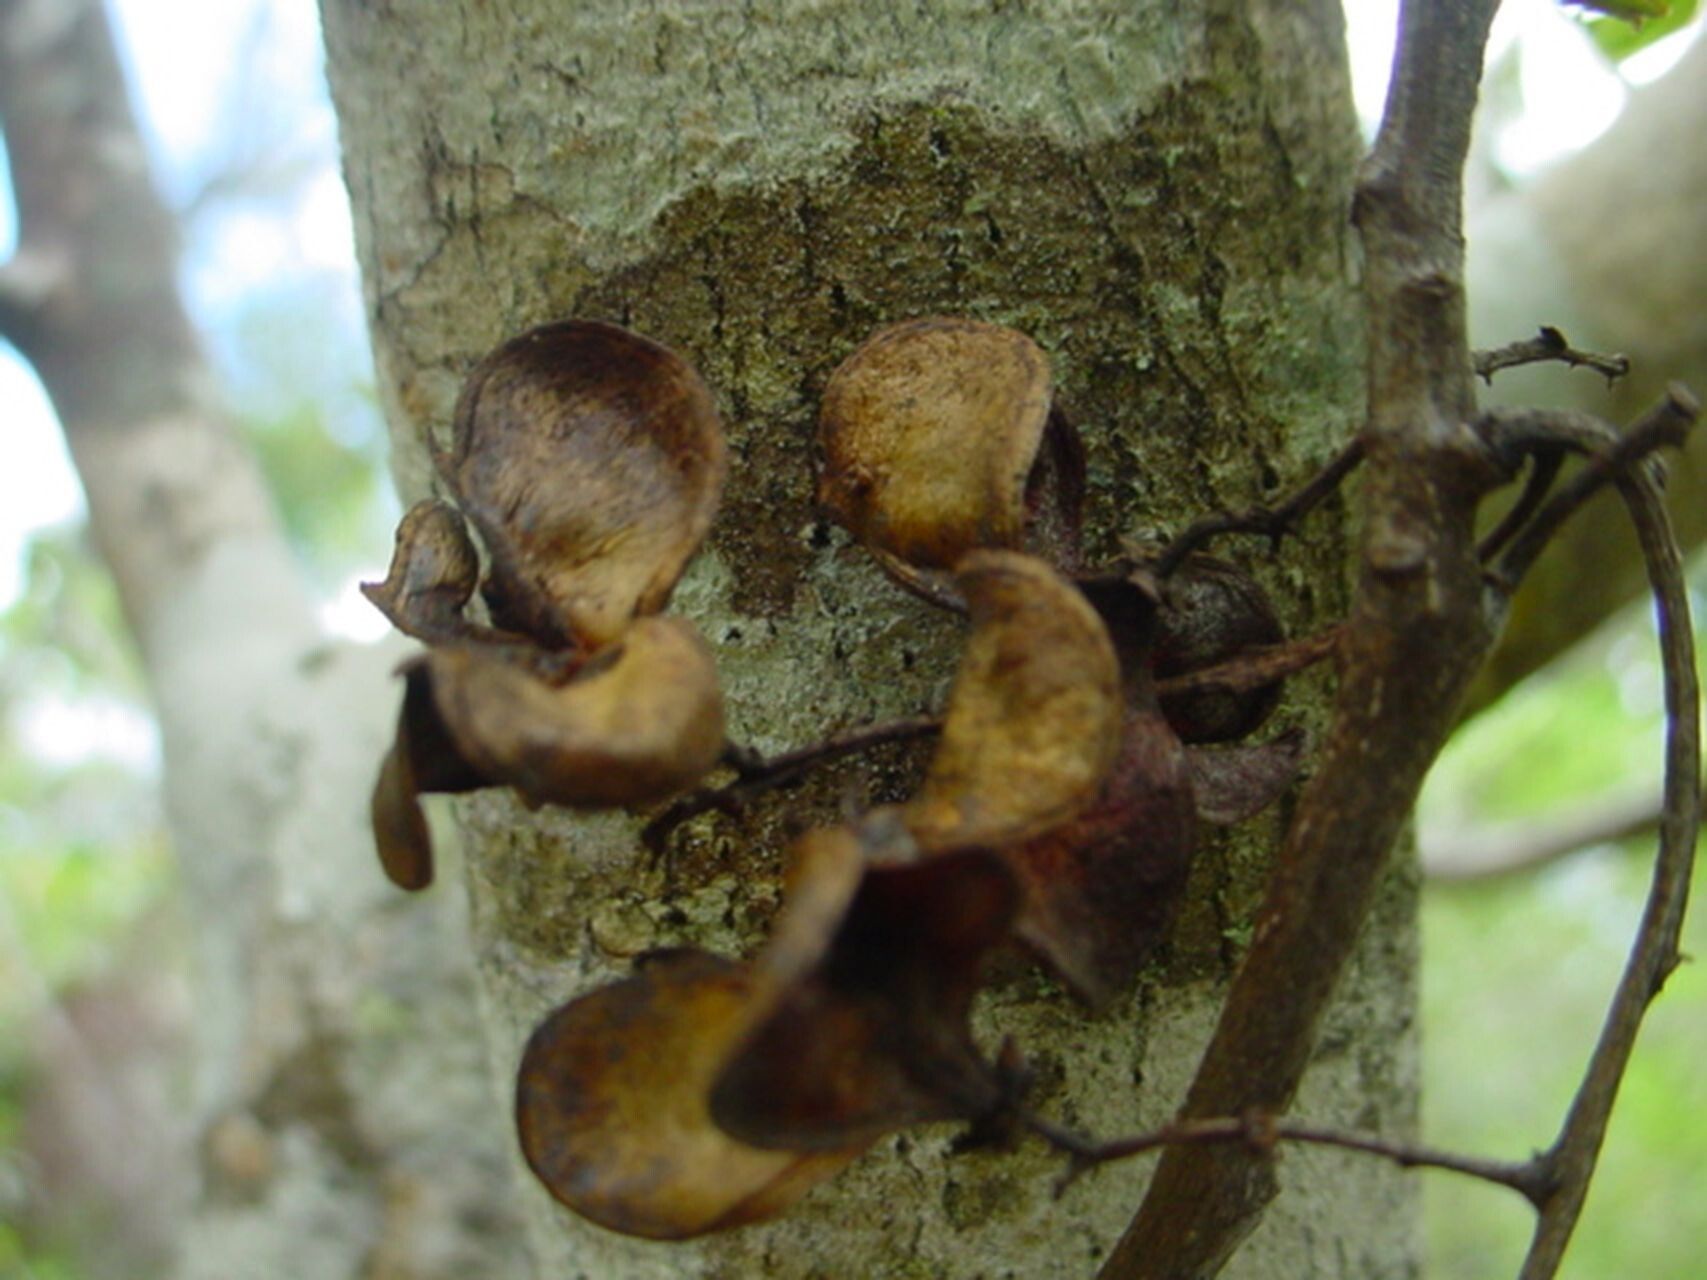
Oh, hello there! Come on in, pull up a chair. I’ve got a fresh pot of coffee brewing, and I wanted to chat with you about a truly delightful plant: Guioa gracilis. You might know it as the Australian native Willow-leafed Pepper or simply “Guioa.” If you haven’t met it yet, imagine a plant with delicate, almost fern-like foliage that cascades beautifully, adding an elegant, airy touch to any shady corner or bright spot that isn’t scorched by the midday sun. It’s a real stunner, and the best part? You can easily fill your garden or home with more of these beauties by propagating them yourself!
Now, about how easy it is for beginners. Honestly, Guioa gracilis isn’t the most forgiving plant to start with if you’re brand new to propagation. It appreciates a bit of know-how. But don’t let that deter you! With a little attention to detail and the right techniques, you’ll be celebrating your success. It’s a rewarding challenge, a chance to really hone your gardening skills.
The Best Time to Start
For the highest success rate with Guioa gracilis, I always recommend late spring to early summer. This is when the plant is actively growing after its winter rest. You want to take cuttings from healthy, vigorous stems that are still somewhat soft but not brand new, tender shoots. Think of stems that have started to firm up a bit, but still have a bit of flexibility. It’s like striking while the iron is hot, as the plant has all the energy it needs to put into developing roots.
Supplies You’ll Need
Gathering your tools beforehand makes the whole process so much smoother. Here’s what I find essential:
- Sharp, clean pruning shears or a sharp knife: For making clean cuts that heal well.
- Rooting hormone powder or gel: This is a real game-changer for encouraging root development.
- Well-draining potting mix: I usually use a blend of perlite, peat moss, and a bit of coarse sand. Some people swear by a dedicated seed-starting mix too.
- Small pots or seed trays: Clean ones are a must to prevent disease.
- A clear plastic bag or humidity dome: To keep those cuttings nice and moist.
- Watering can or spray bottle: For gentle watering.
- Labels and a marker: Trust me, you’ll forget what you planted where!
Propagation Methods
I find that stem cuttings are the most reliable way to propagate Guioa gracilis. Here’s how I do it:
- Take Your Cuttings: In late spring or early summer, select healthy, non-flowering stems that are about 4-6 inches long. Using your sharp shears, make a clean cut just below a leaf node. The leaf node is where a leaf attaches to the stem, and it’s where roots are most likely to form. Remove the lower leaves, leaving just a couple of leaves at the top. If the leaves are very large, I’ll sometimes cut them in half horizontally to reduce water loss.
- Dip in Rooting Hormone: Moisten the cut end of your stem slightly with water, then dip it into the rooting hormone, tapping off any excess. This helps protect the cutting and encourages root growth.
- Plant Your Cuttings: Fill your small pots or seed trays with your well-draining potting mix. Make a small hole in the center with your finger or a pencil. Gently insert the cut end of the stem into the hole, ensuring the rooting hormone stays in place. Firm the soil gently around the stem to anchor it.
- Provide Humidity: Water the soil gently until it’s evenly moist but not waterlogged. Then, cover the pots with a clear plastic bag, propped up with sticks so it doesn’t touch the leaves, or place them under a humidity dome. This creates a mini-greenhouse effect, keeping the humidity high, which is crucial for cuttings to root.
- Find a Good Spot: Place the pots in a bright location where they’ll receive indirect light. Avoid direct sunlight, which can scorch the delicate cuttings. A warm spot is also beneficial.
The “Secret Sauce” (Pro Tips)
Here are a few tricks I’ve learned over the years that can really boost your success rates:
- Bottom Heat is Your Friend: While not strictly necessary, placing your pots on a heated propagation mat can significantly speed up root development. It mimics the warmer soil temperatures of summer and really gives your cuttings a kickstart.
- Don’t Drown Them! This is a big one. While humidity is essential, overwatering the soil is a surefire way to cause rot. The soil should feel consistently moist, not soggy. I like to check the moisture by gently poking my finger into the soil about an inch deep. If it feels damp, you’re good to go.
- Be Patient with the Leaves: When using a plastic bag, make sure no leaves are touching the sides of the bag or each other. Condensation is good, but touching leaves can encourage fungal issues. If a leaf is wilting significantly, it may be a sign the cutting isn’t taking, but don’t be too quick to discard it. Sometimes they surprise you!
Aftercare & Troubleshooting
Once you start to see new growth appearing, it’s a good sign that roots are forming! You can gently tug on the cutting – if there’s resistance, that’s a happy indicator of roots. Once you’ve got a healthy root system, you can gradually acclimatize your new plants to normal household humidity by opening the plastic bag or humidity dome a little more each day over a week or two. Then, you can transplant them into slightly larger pots with fresh potting mix.
The most common sign of failure is wilting and soft, mushy stems, which usually signals rot due to too much moisture. If you see this, unfortunately, the cutting is likely lost, and it’s best to discard it to prevent it from affecting other cuttings. Sometimes, cuttings just don’t take, and that’s okay! It happens to all of us.
A Encouraging Closing
So there you have it! Propagating Guioa gracilis is a wonderful way to expand your collection and share these lovely plants with friends. Don’t be discouraged if your first attempt isn’t perfect. Gardening is a journey of learning and observation. Be patient, keep an eye on your cuttings, and above all, enjoy the satisfying process of nurturing new life from a simple stem. Happy propagating!
Resource: