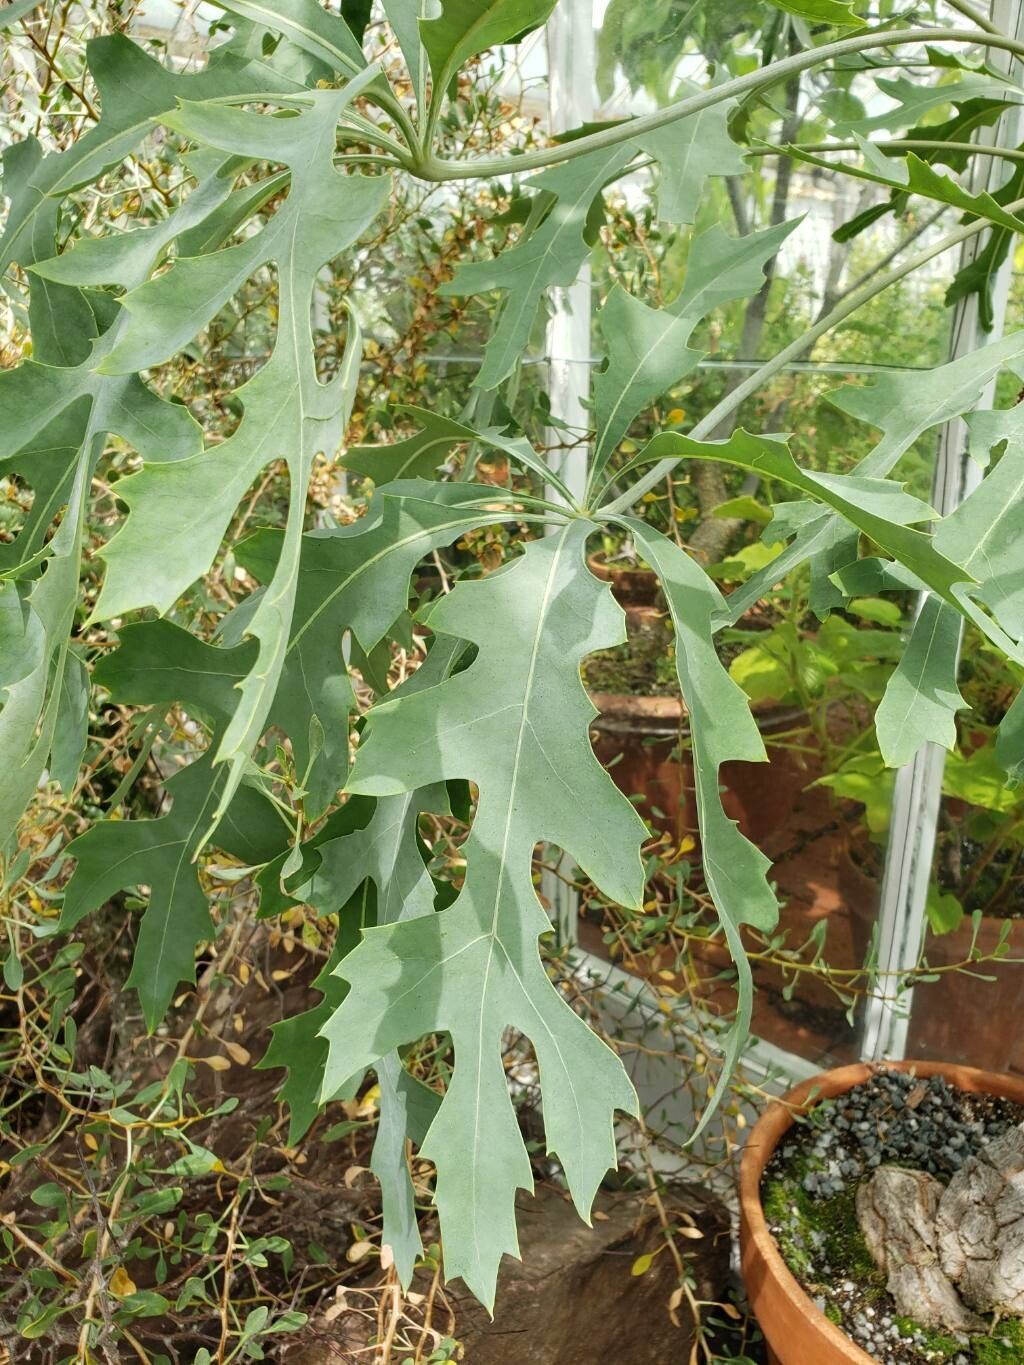
Hello fellow garden enthusiasts! Today, we’re diving into the wonderful world of Cussonia paniculata, also known as the Cabbage Tree. If you’re drawn to its architectural elegance, with those distinctive hand-shaped leaves and upright, tree-like form, then you’re in for a treat. Propagating these beauties can feel a little intimidating at first, but trust me, with a few gentle nudges in the right direction, you’ll be rewarded with brand new Cabbage Trees to fill your garden or share with friends. It’s not the absolute easiest plant to start from scratch, but it’s definitely achievable for the patient beginner.
The Best Time to Start
When it comes to getting your Cabbage Tree cuttings to take, spring and early summer are your golden ticket. This is when the plant is actively growing and has that vibrant energy needed to produce new roots. Look for healthy, semi-hardwood stems – think along the lines of a pencil in thickness, firm but with a little give. Avoid brand-new, flimsy growth or old, woody stems.
Supplies You’ll Need
Gathering your tools before you begin makes the whole process smoother. Here’s what I’ve found helpful:
- Sharp, clean pruning shears or a sharp knife: For making clean cuts, which is crucial.
- Rooting hormone (powder or liquid): This is a great booster, especially for Cabbage Trees.
- A well-draining potting mix: A good blend is roughly 50% peat moss or coco coir and 50% perlite or coarse sand. This prevents soggy roots.
- Small pots or trays with drainage holes: About 4-6 inches deep is ideal.
- A clear plastic bag or a propagator: To create a humid environment.
- Gloves (optional): If you prefer.
- A small trowel or dibber: For making holes in the soil.
Propagation Methods: Stem Cuttings
This is my go-to method for Cussonia paniculata. It’s straightforward and yields great results.
- Take Your Cuttings: In spring or early summer, select a healthy stem. Using your clean shears, make a cut just below a leaf node (where a leaf attaches to the stem). Aim for cuttings that are about 4-6 inches long.
- Prepare the Cuttings: Gently remove the lower leaves, leaving just two or three at the very top. This reduces moisture loss. If the remaining leaves are very large, you can cut them in half horizontally to further minimize transpiration.
- Apply Rooting Hormone: Dip the cut end of the stem into your rooting hormone, tapping off any excess. This step is like giving your cutting a little superpower for root development.
- Potting Up: Fill your pots with your prepared potting mix. Use your trowel or dibber to create a hole in the center of the soil.
- Plant the Cuttings: Gently insert the prepared cutting into the hole, ensuring the root hormone-coated end is making good contact with the soil. Firm the soil gently around the base of the cutting.
- Water Gently: Water thoroughly but gently. You want the soil to be moist, not waterlogged.
The “Secret Sauce” (Pro Tips)
Here are a few little tricks I’ve learned over the years that can really make a difference:
- Bottom Heat is Your Friend: If you have a heat mat designed for seedlings, place your pots on it. Cussonia roots are sluggish without it. That gentle warmth from below encourages those roots to emerge much faster.
- Don’t Breathe On Them Too Much: Once your cuttings are planted and you’ve covered them with a plastic bag or placed them in a propagator, try to resist the urge to constantly lift the bag. You want to maintain that high humidity around the leaves. Open the propagator or bag for about 10-15 minutes every few days to allow for some air circulation and prevent fungal issues.
- Cleanliness is Next to Greenness: I can’t stress this enough: always use clean tools and pots. A tiny bit of fungus or bacteria can spell disaster for a vulnerable cutting. A quick wipe down with rubbing alcohol can do wonders.
Aftercare & Troubleshooting
Once your cuttings have established roots – you might see new leaf growth, which is a good sign! – you can start to acclimate them to more regular conditions. Gradually introduce them to less humid environments over a week or two. Continue to water when the top inch of soil feels dry.
The most common issue you might face is rot. If a cutting turns mushy or black at the base, it’s usually a sign of too much moisture and not enough air circulation. Unfortunately, if rot sets in, it’s tough to save. If you see any wilting without new growth and suspect rot, it’s best to discard it and try again. Patience is key here. Sometimes it takes months for roots to develop.
Don’t be discouraged if not every cutting takes. Gardening is a journey of learning, and each attempt teaches you something new. The satisfaction of nurturing a new plant from a simple cutting is truly immense. So, grab your shears, get your hands dirty, and happy propagating!
Resource:
https://identify.plantnet.org/k-world-flora/species/Cussonia%20paniculata%20Eckl.%20&%20Zeyh./data