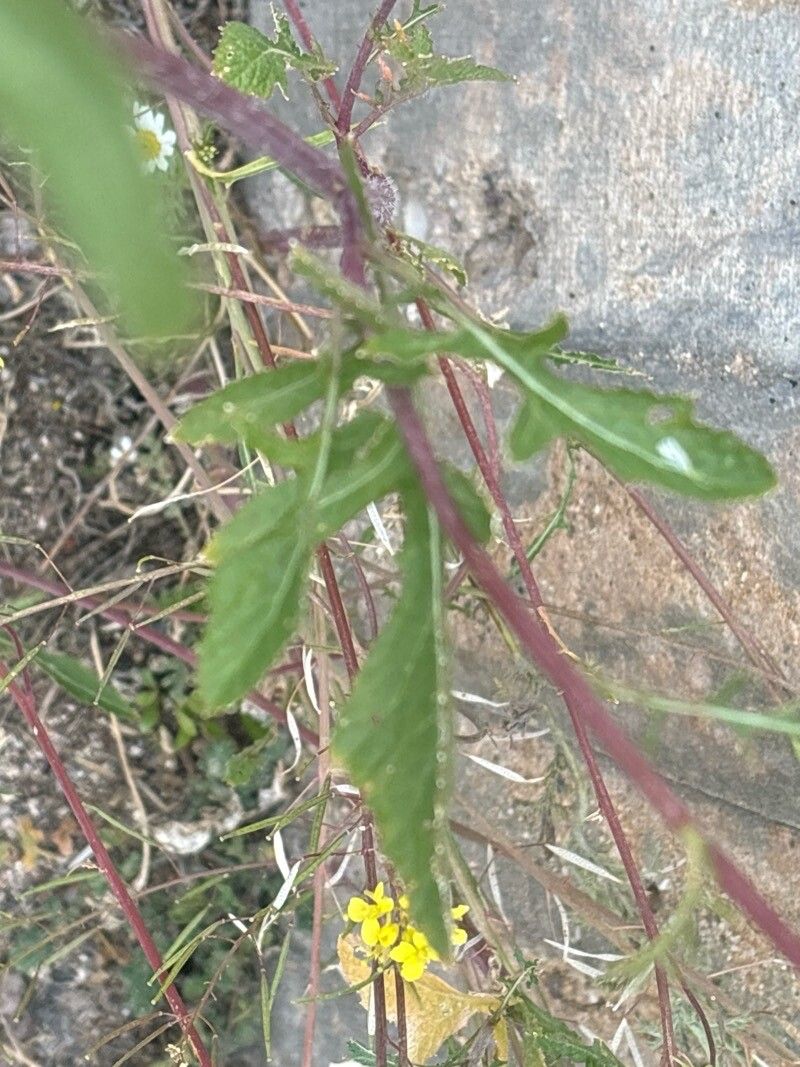
Oh, Sisymbrium loeselii! Isn’t it a cheerful little thing? I’ve always admired its delicate, bright yellow flowers that bob and sway in the breeze. They bring such a sunny disposition to the garden, and honestly, they are remarkably resilient. If you’re looking for a plant that’s pretty forgiving and can fill in those delightful little gaps in your beds, this is a wonderful one to get to know. And the best part? Propagating it is a breeze, even for beginners! You’ll be surprised at how easy it is to multiply this garden gem.
The Best Time to Start
For Sisymbrium loeselii, I find the late spring to early summer is truly the sweet spot. This is when the plant is actively growing, full of vigor, and gearing up for bloom. Taking cuttings or dividing at this stage means the new pieces have plenty of energy to establish themselves quickly. You can also have some success with fall propagation, but you might need to be a bit more diligent with winter protection.
Supplies You’ll Need
Gather up a few essentials, and you’ll be well on your way:
- Sharp pruning shears or a clean knife: For taking clean cuts.
- Well-draining potting mix: I like a blend of peat moss, perlite, and coarse sand, about a 1:1:1 ratio. Or, a good quality seed-starting mix works too.
- Small pots or seed trays: Clean ones, of course!
- Plastic bags or a propagator lid: To create a humid environment.
- Optional: Rooting hormone: While not strictly necessary for Sisymbrium loeselii, it can give an extra boost.
- Watering can with a fine rose or a spray bottle: For gentle watering.
Propagation Methods
Let’s get our hands dirty with how to make more of these lovely plants!
Stem Cuttings
This is my go-to method for Sisymbrium loeselii. It’s quick and generally yields a high success rate.
- Select healthy stems: Look for non-flowering, vibrant green stems from your established plant. Aim for pieces about 4-6 inches long.
- Make the cut: Using your sharp shears or knife, make a clean cut just below a leaf node (where a leaf attaches to the stem). This is where the magic of root formation often begins.
- Prepare the cutting: Gently remove the lower leaves from the cutting, leaving just a few at the top. If your cutting is particularly long, you can even cut the top leaves in half to reduce water loss.
- Apply rooting hormone (optional): Dip the cut end into rooting hormone if you’re using it.
- Plant the cuttings: Make a small hole in your prepared potting mix with a pencil or your finger. Insert the cut end of the stem into the hole, then gently firm the soil around it.
- Water gently: Water thoroughly until the soil is moist but not waterlogged.
- Create humidity: Cover the pots or trays with a plastic bag or a propagator lid. Ensure the leaves aren’t touching the plastic if possible; you can use small stakes to prop it up. Place them in a bright spot out of direct sun.
Division
If your Sisymbrium loeselii is looking a bit crowded, or you just want to encourage a more vigorous plant, dividing it is a fantastic option.
- Gently dig up the plant: In the late spring or early summer, carefully dig around the base of the plant and lift the entire root ball from the soil.
- Separate the clumps: Gently shake off excess soil. You should be able to see natural divisions in the root system. You can often gently pull apart these clumps with your hands. If they’re a bit stubborn, use a clean trowel or your knife to carefully cut through the roots.
- Inspect and trim: Look for any damaged or dead roots and trim them away.
- Replant the divisions: Plant each division as you would a new plant, ensuring the crown (where the roots meet the stems) is at soil level. Water them in well.
The “Secret Sauce”
Here are a couple of tricks I’ve learned over the years that make a big difference:
- Don’t drown your cuttings! While they love humidity, soggy soil is the fastest way to rot them. Ensure your mix is really airy and allow the surface to dry slightly between waterings.
- A little warmth goes a long way. Placing your pots on a heat mat (designed for plants) can significantly speed up root development. It mimics the warmth of spring soil and gives your cuttings that extra nudge.
Aftercare & Troubleshooting
Once your cuttings have rooted (you’ll see new leaf growth appearing, and if you gently tug, there will be resistance), it’s time to treat them like tiny, precious seedlings.
- Acclimatize them: Gradually reduce the humidity by opening the plastic bag or propagator lid for longer periods each day.
- Water carefully: Continue to water them from the bottom if possible, or water gently around the base of the plant. Let the top inch of soil dry out before watering again.
- Move to their own pots: Once they have a decent root system and look strong, transplant them into individual pots with fresh, well-draining potting mix.
- Signs of trouble: The most common issue is rot, which usually shows up as a blackening, mushy stem at the soil line. This is almost always due to overwatering or poor drainage. If you see this, it’s best to discard that cutting and try again, ensuring better watering practices and a well-draining mix. Yellowing leaves can sometimes mean they’re not getting enough light, or conversely, wilting can indicate they’re too dry.
A Encouraging Closing
So there you have it – a wonderfully straightforward way to multiply your beloved Sisymbrium loeselii. Don’t be discouraged if your first few attempts aren’t perfect. Gardening is all about learning and observing. Patience is truly your greatest tool. Enjoy the process of nurturing these new little plants, and soon you’ll have a joyous abundance of these cheerful yellow blooms gracing your garden! Happy propagating!
Resource:
https://identify.plantnet.org/k-world-flora/species/Sisymbrium%20loeselii%20L./data