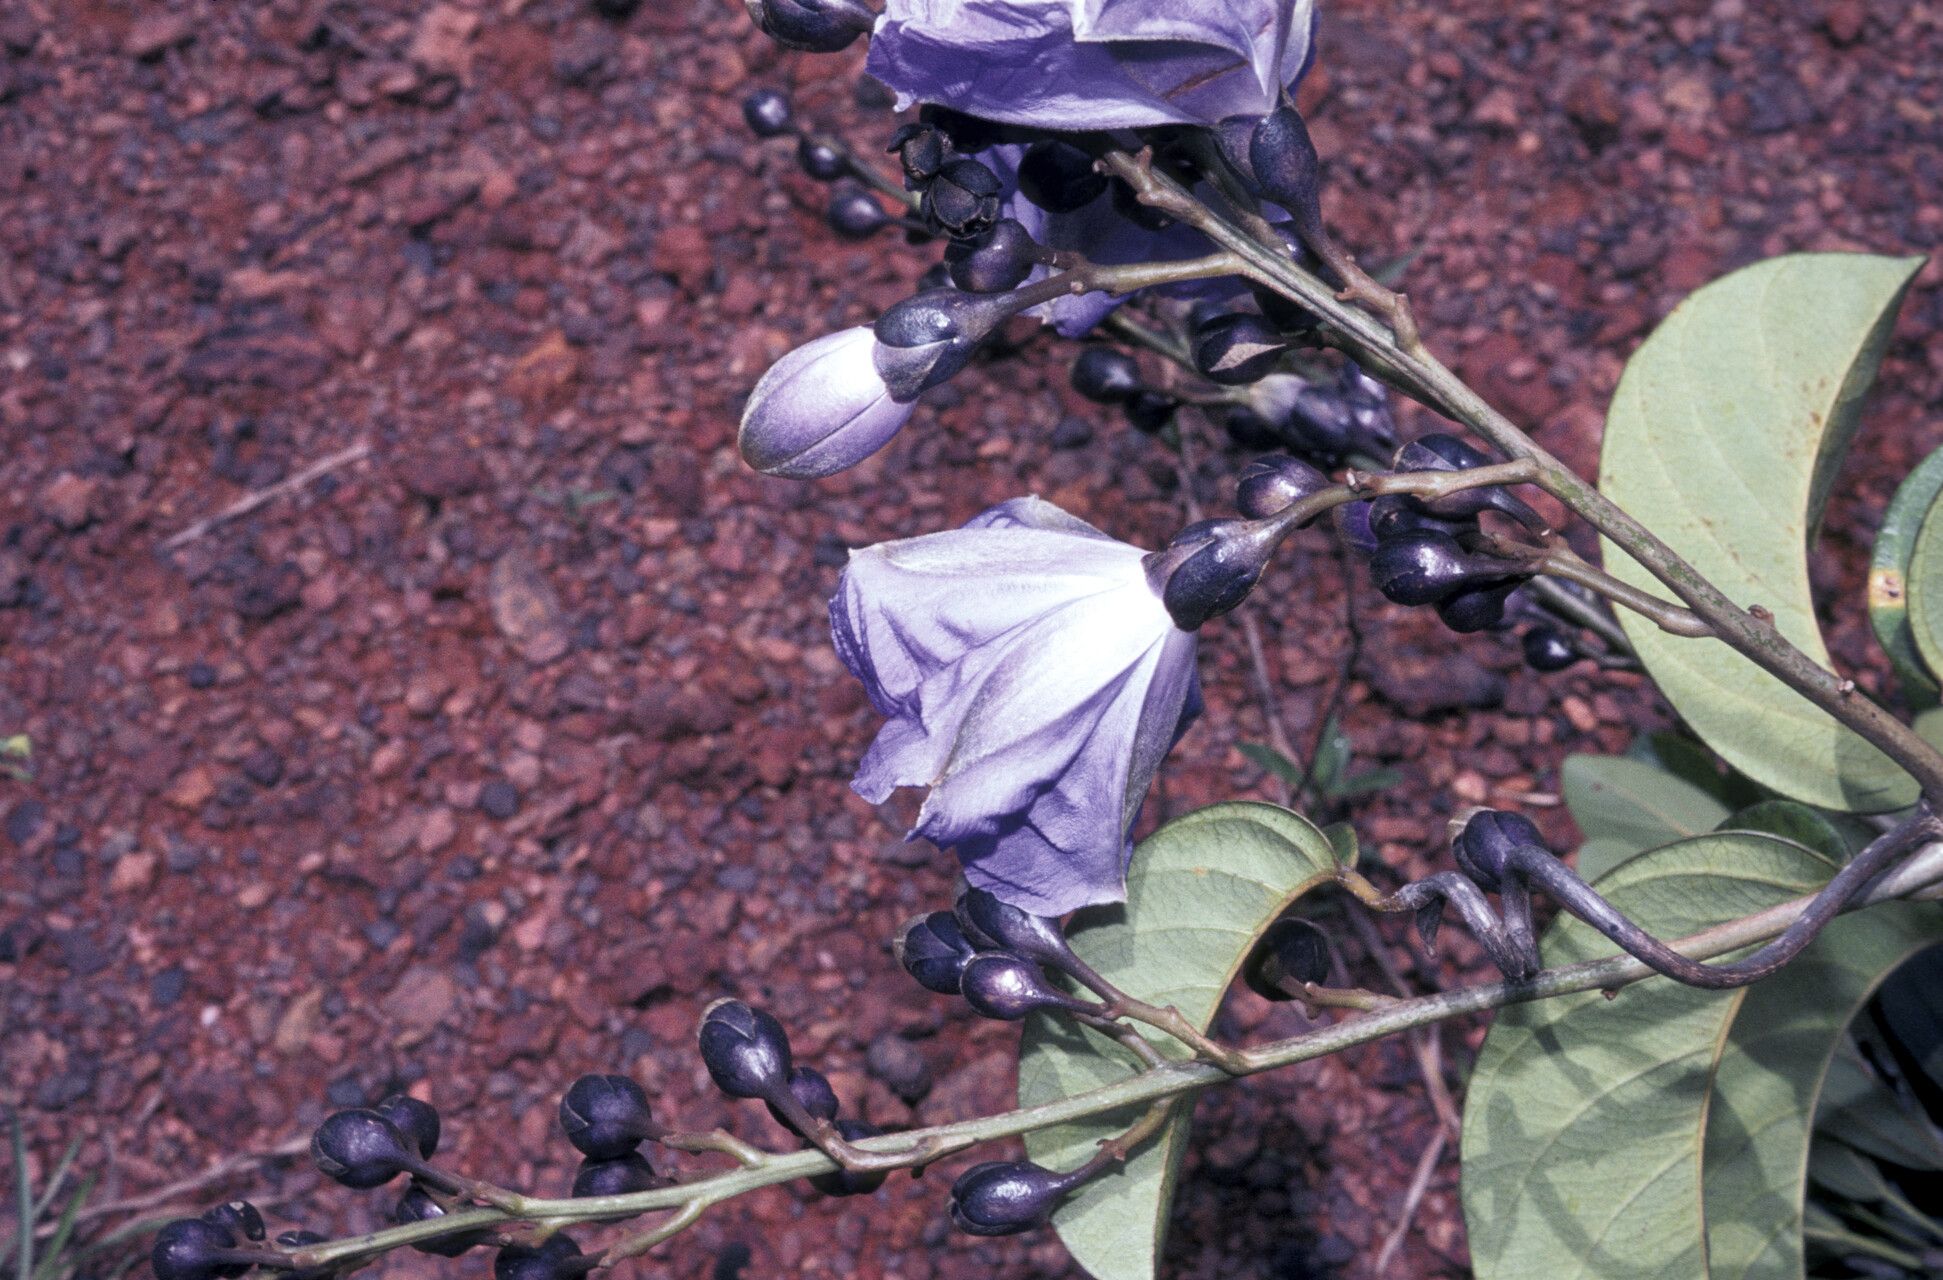
Oh, hello there! Grab a mug, let’s chat about a truly enchanting plant: Maripa violacea. If you’ve ever marveled at its delicate, often velvety leaves and its promise of gorgeous, violet-blue flowers (though these can be a bit shy in cultivation), you’re not alone. I’ve nurtured this beauty in my own gardens for years, and there’s a special kind of magic in bringing forth new life from a plant you already adore. Propagating Maripa violacea isn’t exactly a “set it and forget it” affair, but with a little patience and know-how, it’s absolutely achievable and incredibly rewarding. Don’t let that deter you; it’s a wonderful learning experience!
The Best Time to Start
For the best shot at success with Maripa violacea, I always find spring or early summer to be ideal. This is when the plant is bursting with new growth, and those tender, fresh shoots are brimming with the energy needed to root. Think of it like a sapling; it’s just more receptive to setting up shop in a new location. You want to tap into that vigorous growth period.
Supplies You’ll Need
Gathering your tools before you begin is half the battle! Here’s what I keep on hand:
- Sharp Pruning Shears or a Clean Knife: For making clean cuts.
- Propagating Medium: A well-draining mix is crucial. I like to use a 50/50 blend of perlite and peat moss, or even a good quality sterile seedling starter mix. Avoid heavy garden soil.
- Small Pots or Propagation Trays: Clean, ideally with drainage holes.
- Rooting Hormone (Optional but Recommended): A powder or gel can give your cuttings a significant boost.
- Clear Plastic Bag or Humidity Dome: To create a humid environment.
- Spray Bottle: For misting.
- Labels: So you don’t forget what you planted where!
- Small Pebbles or Chickstones (for water propagation): To anchor the cuttings.
Propagation Methods
My go-to method for Maripa violacea is stem cuttings. It’s straightforward and has given me the most consistent results.
Stem Cuttings
- Select Your Cuttings: Look for healthy, non-flowering stems that are about 4-6 inches long. You want to see a few sets of leaves along the stem. Make your cut just below a leaf node (that’s the little bump where a leaf attaches to the stem). These nodes are where the magic of root development happens.
- Prepare the Cuttings: Gently remove the lower leaves from the bottom half of the cutting. This prevents them from rotting when buried or submerged. If your cutting has very large leaves, you can even snip them in half horizontally; this reduces water loss through transpiration.
- Apply Rooting Hormone: Dip the cut end of the stem into your rooting hormone powder or gel, tapping off any excess. This step is like giving your cutting a little encouragement to grow roots.
- Plant Your Cuttings: Fill your small pots or trays with your prepared propagating medium. Make a small hole in the center with your finger or a pencil.
- Insert and Water: Gently place the cut end of the stem into the hole, ensuring the nodes where you removed leaves are buried. Firm the medium gently around the stem. Water thoroughly until it drains from the bottom.
- Create a Humid Environment: Place a clear plastic bag loosely over the pot, securing it with a rubber band or tape, or use a humidity dome. This traps moisture and creates the humid microclimate cuttings need.
- Place in Bright, Indirect Light: Find a spot that receives bright, filtered light – no direct sun, which can scorch those tender cuttings.
Water Propagation (Less Common, but Possible)
While stem cuttings in soil are my preference, I’ve had a few successful attempts with water propagation for Maripa violacea.
- Prepare Cuttings: Follow steps 1 and 2 above for preparing your stem cuttings.
- Use a Clean Jar or Vase: Fill it with lukewarm water.
- Add Anchors: You can add a few small pebbles or chickstones to the bottom of the jar to help keep the cuttings upright.
- Place Cuttings: Submerge the lower portion of the cuttings in the water, ensuring that no leaves are touching the water surface. This is critical to prevent rot.
- Change Water Regularly: Change the water every few days to keep it fresh and oxygenated.
- Bright, Indirect Light: Place the jar in the same kind of bright, indirect light as you would for soil propagation.
The “Secret Sauce” (Pro Tips)
Here are a few things I’ve learned that make a real difference:
- Bottom Heat is Your Friend: If you can, place your pots or trays on a heat mat designed for propagation. A gentle warmth from below—around 70-75°F (21-24°C)—really encourages root development. It’s like a cozy incubator for your cuttings!
- Don’t Rush the Re-Potting: Be patient! It can take several weeks, sometimes even a couple of months, for Maripa violacea to develop a robust root system. Before you try to transplant, gently tug on the cutting. If you feel resistance, it means roots are forming. You should also start to see new leaf growth.
- Mist, Don’t Drench (Initially): When first setting up your cuttings, mist them with water from your spray bottle. You want the leaves to be hydrated, but you don’t want water sitting on the foliage for too long, especially if you have less airflow. Just a light coating is fine.
Aftercare & Troubleshooting
Once you see signs of new growth, like tiny leaves unfurling or that gentle tugging resistance, it’s time to think about their permanent home.
- Gradual Acclimation: Before removing the plastic bag or humidity dome permanently, gradually acclimate your new plant to the ambient humidity. Open the bag a little wider each day for a few days, or lift the dome for longer periods.
- Potting Up: Once roots are well-established (you’ll see them peeking from drainage holes if you tip the pot gently), transplant your cutting into a slightly larger pot with a regular potting mix. Water it well.
- Common Pitfalls: The most common problem you’ll encounter is rot. This usually happens due to too much moisture and poor air circulation. If a cutting turns black and mushy, it’s unfortunately a sign of rot, and you’ll likely need to discard it and try again. Overwatering is the main culprit. Also, wilting can happen if the humidity is too low or if the cutting hasn’t rooted yet. Keep them consistently moist but not soggy.
A Encouraging Closing
Propagating plants is a journey of learning and a testament to nature’s incredible resilience. Don’t get discouraged if your first attempt doesn’t yield a forest of Maripa violacea. Each one is a little experiment, and with a bit of practice and observation, you’ll soon be sharing these beauties with friends. Be patient, enjoy the process of watching new life emerge, and celebrate every tiny root that appears! Happy propagating!
Resource: