Oh, Boronia heterophylla! If you’ve ever been lucky enough to see this beauty in full bloom, you’ll understand why I’m so excited to talk about propagating it. Those delicate, star-shaped pink flowers are just stunning, and they fill the air with a wonderful, sweet fragrance. Growing your own Boronia, from tiny cuttings to a flourishing plant, is a truly rewarding journey. Now, is it a beginner-friendly plant? I’ll be honest, Boronia can be a tad fussy, but with a little care and attention, it’s absolutely achievable, and I’m here to guide you every step of the way.
The Best Time to Start
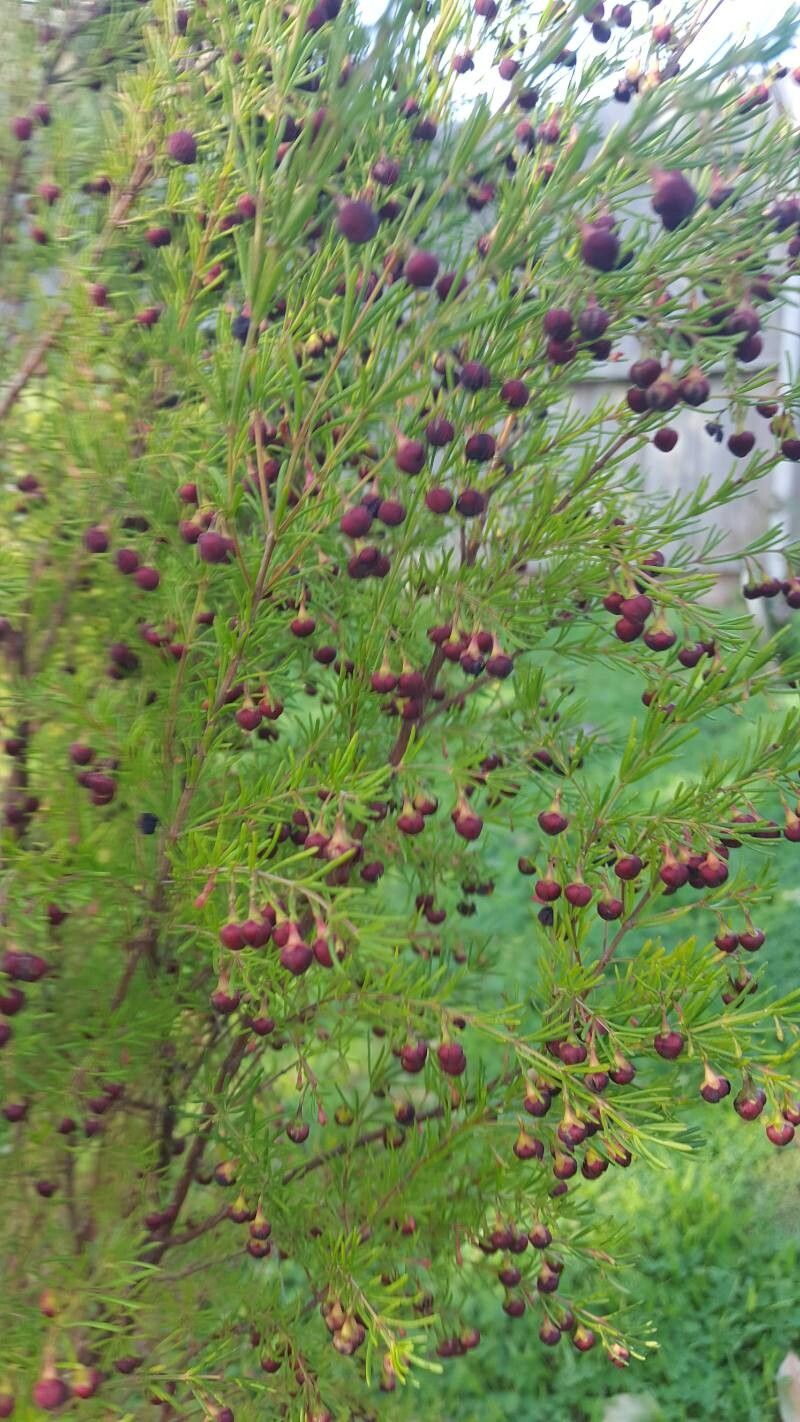
For Boronia heterophylla, the late spring or early summer is your golden window. This is when the plant is actively growing after its main flowering period, and the new, semi-hardwood growth is perfect for taking cuttings. You’re looking for stems that are flexible but have started to firm up a little – not the soft, floppy new shoots, nor the old, woody bits.
Supplies You’ll Need
Gathering your tools beforehand makes the whole process smoother. Here’s what you’ll want:
- Sharp pruning shears or a clean, sharp knife: For taking those vital cuttings. Sterilize them with rubbing alcohol!
- Potting mix: A well-draining mix is non-negotiable. I often use a blend of fine bark, perlite, and a small amount of peat moss. You can also find specific mixes for native Australian plants that work beautifully.
- Small pots or trays: Clean ones, of course! I prefer 4-inch pots for cuttings.
- Rooting hormone: This is a great help, especially for Boronia. Gel or powder forms work well.
- Plastic bags or a propagation dome: To keep the humidity high around your cuttings.
- Watering can with a fine rose: For gentle watering.
- Labels and a marker: To keep track of what you’ve planted and when.
Propagation Methods
Stem cuttings are your best bet for Boronia heterophylla. It’s tried and true!
Stem Cuttings: Step-by-Step
- Select Your Cuttings: Head out to your healthy Boronia plant. Look for those semi-hardwood stems I mentioned, about 4-6 inches long. They should have at least a couple of leaf nodes.
- Make the Cut: Using your sterilized shears or knife, make a clean cut just below a leaf node. This is where the magic happens for root formation.
- Prepare the Cutting: Gently remove the lower leaves. You want to expose the stem where roots will emerge. Leave about 3-4 sets of leaves at the top to help with photosynthesis. If the leaves are very large, you can snip them in half to reduce water loss.
- Apply Rooting Hormone: Dip the cut end of the stem into your rooting hormone, tapping off any excess.
- Plant Your Cuttings: Fill your clean pots with your well-draining potting mix and moisten it gently. Make a small hole with a pencil or your finger, and insert the cutting. Firm the mix gently around the stem.
- Water and Cover: Water the pot lightly again. Now, cover the pot with a plastic bag, securing it with a rubber band, or place it under a propagation dome. This creates a mini-greenhouse effect.
The “Secret Sauce” (Pro Tips)
Here are a couple of things I’ve learned over the years that can really make a difference:
- Don’t Let the Leaves Touch the Water: If you’re using a humidity dome or the plastic bag method, ensure the leaves of your cuttings aren’t directly touching the sides of the plastic where condensation will gather. This can lead to fungal issues and rot. You can prop up the bag with small sticks if needed.
- Bottom Heat is Your Friend: Boronia cuttings often root better with a bit of warmth from below. If you have a heated propagation mat, pop your pots on it. It encourages those roots to get going faster and stronger.
Aftercare & Troubleshooting
Once your cuttings are planted, place them in a bright spot, but out of direct sunlight. Keep the soil consistently moist, but not waterlogged. Check every few days. You’ll know your cuttings are rooting when you see new growth, or if you gently tug on a cutting and feel resistance. This can take anywhere from 4 weeks to a couple of months.
The most common issue you might face is rot. If a cutting turns black and mushy, it’s usually a sign of too much moisture and insufficient air circulation, or a disease setting in. Sadly, you’ll probably have to discard that one and learn from it. Always use clean tools and soil to prevent these problems. If you see a bit of white mold on the surface, that’s often okay, but if it’s spreading rapidly, try to improve airflow.
A Encouraging Closing
Propagating Boronia heterophylla is a process that requires a bit of patience, but seeing those tiny roots form and eventually grow into new plants is incredibly gratifying. Don’t be discouraged if not every cutting takes; it’s all part of learning! Enjoy the process, observe your plants closely, and soon you’ll be sharing your Boronia beauties with friends. Happy gardening!
Resource:
https://identify.plantnet.org/k-world-flora/species/Boronia%20heterophylla%20F.Muell./data