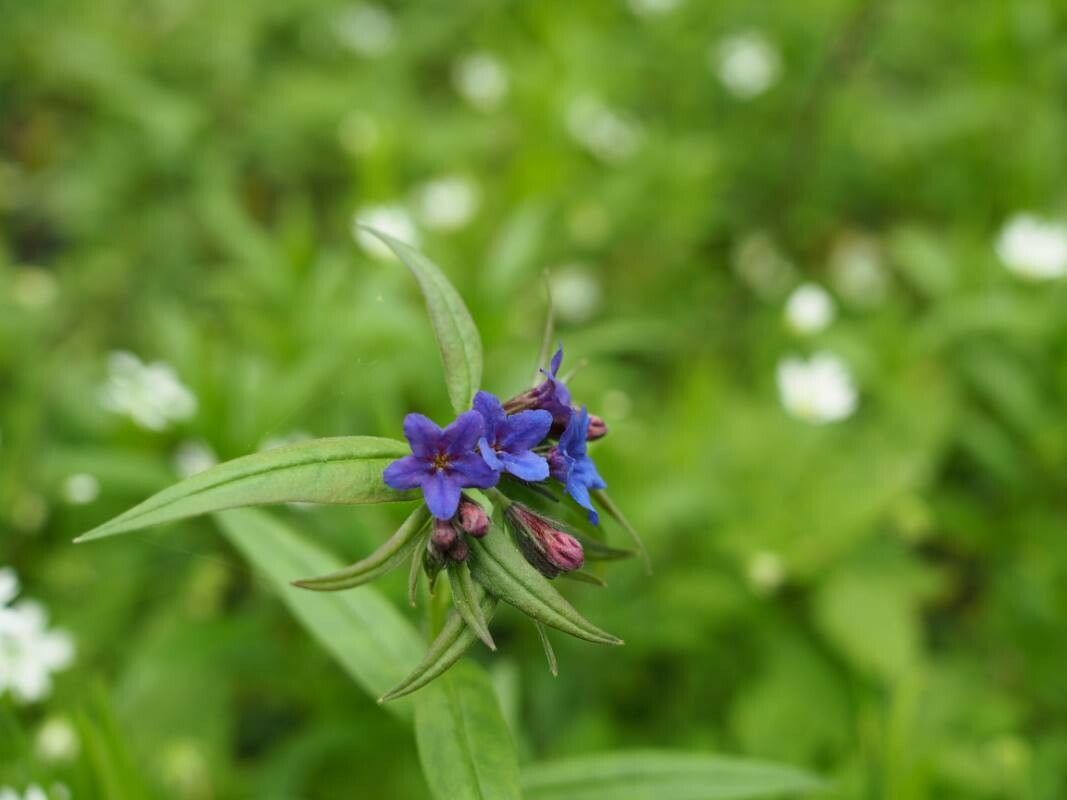
Hello, fellow garden enthusiasts! Today, we’re diving into the wonderful world of propagating Aegonychon purpurocaeruleum, also charmingly known as the Peruvian Blue Pincushion. If you’ve ever admired its delicate, sapphire-blue flowers and fuzzy, pincushion-like blooms, you’re in for a treat. Growing more of these beauties from your existing plants is not only rewarding but surprisingly achievable.
I’ve found that propagating this gem is moderately easy, making it a great project for those who have a little gardening experience under their belt and are eager to expand their collection without breaking the bank. It’s such a joy to see a tiny cutting transform into a thriving plant, and sharing these new plants with friends is one of my favorite gardening rituals.
The Best Time to Start
For the highest success rate with Aegonychon purpurocaeruleum, aim to take cuttings in late spring or early summer. This is when the plant is actively growing and has plenty of energy to support new root development. Look for healthy, semi-hardwood stems – they’re not too soft and floppy, but also not old and woody.
Supplies You’ll Need
Gathering your tools beforehand makes the whole process much smoother. Here’s what I usually have on hand:
- Sharp pruning shears or a clean, sharp knife: Essential for making clean cuts.
- Rooting hormone powder or gel: While not always strictly necessary for this plant, it can significantly speed up root formation and improve success rates.
- A well-draining potting mix: I like a blend of peat moss, perlite, and a little compost. Some people also use a mix of coco coir and perlite.
- Small pots or propagation trays: Clean containers with drainage holes are a must.
- Plastic bags or a propagator: To create a humid environment.
- Labels and a marker: So you don’t forget what you planted where!
- Watering can with a fine rose: for gentle watering.
Propagation Methods
Let’s get our hands dirty with the most reliable ways to multiply your Peruvian Blue Pincushions.
Stem Cuttings
This is my go-to method for Aegonychon purpurocaeruleum.
- Select your stems: Choose healthy, non-flowering stems that are about 4-6 inches long. Look for stems that have recently finished flowering or are in an active growth phase.
- Make the cut: Using your sterilized pruners or knife, make a clean cut just below a leaf node (where a leaf attaches to the stem). This is where the plant’s natural rooting hormones are concentrated.
- Prepare the cuttings: Gently remove the lower leaves from the stem, leaving just two or three at the top. This prevents them from rotting in the soil.
- Apply rooting hormone: Dip the cut end of the stem into your rooting hormone powder or gel. Tap off any excess.
- Plant the cuttings: Gently insert the treated ends about an inch deep into your prepared, moist potting mix. Firm the soil around the base of each cutting.
- Create humidity: Water the soil lightly and then cover the pots or tray with a clear plastic bag or place them in a propagator. This traps moisture and creates the humid environment cuttings need.
Water Propagation
While I often prefer soil, water propagation can also work for this plant, especially for shorter-term rooting before potting.
- Take cuttings: Follow steps 1-3 above for selecting and preparing your stem cuttings.
- Place in water: Put the cuttings in a clean glass or jar filled with fresh, room-temperature water. Ensure that no leaves are submerged below the water line.
- Change water regularly: You’ll want to change the water every few days to keep it fresh and prevent bacterial growth.
- Wait for roots: With a little patience, you should start to see tiny white roots forming from the leaf nodes. Once the roots are about half an inch to an inch long, it’s time to pot them up into soil.
The “Secret Sauce” (Pro Tips)
Here are a couple of little tricks I’ve picked up over the years that really make a difference:
- Bottom Heat is Your Friend: If you have a heat mat designed for propagation, placing your pots on it can significantly speed up root development, especially if your home is a bit cooler. It mimics the warmth of spring soil beautifully.
- Don’t Overwater: This is crucial! Soggy soil is the quickest way to rot your cuttings. Water only when the top inch of soil feels dry to the touch. The humidity created by the plastic bag or propagator will do a lot of the work for you.
- Patience with the Pinky Nail Test: When you think your cuttings might be rooted (after about 4-6 weeks), give a gentle tug. If you feel resistance, they’ve likely got a good root system. You can also carefully try to lift one out to peek at the roots.
Aftercare & Troubleshooting
Once you see good root growth, it’s time to transition your new babies to their own little homes.
- Acclimatize: Slowly remove the plastic cover over a week or two to gradually introduce the new plants to normal humidity levels.
- Potting Up: Once they have a decent root system, carefully pot them into individual small pots with your well-draining potting mix. Continue to water gently.
- Signs of Trouble: The most common issue is rot, which appears as black, mushy stems. This is usually due to overwatering or poor air circulation. If you see this, sadly, that cutting is likely lost. Another sign of unhappiness is wilting, which can be overwatering, underwatering, or too much direct sun.
A Encouraging Closing
Don’t be discouraged if not every cutting takes. Gardening is a journey of learning and experimentation! Be patient with your little cuttings, enjoy the process of nurturing them, and soon you’ll have a whole garden bursting with beautiful Peruvian Blue Pincushions. Happy propagating!
Resource: