Oh, hello there! Pull up a chair and let’s chat about the wonderful world of Strobilanthes rankanensis. I’ve spent a good chunk of my gardening life with these beauties, and let me tell you, sharing their magic by propagating them is one of the most satisfying things you can do.
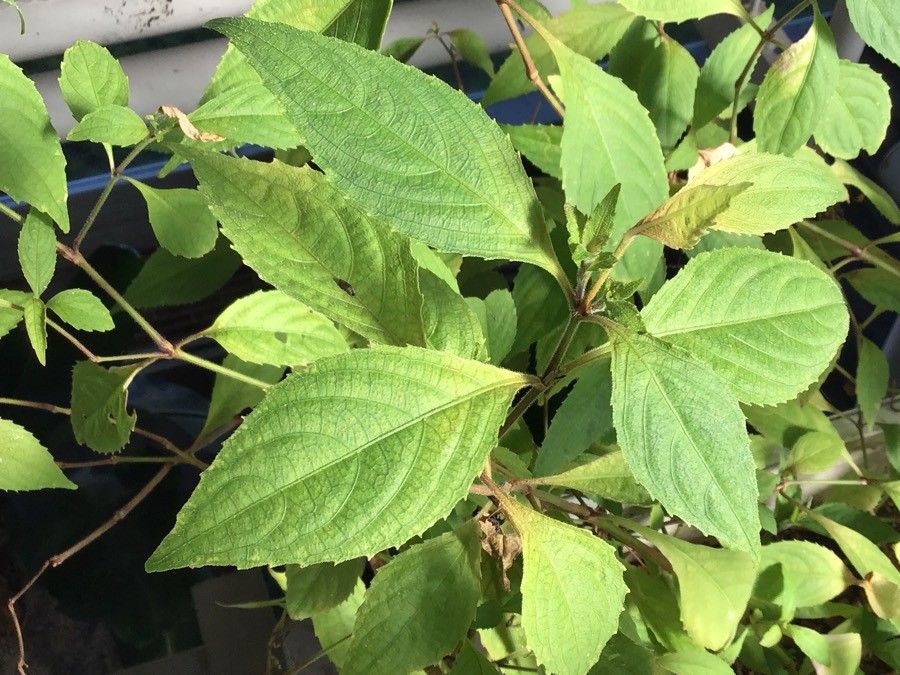
These plants, with their stunning, almost iridescent foliage, bring such a unique texture and color to any shady nook. They’re like little gems peeking out from the undergrowth. The best part? Seeing a tiny cutting transform into a thriving new plant is a feeling unmatched. And if you’re wondering about starting out, I’d say they fall into a comfortable “moderately easy” category. You’ll need a little bit of patience, but absolutely no advanced degrees required!
The Best Time to Start
For the highest success rate, I always find myself reaching for my secateurs in the late spring through early summer. This is when the plant is actively putting on new growth, full of vigor, and ready to channel that energy into making roots. You want to take cuttings from stems that are firm but not yet woody. Think of it as taking a piece from a brand-new shoot – it’s pliable and full of life.
Supplies You’ll Need
Gathering your tools beforehand makes the whole process so much smoother. Here’s what I usually have on hand:
- Sharp Pruning Shears or a Clean Knife: You want a clean cut to prevent damage and disease.
- Potting Mix: A well-draining potting mix is key. I often use a blend of peat moss, perlite, and a bit of compost. You can also buy specific seed starting or cutting mixes.
- Small Pots or Propagation Trays: These don’t need to be fancy! Clean yogurt containers with drainage holes work just fine.
- Rooting Hormone (Optional but Recommended): This powder or gel can give your cuttings a helpful boost in developing roots.
- A Clear Plastic Bag or Dome: This creates a mini-greenhouse to keep humidity high.
- Plant Labels and a Marker: You will forget which cutting is which!
- Watering Can with a Fine Rose: For gentle watering.
Propagation Methods
There are a couple of reliable ways to coax new Strobilanthes rankanensis plants from their parent.
Stem Cuttings
This is my go-to method.
- Select Healthy Stems: Find those vibrant, green shoots we talked about earlier. Look for ones that are about 4-6 inches long.
- Make the Cut: Using your clean shears or knife, make a cut just below a leaf node (where a leaf attaches to the stem).
- Prepare the Cutting: Gently remove the lower leaves, leaving just the top two or three leaves intact. This helps the cutting focus its energy on rooting rather than supporting too much foliage. You can also cut the remaining leaves in half horizontally. This reduces water loss without sacrificing too much surface area.
- Apply Rooting Hormone (Optional): Dip the cut end of the stem into your rooting hormone, tapping off any excess.
- Plant Your Cuttings: Fill your small pots or trays with your potting mix. Make a small hole with your finger or a pencil and gently insert the cutting. Firm the soil gently around the stem.
- Water Gently: Water thoroughly to settle the soil.
- Create a Mini-Greenhouse: Cover the pot or tray with a clear plastic bag, or place it inside a propagation dome. This traps moisture and humidity, which is crucial for cuttings. Make sure the leaves don’t touch the sides of the bag if possible; if they do, you might need to prop it up.
- Place in Indirect Light: Set your pots in a bright spot that receives indirect sunlight. Direct sun will scorch the delicate cuttings.
Division
If your plant is already a good size and you feel like giving it a bit of a haircut, division is a straightforward option.
- Gently Unpot: Carefully remove the parent plant from its pot or dig it gently from the ground.
- Examine the Root Ball: You’ll likely see several smaller clumps or crowns.
- Separate the Divisions: Using your hands or a clean trowel, gently pull or cut the root ball apart into smaller sections. Each section should have a good amount of roots and at least one healthy shoot.
- Pot Up: Plant each division into its own pot filled with your well-draining potting mix. Water them in well.
- Aftercare: Treat them like established plants, but keep the soil consistently moist for the first few weeks until they show signs of new growth.
The “Secret Sauce” (Pro Tips)
Here are a few tricks I’ve picked up over the years that really seem to give cuttings a leg up:
- Bottom Heat is Your Friend: While not strictly necessary, placing your pots on a heat mat designed for seedlings can significantly speed up the rooting process. It mimics the warmth of spring soil, telling the plant’s energy to focus downwards.
- Don’t Overwater, But Don’t Let Them Dry Out: This is a balancing act! You want the soil to be consistently moist, like a wrung-out sponge, but never waterlogged. Check the moisture level by gently poking your finger into the soil. If it feels dry an inch down, it’s time to water.
- Watch for Signs of Stress (and Act Fast!): Wilting is normal initially as cuttings adjust. However, if they remain severely wilted and the leaves start to yellow or get mushy, it might be too much moisture (rot). If this happens, I’ll gently pull the cutting out, let the roots air dry for an hour, and repot in fresh, slightly drier mix.
Aftercare & Troubleshooting
Once you start to see fresh new leaves emerging or feel a gentle tug when you lightly pull on a cutting, you know roots are forming! Congratulations!
- Acclimatize: Once your cuttings have a good root system, you’ll need to gradually acclimatize them to drier air. Start by opening the plastic bag or dome for an hour or two each day, then longer periods until they can be completely uncovered.
- Watering: Continue to water them when the top inch of soil feels dry. As they grow larger, you can transition them to a slightly larger pot.
- Fertilizing: Wait until you see active new growth before offering a very diluted liquid fertilizer – at half or quarter strength.
- Troubleshooting: The most common issue you’ll encounter is rot, caused by too much moisture and poor air circulation. You might also see wilting if the humidity drops too quickly or if the cutting is getting too much direct sun. Don’t despair if a few don’t make it; that’s part of the learning process! Just grab another cutting and try again.
A Encouraging Closing
Propagating Strobilanthes rankanensis is a journey, and like all good journeys, it’s about the experiences along the way. Be patient with your little plant babies. Some will root faster than others. Celebrate every tiny new leaf! The satisfaction of growing your own collection or sharing these beauties with friends is truly special. Happy propagating!
Resource:
https://identify.plantnet.org/k-world-flora/species/Strobilanthes%20rankanensis%20Hayata/data