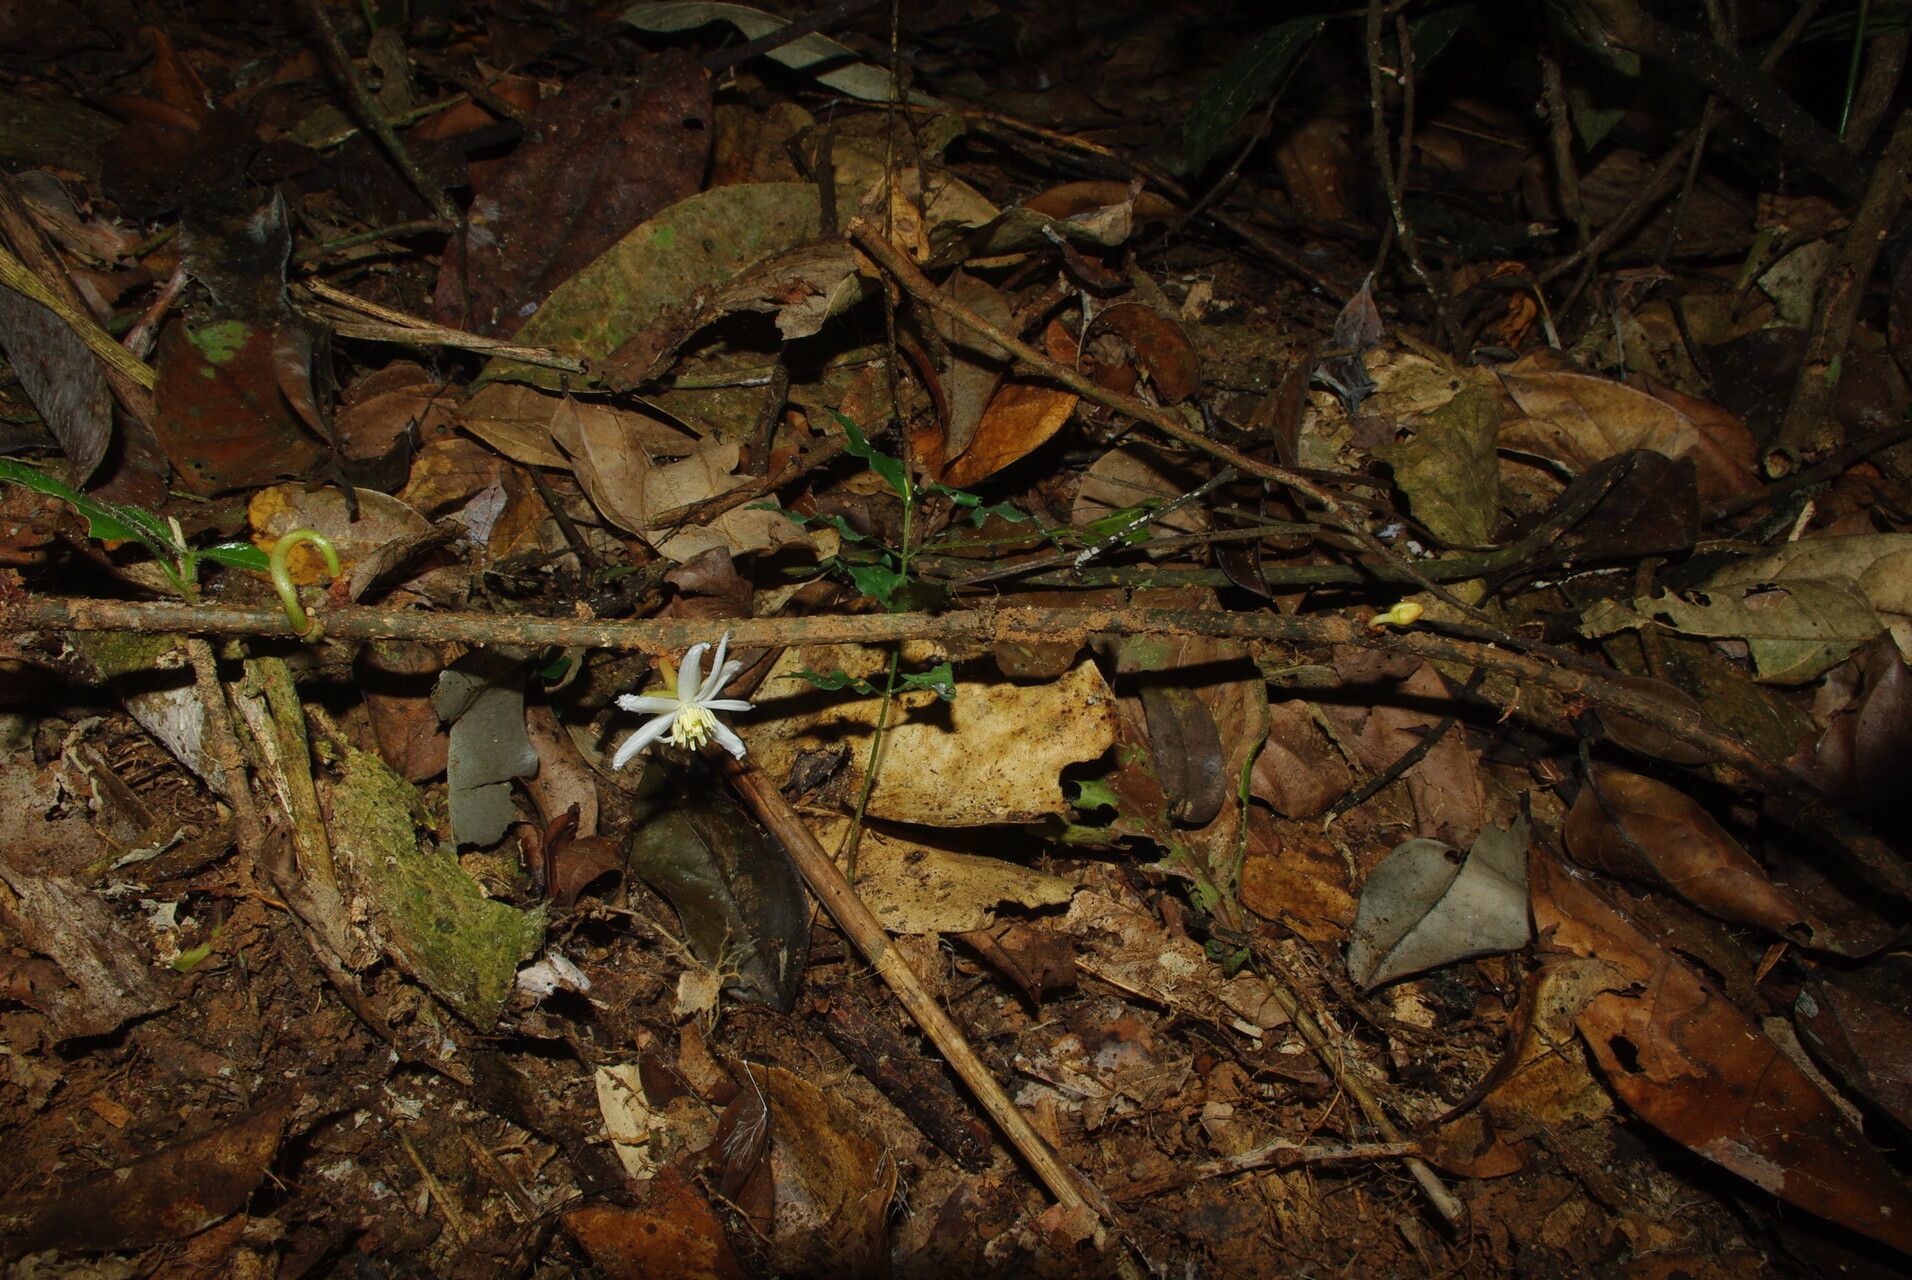
Hey there, fellow garden enthusiasts! I’m so excited to chat with you today about a plant that’s been winning my heart – Caloncoba flagelliflora. If you’re looking for a bit of botanical charm, something that adds a graceful touch to your garden, this might be it. Its delicate blooms and sprawling habit are just lovely. And the best part? Learning to propagate it yourself is incredibly rewarding and, dare I say, surprisingly achievable. Don’t let the name intimidate you; this is a project well within reach, even for those just dipping their toes into the world of plant propagation.
The Best Time to Start
For Caloncoba flagelliflora, my go-to season for propagation is late spring to early summer. This is when the plant is actively growing and has plenty of energy to put into developing new roots. You’re looking for stems that are semi-hardwood – that means they’re not brand new and floppy, but not old and woody either. Gently bending a stem should snap it cleanly, rather than just bending. This stage gives the cuttings the best chance of success.
Supplies You’ll Need
Before we get our hands dirty, let’s gather our toolkit:
- Sharp Pruning Shears or a Clean Knife: For making precise cuts.
- Rooting Hormone (Powder or Gel): This little helper significantly boosts your success rate.
- Well-Draining Potting Mix: I usually opt for a 50/50 blend of perlite and peat moss or coir. You can also find specific seed-starting or propagation mixes.
- Small Pots or Trays: Clean containers with drainage holes are a must.
- Clear Plastic Bags or a Mini Greenhouse: To maintain humidity around your cuttings.
- Labels and a Marker: To keep track of what you’ve planted and when.
- Watering Can or Mister: For gently moistening your soil.
Propagation Methods
I’ve found success with stem cuttings for Caloncoba flagelliflora. It’s straightforward and yields great results.
Stem Cuttings in Soil:
- Select Your Cuttings: Choose healthy, non-flowering stems from your established plant. Aim for cuttings about 4-6 inches long.
- Make the Cut: Using your clean shears, make a clean cut just below a leaf node (where a leaf attaches to the stem). This is where future roots will emerge.
- Prepare the Cuttings: Remove the lower leaves, leaving only the top 2-3 leaves. This prevents them from rotting in the soil. If the remaining leaves are quite large, I like to gently snip them in half to reduce water loss through transpiration.
- Apply Rooting Hormone: Dip the cut end of the stem into your rooting hormone, ensuring it’s well coated. Tap off any excess.
- Plant the Cuttings: Make a small hole in your prepared potting mix with a pencil or your finger. Insert the cutting so the leaf nodes are buried. Gently firm the soil around it.
- Water Gently: Water thoroughly to settle the soil. Don’t let the pots sit in standing water.
- Create Humidity: Place the pots into a clear plastic bag, making sure the leaves don’t touch the plastic, or put them in a mini greenhouse. This traps moisture.
- Provide Light and Warmth: Place your cuttings in a bright spot with indirect sunlight. Avoid direct sun, which can scorch them. A little bit of bottom heat (a heat mat designed for plants) can really speed things up if you have one.
The “Secret Sauce” (Pro Tips)
Here are a couple of things I’ve learned over the years that seem to make a difference:
- The Dirty Secret: Don’t overwater! This is probably the most common mistake. I always err on the side of slightly dry rather than too wet. Let the top inch of soil dry out between waterings. Soggy soil is a one-way ticket to rot for your precious cuttings.
- Patience is a Virtue (and a Gardener’s Mantra): You might not see new growth for a few weeks, or even a month or two sometimes. Gently tugging on a cutting is your best indicator. If you feel resistance, roots are forming! Resist the urge to constantly dig them up to check.
Aftercare & Troubleshooting
Once you see signs of new growth – tiny leaves unfurling or that tell-tale resistance when you gently tug – it’s time to start acclimatizing your new plant. Gradually open the plastic bag or greenhouse a little more each day over the course of a week. This helps them adjust to the drier air.
The most common issue you might encounter is rot. If a cutting turns black and mushy, it’s a goner. This usually happens due to too much moisture and poor air circulation. If you notice the leaves wilting far before they should, it could mean the cutting has dried out completely or hasn’t rooted. Don’t give up, just try again with a fresh cutting and adjusted watering!
A Little Encouragement
Propagating your own Caloncoba flagelliflora is such a rewarding experience. It’s a wonderful way to get more of this beautiful plant for your garden or to share with gardening friends. Be patient with the process, pay attention to your plant’s needs, and most importantly, have fun with it! Happy gardening!
Resource: