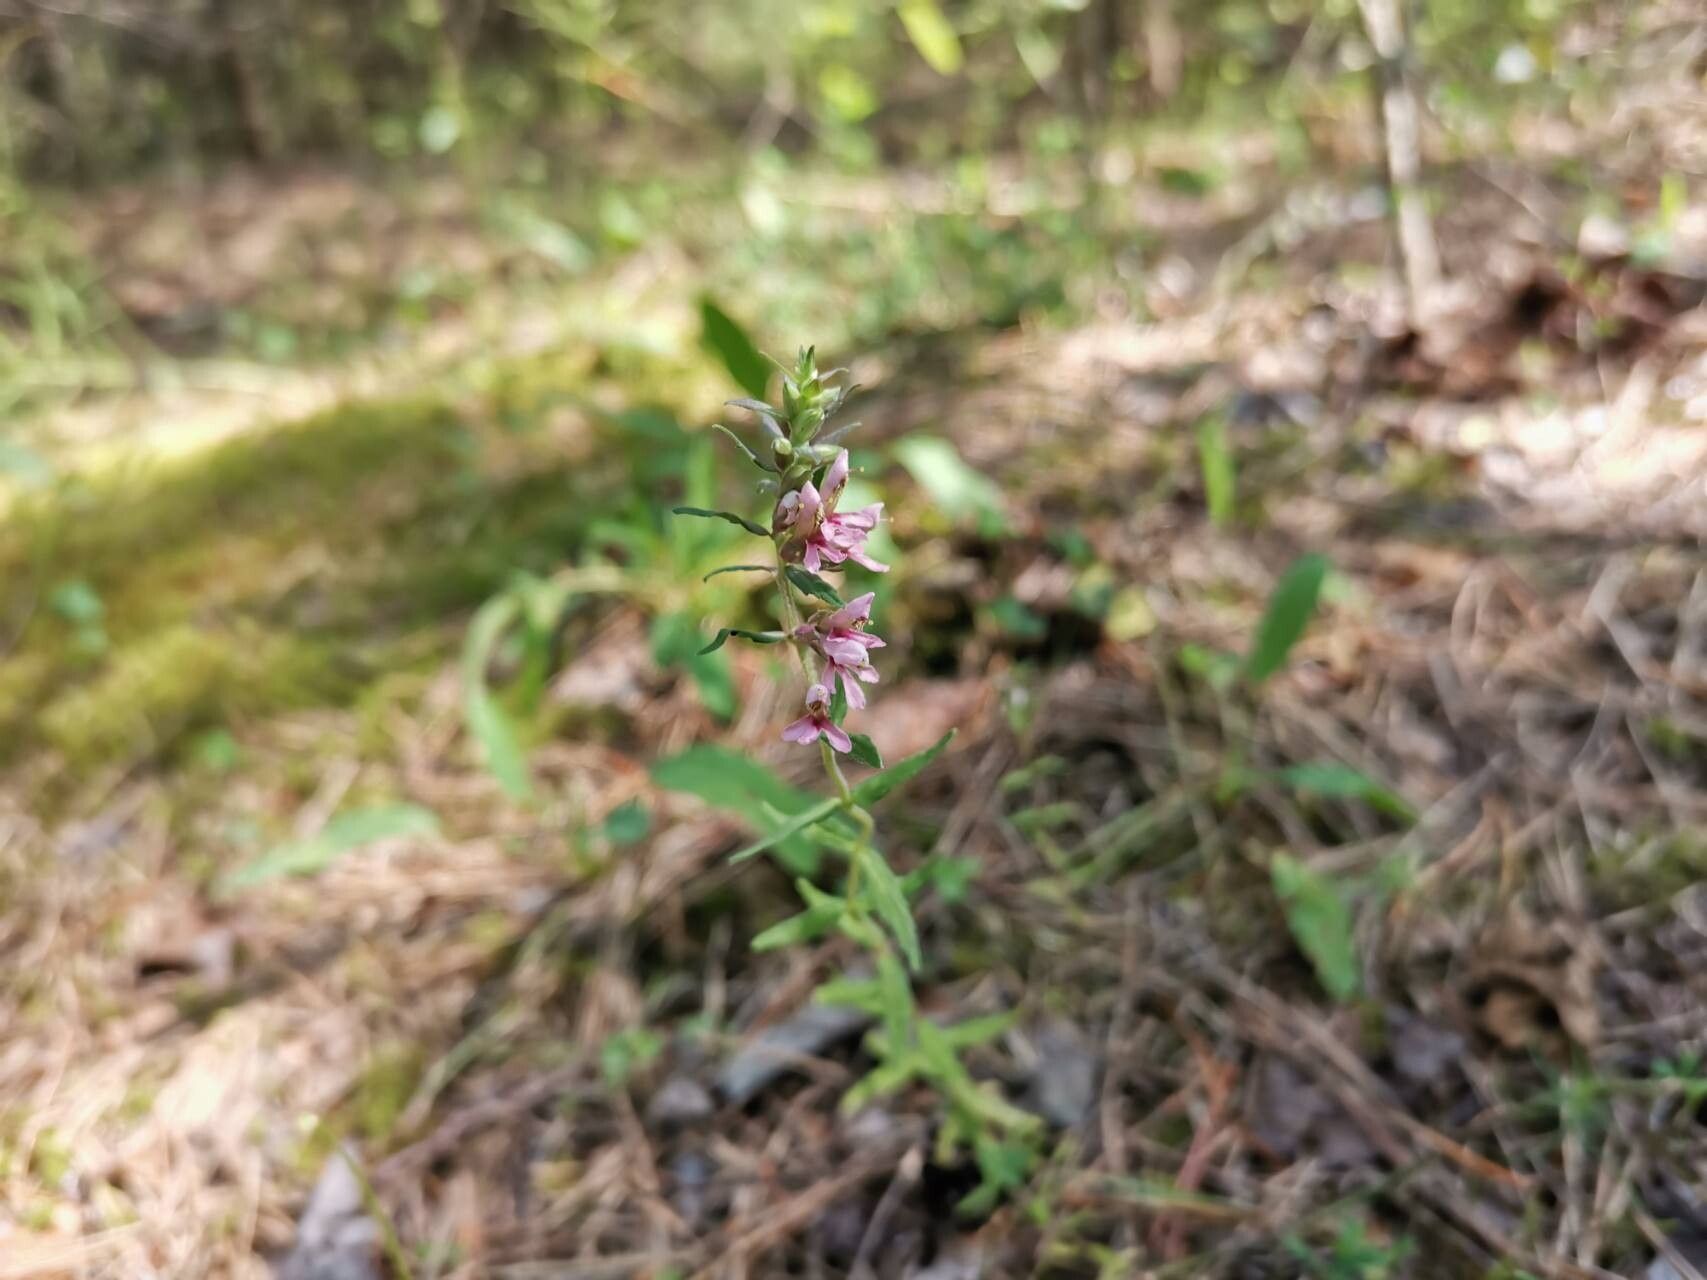
Hello fellow plant lovers! It’s so good to have you here. Today, we’re diving into the wonderfully rewarding world of propagating Odontites vernus, often called Red Bartsia or Bellflower. This charming little wildflower brings a touch of delicate beauty to any garden with its lovely pinkish-red blooms and an almost airy presence. I find it incredibly satisfying to help these plants multiply, sharing their charm with friends or expanding my own patches of color. And for those of you just starting out? Good news! Odontites vernus is generally quite obliging, making it a fantastic choice for beginner propagators.
The Best Time to Start
For the highest success rate, I’ve found that starting your cuttings in late spring to early summer is your best bet. This is when the plant is actively growing and has plenty of energy to put into developing new roots. You’re looking for stems that are not brand new and floppy, but also not woody and old. Think of it as selecting the “just right” stage – firm but still flexible.
Supplies You’ll Need
Here’s what you’ll want to have on hand:
- Sharp, clean pruning shears or a sharp knife: Crucial for making clean cuts that heal well.
- Rooting hormone (optional but recommended): This little helper can significantly speed up root development.
- Well-draining potting mix: A standard seed starting mix or a blend of peat moss, perlite, and a bit of compost works beautifully.
- Small pots or trays: Clean ones, please! Little 3-4 inch pots are perfect.
- Plastic bags or a propagator: To create a humid environment for your cuttings.
- Watering can with a fine rose: For gentle watering.
- Labeling stakes: Essential for keeping track of what’s what!
Propagation Methods
While Odontites vernus can be grown from seed, which is often how gardeners encounter it, we’re focusing on vegetative propagation today – specifically stem cuttings.
- Take Your Cuttings: Choose healthy, non-flowering stems. Using your clean shears or knife, take cuttings that are about 4-6 inches long. Make a clean cut just below a leaf node (where a leaf attaches to the stem).
- Prepare the Cuttings: Gently remove the lower leaves from the cutting, leaving just a few at the top. This prevents them from rotting when buried in the soil. If your stems are a bit long, you can also pinch off the very tip to encourage branching later.
- Dip in Rooting Hormone (Optional): If you’re using rooting hormone, dip the cut end of each stem into the powder. Tap off any excess.
- Plant Your Cuttings: Fill your small pots with your prepared, moist potting mix. Make a small hole in the center of the soil with your finger or a pencil. Gently insert the cut end of your Odontites vernus cutting into the hole, making sure the leaf nodes are below the soil surface. Press the soil gently around the base of the cutting.
- Create a Humid Environment: Water the soil lightly until it’s evenly moist, but not waterlogged. Then, cover the pot with a plastic bag or place it in a propagator. You want to create a mini-greenhouse effect. Ensure the leaves aren’t touching the plastic bag. You can do this by inserting a few small stakes to keep the bag aloft.
- Place in Bright, Indirect Light: Find a warm spot that receives bright, indirect light. Avoid direct sunlight, especially when your cuttings are just starting out, as it can scorch them.
The “Secret Sauce” (Pro Tips)
Here are a few tricks I’ve learned over the years that really give your propagation efforts a boost:
- Bottom Heat is Your Friend: If you can, place your pots on a heated propagator mat. This gentle bottom heat really encourages root development from below, giving those roots a super-powered start. It makes a noticeable difference!
- Don’t Be Afraid to Mist: Especially if you don’t have a propagator, give the leaves of your cuttings a light misting with water every couple of days. This helps keep them turgid while they’re working on those roots. Just be careful not to over-misten the soil itself.
- Patience with the Potting Mix: When you’re making your cuttings, don’t pack the potting mix too tightly. A looser mix allows the roots to push through more easily and helps prevent waterlogging, which is the enemy of happy roots.
Aftercare & Troubleshooting
Once your cuttings have been in their humid environment for a few weeks, you’ll want to start checking for roots. The best way to do this is to give them a very gentle tug. If you feel resistance, congratulations! You have roots!
- Gradually Acclimate: Once roots have formed, slowly start to acclimate your new plants to normal conditions. This means gradually opening up the plastic bag or propagator over a few days, and eventually removing it altogether.
- Watering: Keep the soil consistently moist as your new plant establishes itself. Water when the top inch of soil feels dry. As it grows, you can transition to a more regular watering schedule.
- Signs of Trouble: The most common issue you might encounter is rot. If your cuttings look mushy or discolored, they’ve likely succumbed to an overly wet environment or a fungal issue. Unfortunately, these are usually unsalvageable. Another sign of trouble is wilting that doesn’t perk up after watering – this can indicate a lack of root development.
A Little Encouraging Word
Propagating plants is a journey, and like any good gardening adventure, it requires a little patience and a lot of observation. Don’t be discouraged if every single cutting doesn’t make it. Learn from any setbacks, adjust your approach, and celebrate every success, no matter how small. The joy of nurturing a new plant from just a piece of its parent is truly something special. Happy propagating!
Resource:
https://identify.plantnet.org/k-world-flora/species/Odontites%20vernus%20(Bellardi)%20Dumort./data