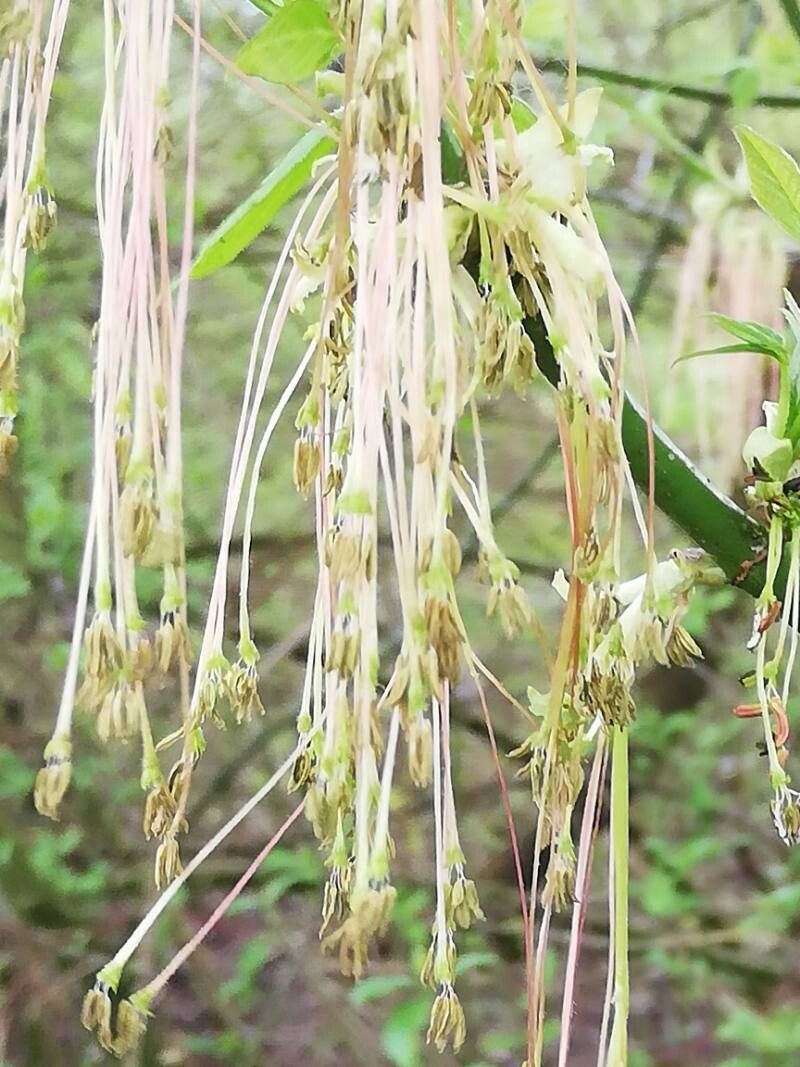
Hello there, fellow plant enthusiasts! It’s wonderful to be sharing some garden wisdom with you today. We’re going to dive into the world of Acer negundo, also known affectionately as Box Elder or Ash-leaved Maple.
Now, I know what some of you might be thinking – “Box Elder? Really?” But hear me out! While it might not have the show-stopping blossoms of some of its more glamorous maple cousins, Acer negundo has a certain charm. Its compound leaves, which resemble ash leaves, lend it a somewhat wild and informal beauty. Plus, it’s remarkably adaptable and can thrive in a variety of conditions that might stump fussier plants. And the real magic? The reward of coaxing a brand new tree from a tiny cutting or a vigorous division. It’s a fantastic way to expand your garden or share the joy with friends. For beginners, I’d say Acer negundo is a wonderfully encouraging plant to start with when it comes to propagation. It’s pretty forgiving!
The Best Time to Start
Timing is everything in the garden, isn’t it? For Acer negundo, your best bet for successful propagation is during the late spring or early summer. Aim for when the plant is in a period of active growth, but before the stems become too woody. This is usually after the initial flush of new growth has hardened off a little. Think of it as the plant hitting its stride – full of vigor and ready to put energy into new roots.
Supplies You’ll Need
Gathering your supplies before you begin makes the whole process so much smoother. Here’s what you should have on hand:
- Sharp, clean pruning shears or secateurs: Essential for making clean cuts that heal well.
- Rooting hormone (powder or gel): This is a real confidence booster for cuttings, encouraging them to form roots faster.
- Potting mix: A good quality, well-draining potting mix is key. I often use a blend of 50% peat moss or coco coir and 50% perlite or coarse sand.
- Small pots or seed trays: Clean containers with drainage holes are a must.
- Plastic bags or a propagation dome: To create a humid environment for your cuttings.
- Watering can or spray bottle: For gentle watering.
- Labels and a permanent marker: You’ll thank yourself later for labeling your cuttings!
- (Optional, but recommended) Bottom heat mat: This can significantly speed up root development.
Propagation Methods
I find stem cuttings to be the most straightforward and successful method for propagating Acer negundo. Let’s walk through it.
- Take Your Cuttings: On a mild, overcast or early morning, select healthy, non-flowering shoots. Look for stems that are about the thickness of a pencil and roughly 4-6 inches long. Make a clean cut just below a leaf node (where a leaf attaches to the stem). This is where the magic happens, as this is a region rich in rooting hormones.
- Prepare the Cuttings: Remove the lower leaves from your cuttings, leaving only a couple at the very top. This prevents them from rotting in the soil and helps the plant direct its energy towards root formation. If your leaves are quite large, you can even cut them in half to reduce water loss through transpiration.
- Apply Rooting Hormone: Dip the cut end of each cutting into your rooting hormone, tapping off any excess. This step is crucial for encouraging rapid root development.
- Pot Them Up: Gently insert the treated end of each cutting into your prepared pots or trays filled with moist potting mix. Make sure at least one leaf node is buried in the soil, as this is where roots will emerge.
- Create a Humid Environment: Water the cuttings gently. Then, cover the pots with a clear plastic bag or place them under a propagation dome. This traps moisture and creates the humid microclimate that cuttings crave. Ensure the plastic doesn’t touch the leaves if possible.
The “Secret Sauce” (Pro Tips)
After years of poking around in the soil, I’ve picked up a few tricks. Here are a couple that have made a big difference for me:
- The bottom heat is your best friend. Pop those pots onto a propagation mat set to around 70-75°F (21-24°C). It tricks the cutting into thinking it’s time to root, even if the air temperature is cooler. You’ll be amazed at how much faster it works.
- Don’t be tempted to peek too often! Every time you lift that lid, you lose precious humidity. Resist the urge until you’re confident roots have formed. Patience is truly a virtue here.
- If you’re using a tall pot and multiple cuttings, don’t let the leaves of one cutting touch the soil of another. This can be a breeding ground for fungal diseases and will hinder root development.
Aftercare & Troubleshooting
Once you start seeing signs of new growth – tiny leaves unfurling or resistance when you gently tug on the cutting – that’s your signal that roots are forming!
- Gradually acclimate your new plants to normal room conditions by opening the plastic bag or propagation dome for increasing periods over a week or so. This prevents them from going into shock.
- Water regularly but avoid overwatering. Let the top inch of soil dry out slightly between waterings.
- The most common sign of failure is often wilting and browning of the cutting. This can be due to drying out, too much direct sun, or fungal problems. If you see rot – a slimy, dark stem base – unfortunately, that cutting is likely lost. Ensure good air circulation and avoid soggy soil to prevent this.
A Little Patience Goes a Long Way
Propagating Acer negundo is a wonderful journey. It’s about connection with nature, a little bit of science, and a whole lot of hope. Don’t get discouraged if your first try isn’t perfect. Every gardener has had their share of failures – it’s just part of the learning curve! Enjoy the process, celebrate your successes, and soon you’ll have a whole new generation of Box Elders gracing your garden. Happy planting!
Resource:
https://identify.plantnet.org/k-world-flora/species/Acer%20negundo%20L./data