Hey there, fellow garden enthusiasts!
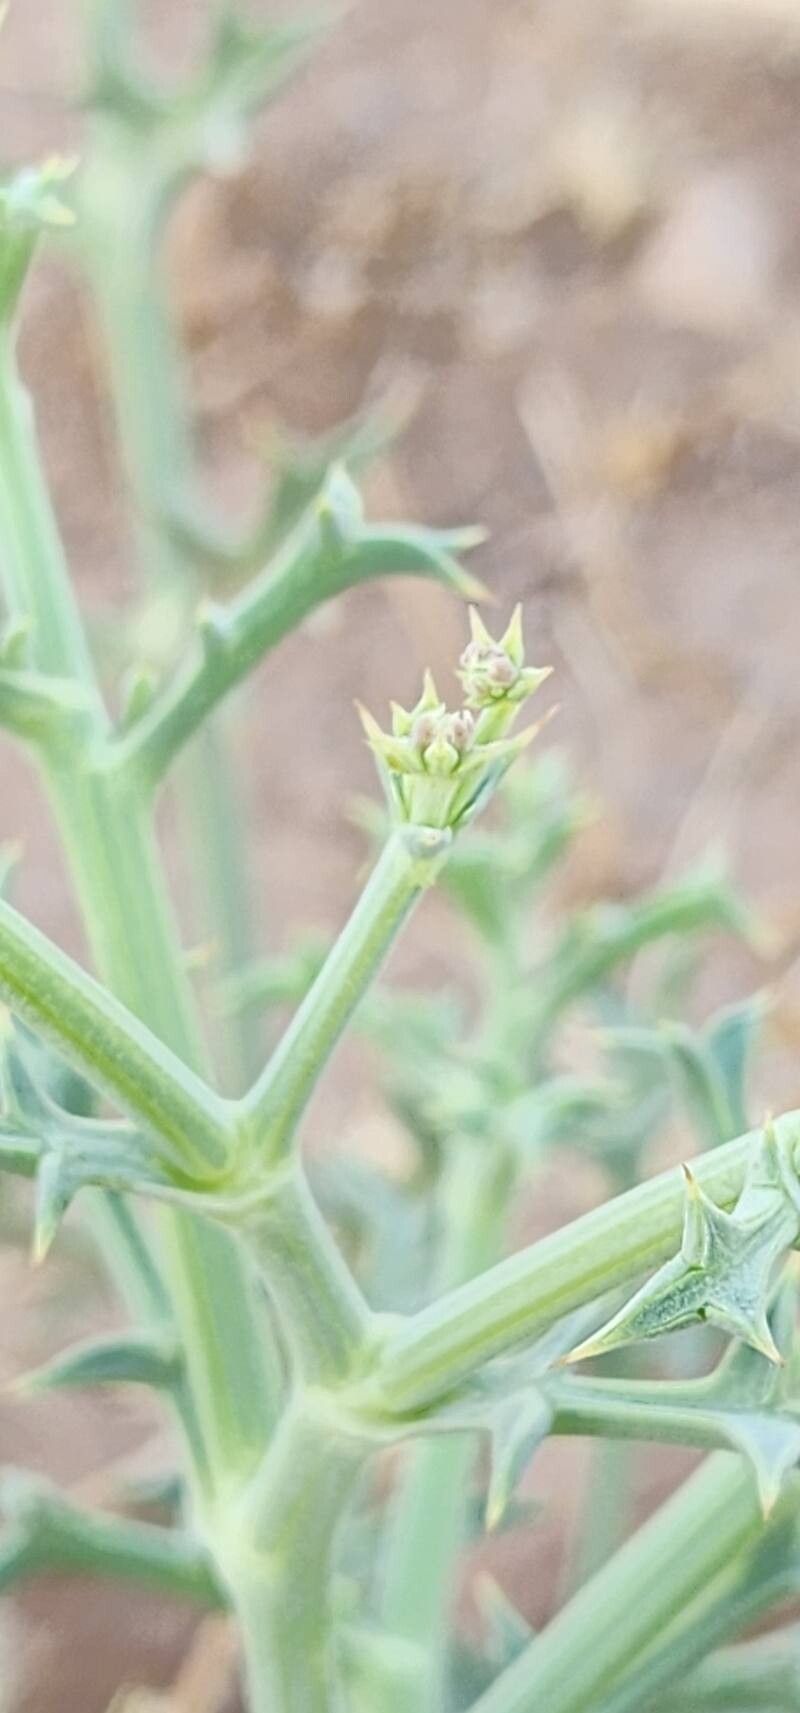
Today, we’re diving into the wonderful world of propagating Echinophora platyloba, also known as the Tartarian Buttercup. If you’re drawn to plants with gorgeous, intricate blooms that invite all sorts of pollinators, then you’ll adore this one. Its delicate, almost feathery appearance is truly something special. And the best part? Sharing that beauty by propagating it yourself is incredibly rewarding. Now, is it a breeze for the absolute beginner? I’d say it’s moderately easy. A little patience and attention, and you’ll be well on your way to a whole patch of these beauties.
When to Get Your Hands Dirty
The absolute best time to jump into propagating Echinophora platyloba is in late spring to early summer. This is when the plant is actively growing, meaning it has plenty of energy to put into developing new roots. You’re looking for stems that are firm but not woody. Think of it as capturing that youthful vigor!
What You’ll Want in Your Propagation Toolkit
Gathering your supplies beforehand makes the whole process much smoother. Here’s what I usually have on hand:
- Sharp Pruning Shears or a Knife: Cleanliness is key here to prevent disease.
- Rooting Hormone: A good quality rooting hormone will give your cuttings a significant boost.
- Propagation Pots or Trays: Small pots with drainage holes are perfect.
- Well-Draining Potting Mix: A mix of equal parts perlite, peat moss, and a little bit of sand works wonders. Echinophora hates soggy feet, so this is crucial.
- Plastic Bags, Dome Covers, or a Small Greenhouse: These help maintain humidity.
- Watering Can with a Fine Rose: Gentle watering is essential.
- Labels: Don’t forget to label your creations – you’ll thank yourself later!
Let’s Get Propagating: Stem Cuttings are My Go-To
For Echinophora platyloba, I find that stem cuttings are the most reliable and rewarding method to get new plants.
- Select Your Parent Plant: Find a healthy, vigorous Echinophora plant.
- Take Your Cuttings: Using your clean pruning shears or knife, take 4-6 inch stem cuttings from the tips of healthy stems. Make your cut just below a leaf node (where a leaf meets the stem).
- Prepare the Cuttings: Gently remove the lower leaves from the cutting, leaving just a couple of leaves at the very top. This reduces water loss. If your plant has any flowers or buds, snip those off too; we want the cutting to focus its energy on rooting, not flowering or setting seed.
- Apply Rooting Hormone: Dip the cut end of each stem into your rooting hormone powder or gel. Tap off any excess.
- Plant Your Cuttings: Fill your propagation pots with your well-draining mix. Make a small hole with your finger or a pencil, and gently insert the end of the cutting into the mix. Firm the soil gently around the stem.
- Water Gently: Water the soil thoroughly but gently, making sure it’s moist but not waterlogged.
- Create a Humid Environment: Place a plastic bag over the pot, securing it loosely with a rubber band, or use a dome cover. This creates a mini-greenhouse effect, keeping the humidity high, which is vital for cuttings.
My Little Secrets: The “Secret Sauce” for Success
Over the years, I’ve picked up a few tricks that seem to make all the difference.
- Bottom Heat is Your Friend: If you can get your hands on a seedling heat mat, place your pots on it. This gentle warmth from below encourages root development like nothing else. It’s especially helpful when the air temperature isn’t consistently warm.
- Don’t Let Those Leaves Touch the Water (if water propagating): While I prefer soil propagation for Echinophora, if you do try water propagation (though I find it less successful for this particular plant), it’s critical that no leaves are submerged in the water. Rot will set in quickly if they are. Just the stem should be in the water.
- Patience is More Than a Virtue, It’s a Strategy: Echinophora can be a bit slow to root. Don’t get discouraged if you don’t see progress after a week or two. Resist the urge to constantly dig them up to check for roots! You’ll disturb the developing root systems.
Aftercare and What to Watch For
Once you start to see new leaf growth, that’s a good sign that roots are forming! You can also give a very gentle tug on a cutting – if you feel resistance, you’ve got roots!
- Acclimatize Gradually: Once roots are established (usually after 4-6 weeks or when you see good growth), it’s time to slowly acclimatize your new plants to normal humidity. This means gradually opening up the plastic bag or dome over a few days, or increasing ventilation.
- Potting Up: Once they are well-rooted and have acclimated, you can pot them up into slightly larger individual pots with their regular potting soil.
- Troubleshooting: The most common issue you’ll encounter is rot. This is usually due to overwatering or poor drainage. If you see a cutting wilting, turning black and mushy, it’s likely rotted. Unfortunately, at that point, it’s usually too late. Keep an eye on soil moisture – it should be moist but never soggy.
Go Forth and Grow!
Propagating your own Echinophora platyloba is a wonderful way to expand your garden and share its charm. It’s a journey of observation and a little bit of faith. Be patient with yourself and the process. Enjoy the satisfaction of nurturing a new life from a mere cutting. Happy gardening!
Resource:
https://identify.plantnet.org/k-world-flora/species/Echinophora%20platyloba%20DC./data