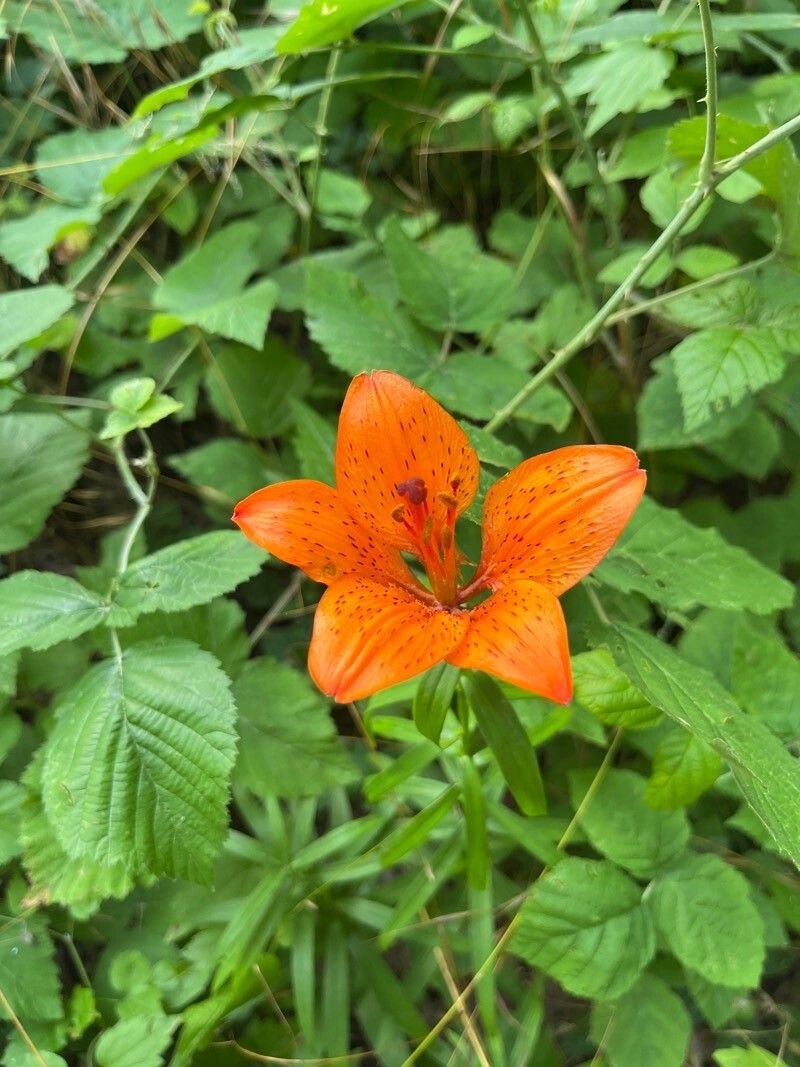
Well hello there, fellow plant lover! It’s so lovely to have you join me for a cup of coffee and a chat about one of my absolute favorites: the charming Lilium maculatum. For years, I’ve been captivated by its vibrant blooms and graceful presence in the garden. There’s something incredibly satisfying about nurturing a new life from a piece of an established beauty. If you’re looking to expand your lily collection, or just love the thrill of creating more of what brings you joy, propagating Lilium maculatum is a wonderful endeavor. Now, I won’t lie and say it’s as simple as some of the easier houseplants, but with a little patience and the right approach, you’ll be well on your way to success.
The Best Time to Start
For the happiest, most successful propagation of Lilium maculatum, I’ve found that the sweet spot is late summer or early autumn, right after the plant has finished its glorious blooming display. This is when the bulbs have stored up plenty of energy, and the cooler weather signals a time for rest and vegetative growth. Alternatively, you can also try your hand at propagation in early spring as the new shoots begin to emerge, though I find the autumn timing often yields the best results.
Supplies You’ll Need
Gathering your tools before you begin makes the whole process much smoother. Here’s what I usually have on hand:
- Sharp, clean pruning shears or a sharp knife: Essential for making clean cuts.
- Well-draining potting mix: A blend of peat moss, perlite, and a bit of compost works wonders. You want something that won’t hold excess moisture.
- Small pots or trays: Depending on the method you choose.
- Rooting hormone (optional but recommended): This can give your cuttings an extra boost.
- Watering can or spray bottle: For gentle watering.
- Labels: To keep track of your new babies!
Propagation Methods
Lilium maculatum is a bulbous plant, so our main propagation strategy will revolve around its bulbs and scales.
Division (The most common and reliable method)
This is really the tried-and-true way to multiply your lilies. You’re essentially separating the offsets (baby bulbs) that naturally form around the main bulb.
- Gentle Excavation: In late summer or early autumn, carefully dig around the base of your mature Lilium maculatum. I like to use a garden fork and gently loosen the soil, then carefully lift the entire clump.
- Bulb Separation: Gently tease apart the bulbs, being careful not to damage any roots. You’re looking for those smaller bulbs that are attached to the main one. If they come away easily, that’s great! If they seem a bit stubborn, don’t force them; you can try a bit more gentle wiggling.
- Inspection and Pruning: Inspect each bulb for any signs of damage or disease. Trim away any dead or mushy roots.
- Replanting: Plant the separated bulbs in your prepared, well-draining potting mix. Make sure the bottom of the bulb is nestled against the soil. Plant them at about the same depth they were before, or roughly twice the depth of the bulb’s height.
- Watering In: Water them gently but thoroughly.
Bulb Scale Propagation (A bit more advanced, but fun!)
This method is a bit like coaxing a whole new lily from a single scale of the bulb.
- Bulb Removal: Carefully dig up your lily bulb as described in the division method.
- Scale Separation: Gently twist off individual scales from the main bulb. You want to take scales from healthy-looking parts of the bulb. Don’t go overboard; take just a few so you don’t harm the parent bulb too much.
- Optional Rooting Hormone: If you’re using rooting hormone, dip the cut end of each scale into it.
- Planting Scales: Fill a shallow tray or pot with your draining mix. Insert the base of each scale into the soil, about halfway. You can lay them flat, slightly angled, or even upright, just ensuring the basal plate (where the roots emerge) is in contact with the soil.
- Moisture and Warmth: Keep the soil consistently moist but not soggy. A good trick is to cover the pot with a clear plastic bag or lid to create a mini-greenhouse effect.
The “Secret Sauce” (Pro Tips)
Here are a few little tricks I’ve learned over the years that really make a difference:
- Never let the bulb scales touch water directly in this method. Waterlogged scales are a fast track to rot. The soil should be moist, not swimming.
- Bottom heat is your friend! For bulb scale propagation, placing the tray on a gentle heat mat can significantly speed up root formation and the development of little bulblets. It mimics the warmth they’d get underground.
- Don’t be tempted to overwater the parent bulb after taking divisions. Let it settle in. A light watering is good, but then let the soil dry out a bit between waterings.
Aftercare & Troubleshooting
Once your lilium maculatum divisions or bulb scales start showing signs of life – that’s usually new roots and tiny shoots emerging – it’s time for their next stage of care.
For divisions, continue to water them as the soil dries out. Keep them in a spot that gets good sunlight but isn’t scorching hot.
For the bulb scales, once you see little bulblets forming at the base of the scales, you can gently transplant them into their own small pots. They’ll be fragile at this stage, so handle them with care.
The most common issue you might encounter is rot. If you see a bulb or scale turning mushy, dark, and smelly, it’s likely succumbed to rot. This usually happens from overwatering or poor drainage. Prevention is key! Make sure your soil is airy and that you’re allowing the soil to dry out between waterings. If you catch rot early on a scale, you might be able to salvage a healthy part, but with bulbs, it’s often best to discard the affected material to prevent it from spreading.
A Encouraging Closing
Propagating Lilium maculatum is a journey, and like all good gardening adventures, it requires patience. Don’t get discouraged if your first attempt isn’t a runaway success. Each season offers new lessons and opportunities. Celebrate the little victories – the first tiny root, the unfurling of a new leaf. Enjoy the process of coaxing new life from your garden, and soon you’ll have an abundance of these gorgeous lilies to share! Happy gardening!
Resource:
https://identify.plantnet.org/k-world-flora/species/Lilium%20maculatum%20Thunb./data