Oh, hello there, fellow garden enthusiast! Grab a mug of your favorite brew, and let’s chat about propagating Lepidium perfoliatum, or as it’s often called, the buttonweed or clasping pepperwort.
Your Own Buttonweed Bonanza
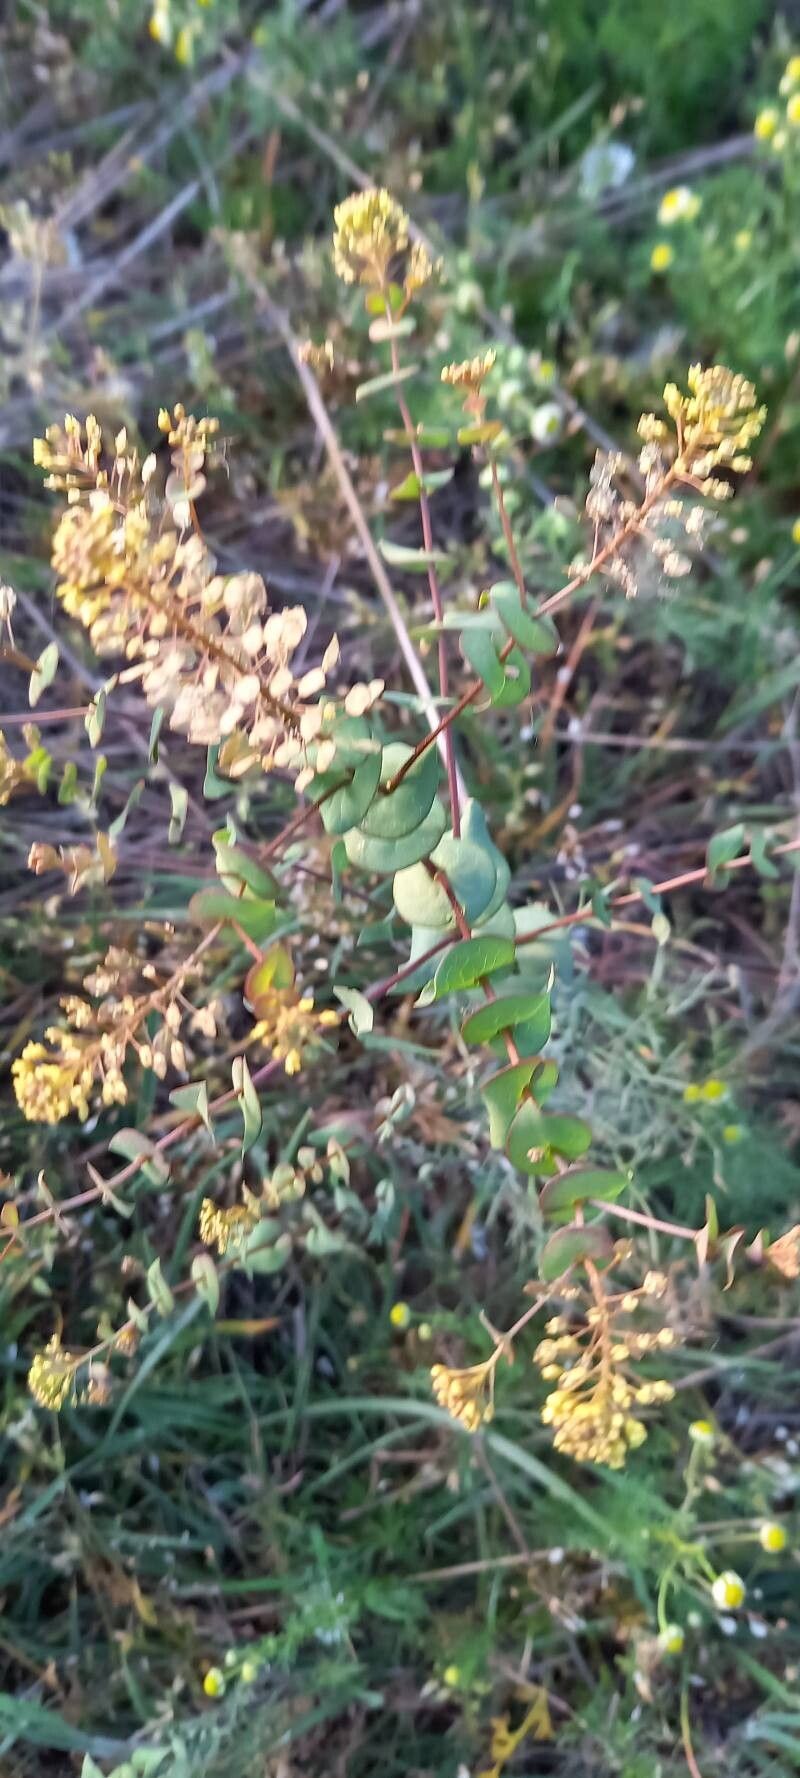
This little native wildflower has such a charming, delicate beauty. Its circular, clasping leaves are truly unique, and it brings a lovely splash of green to the garden, especially in those transitional seasons. If you’ve fallen for its understated charm and want to share it with friends, or simply fill your own patch with more of this delightful plant, propagation is the way to go! Now, is it tricky? I’d say it’s moderately easy, making it a fantastic project for those with a bit of gardening experience under their belt. You’ll feel such a rush of accomplishment when your little cuttings take root!
When to Get Your Hands Dirty
For Lepidium perfoliatum, the early to mid-spring is your golden ticket. Aim for a time when the plant is actively growing, but before it gets too hot or stressful for the new propagules. You want to mimic nature’s gentle awakening. Starting around late March or April, depending on your climate, is usually perfect.
Your Propagation Toolkit
Here’s what you’ll want to have on hand:
- Sharp, clean pruning shears or scissors: A clean cut is crucial for healthy starts.
- A well-draining potting mix: I prefer a blend of equal parts peat moss or coco coir, perlite, and a little bit of good quality compost.
- Small pots or seed trays: 3-4 inch pots are usually a good size for starters.
- Clear plastic bags or a propagation dome: This helps maintain humidity.
- A spray bottle: For gentle misting.
- Rooting hormone (optional but recommended): A powdered hormone specifically for herbaceous cuttings can give you a boost.
- Labels and a permanent marker: To keep track of what’s what!
Your Propagation Playground: Making New Plants
Lepidium perfoliatum is most successfully propagated from stem cuttings. It’s straightforward and generally yields great results.
Step 1: Take Your Cuttings
On a mild day, select a healthy, non-flowering stem from your established plant. Using your clean shears, make a clean cut about 4-6 inches down from the tip. Try to get a cutting that has at least two sets of leaves.
**Step 2: Prepare the Cutting
Gently remove the lower leaves from the cutting, leaving just one or two sets at the top. This helps prevent rot and encourages root development. If you’re using rooting hormone, dip the cut end into it now, tapping off any excess.
Step 3: Plant Them Up
Fill your small pots with your prepared potting mix. Make a small hole in the center of the soil with your finger or a pencil. Carefully insert the cut end of your Lepidium perfoliatum cutting into the hole. Gently firm the soil around the base of the cutting to ensure good contact.
Step 4: Provide a Humid Haven
Water the soil thoroughly until it’s moist but not waterlogged. Now, cover the pot with a clear plastic bag or a propagation dome. This creates a mini-greenhouse effect, keeping the humidity high, which is vital for cuttings that haven’t developed roots yet. Place the pot in a spot with bright, indirect light. Avoid direct sunlight, as it can scorch the delicate new growth.
The “Secret Sauce”: Insider Tips
Here are a couple of tricks I’ve learned over the years that often make a difference:
- Bottom Heat is Your Friend: If you have a seedling heat mat, placing your pots on it can significantly speed up root development. Just remember to keep the soil from drying out completely if you’re using one.
- Don’t Be Afraid to Prune: Once your little plants have established themselves and you’ve moved them out of high humidity, don’t hesitate to give them a light pruning. This encourages bushier growth and makes them sturdier.
Nurturing Your New Sprouts & What to Watch For
Once your cuttings have been in their humid environment for a few weeks, you might start to see new leaf growth. This is a fantastic sign! You can begin to gradually acclimate them to lower humidity by lifting the plastic bag or propagation dome for increasing periods each day over a week or so.
Once they appear to be growing confidently, and you can gently tug on them to feel a bit of resistance (indicating roots), it’s time to move them into slightly larger pots if needed. Continue to water them regularly, allowing the soil to dry out slightly between waterings.
The most common foe here is rot. If your cutting looks mushy, turns black at the base, or just wilts dramatically without any sign of new growth, it’s likely succumbed to rot. This usually happens from overwatering or insufficient drainage. If you see this, unfortunately, it’s best to discard it and try again with fresh material and perhaps a slightly drier soil mix.
Happy Growing!
Propagating plants is such a rewarding journey. It connects you more deeply with the cycles of nature and fills your garden with specimens you’ve nurtured from a mere snipping. Be patient with your Lepidium perfoliatum cuttings. Not every single one will succeed, but with a little care and attention, you’ll soon have a whole patch of these delightful plants to enjoy. Happy propagating, and may your garden be ever green!
Resource:
https://identify.plantnet.org/k-world-flora/species/Lepidium%20perfoliatum%20L./data