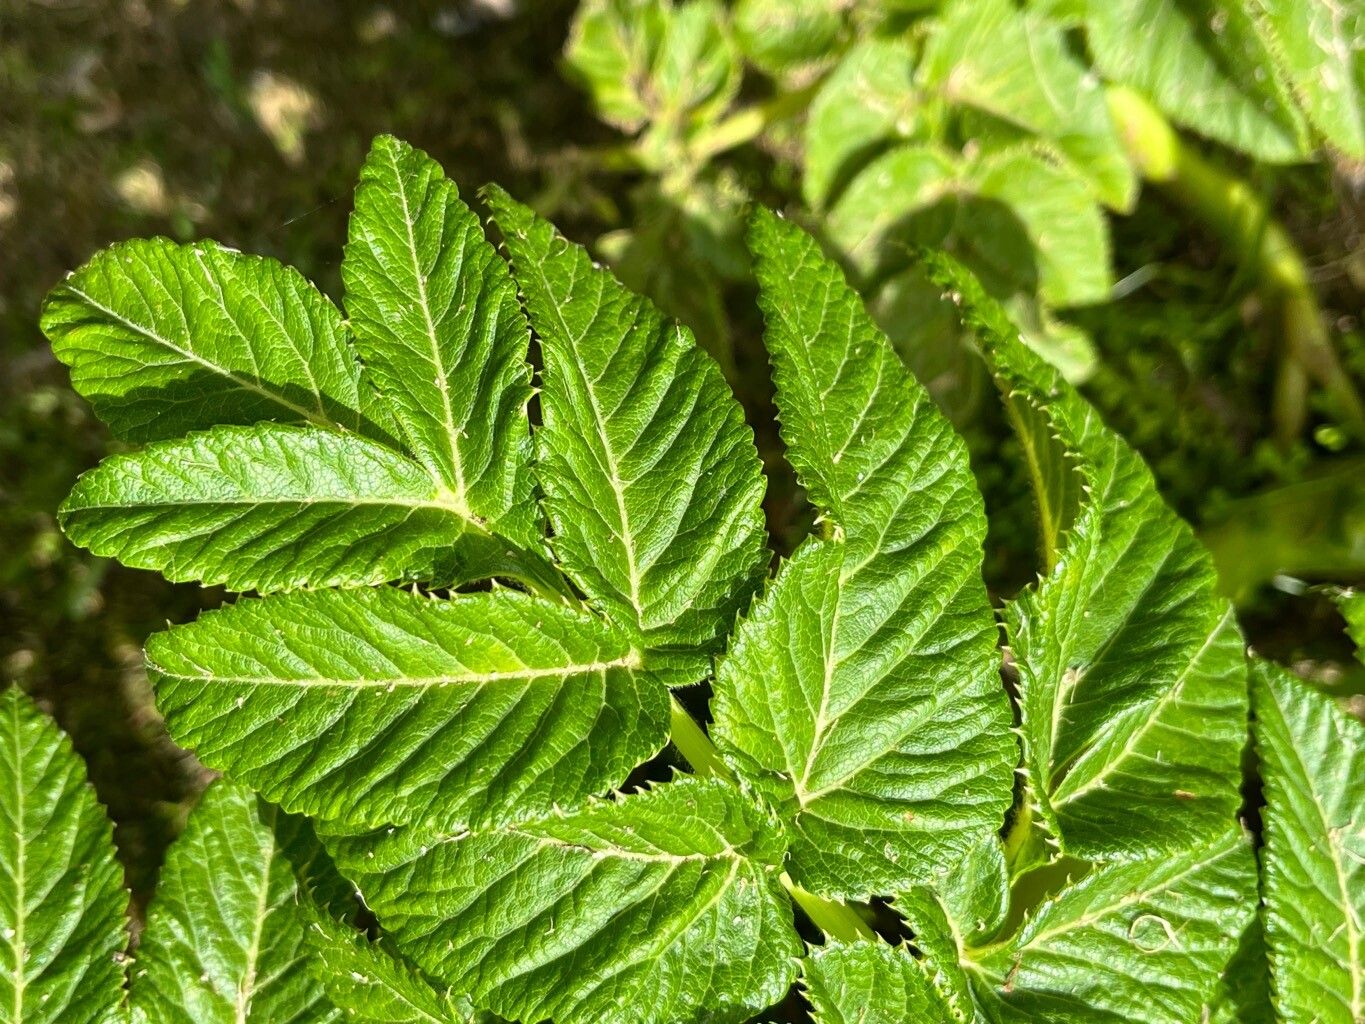
Oh, hello there! Come on in and pull up a chair. I’ve been meaning to chat about Angelica lignescens, that magnificent, architectural beauty that just commands attention in the garden. Its lacy leaves and towering flower stalks are a delight, and the sheer satisfaction of coaxing new life from an existing plant? Well, it’s one of gardening’s greatest joys. If you’re new to propagating, this one might present a slight challenge, but don’t let that deter you. With a little patience and these tips, you’ll be well on your way.
The Best Time to Start
For Angelica lignescens, the sweet spot for propagation is generally early spring. This is when the plant is just waking up, full of vigor and ready to put out new growth. You can also have success with softwood cuttings taken in late spring to early summer, before the stems get too woody. Just make sure you’re taking them from healthy, vigorous pieces of the plant.
Supplies You’ll Need
Here’s what you’ll want to have handy:
- Sharp, clean pruning shears or a sharp knife
- A well-draining potting mix – I like a blend of equal parts peat moss, perlite, and a little compost.
- A propagation tray or small pots
- Rooting hormone (optional, but it can give you a nice boost)
- A plastic bag or propagation dome to maintain humidity
- A spray bottle filled with water
- Labels to mark your cuttings!
Propagation Methods
Let’s dive into how we do this. For Angelica lignescens, stem cuttings are usually your best bet.
Stem Cuttings:
- First, locate a healthy stem that’s not flowering. Look for a piece that’s about 4-6 inches long and has several sets of leaves.
- Using your sharp tool, make a clean cut just below a leaf node. This is crucial, as that’s where the magic happens for root formation.
- Gently remove the lower leaves from the cutting, leaving just a couple of pairs at the top. This helps the node focus its energy on rooting, not leaf production.
- If you’re using rooting hormone, dip the cut end of the stem into it, tapping off any excess.
- Prepare your pots or tray by filling them with your moistened potting mix.
- Insert the cutting into the mix, ensuring the lowest leaf node is buried. Gently firm the soil around it.
- Now, give your cutting a light misting with water.
- Cover the pot or tray with a plastic bag or propagation dome. This creates a humid environment, which is essential for successful rooting.
- Place your cuttings in a bright spot, but out of direct sunlight.
The “Secret Sauce” (Pro Tips)
Here are a couple of things I’ve learned over the years:
- Don’t let the leaves touch the water if you happen to be using water propagation. While I prefer soil for Angelica, if you try it, make sure only the stem is submerged. Excess leaf material in water can lead to rot.
- Bottom heat is your friend! If you have a propagation mat, placing your tray on it can really speed up root development. It mimics the warmth of spring soil and gives those roots a gentle nudge.
Aftercare & Troubleshooting
Once your cuttings are planted, keep the soil consistently moist but not soggy. Mist the leaves regularly to maintain humidity, especially if you don’t have a dome. You’ll know your cuttings have taken root when you gently tug and feel resistance, or when you see new growth emerging. This can take several weeks.
If you notice leaves wilting and turning yellow, or if the stem becomes soft and mushy, that’s a sign of rot. This usually means too much moisture and not enough air circulation. Don’t be discouraged! It happens. Try to pull out any affected cuttings and ensure the remaining ones have better drainage and don’t sit in water.
A Little Encouragement
Propagating can feel like a gamble sometimes, I know. But with Angelica, the rewards are so worth the effort. Be patient with your little green babies, give them a bit of TLC, and enjoy the process of watching them grow into magnificent plants of their own. Happy gardening!
Resource: