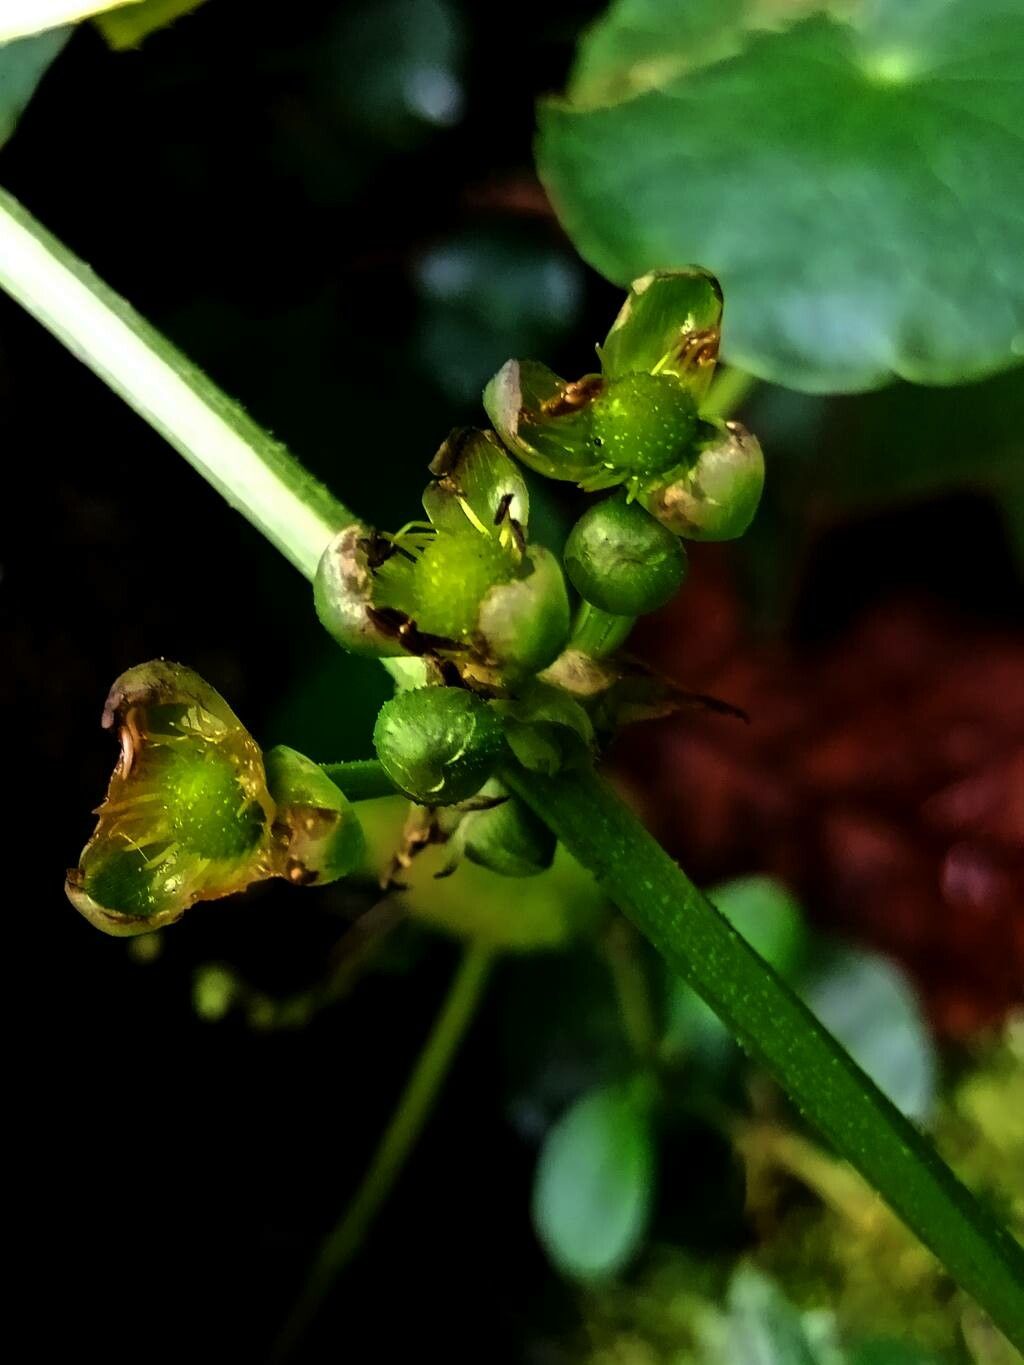
Oh, hello there! I’m so glad you’re interested in propagating Aquarius grandiflorus. This plant, with its lovely blooms and lush foliage, is a real treasure in any garden. And the joy of creating more of them from just one? Well, that’s a special kind of magic, isn’t it? It’s a wonderfully rewarding experience. For those just starting out in the gardening world, I’d say Aquarius grandiflorus is moderately easy to propagate. A little care and attention will go a long way.
The Best Time to Start
When it comes to getting your Aquarius cuttings off to a great start, timing is everything. I like to begin in the late spring or early summer, just as the plant is hitting its stride and actively growing. This vigorous growth period means your cuttings will have plenty of energy to put towards developing strong roots. You can also have success with semi-hardwood cuttings in the late summer or early fall, before the plant goes into full dormancy.
Supplies You’ll Need
Before we get our hands dirty, let’s gather our tools. Having everything ready makes the process so much smoother. You’ll want:
- Sharp pruning shears or a clean knife: For making clean cuts.
- Misting bottle: To keep things humid.
- Small pots (3-4 inches): Don’t go too big, as excess soil can lead to rot.
- A well-draining potting mix: A mix of seedling starting mix and perlite works beautifully. Some growers swear by a custom blend like 50% peat moss, 25% perlite, and 25% vermiculite.
- Rooting hormone (optional but recommended): This gives your cuttings a real boost!
- Plastic bags or propagators: To create a humid environment.
- Labels and a marker: To keep track of what you’ve planted!
Propagation Methods
There are a couple of approaches that work wonderfully for Aquarius grandiflorus.
Stem Cuttings
This is my go-to method for this plant.
- Take your cuttings: Select healthy, non-flowering stems. You want stems that are firm but still slightly flexible – not woody and hard, and not too soft and floppy. Look for stems that have new growth at the tip.
- Make the cut: Using your sharp shears, cut a piece that’s about 4-6 inches long, just below a leaf node (where a leaf attaches to the stem).
- Prepare the cutting: Gently remove the lower leaves. You want the top 2-3 leaves to remain. If the remaining leaves are very large, you can even cut them in half horizontally to reduce water loss through transpiration.
- Dip in rooting hormone: If you’re using it, dip the cut end of the stem into the rooting hormone powder, tapping off any excess.
- Plant the cutting: Fill your small pots with your prepared potting mix. Make a small pilot hole with your finger or a pencil. Gently insert the cutting into the hole, ensuring the leaf nodes that were below the soil line are covered. Firm the soil gently around the cutting.
- Water and cover: Water the soil thoroughly until it drains from the bottom. Then, place the pot inside a plastic bag or propagator, sealing it loosely to trap humidity.
Water Propagation
For a simpler, visual approach, try water propagation.
- Take cuttings: Follow steps 1-3 from the stem cutting method.
- Place in water: Find a clean jar or glass and fill it with fresh water. Place your cuttings in the water, making sure no leaves are submerged. If leaves touch the water, they’ll rot.
- Find a bright spot: Place the jar in a location that receives bright, indirect light.
- Change the water: Change the water every 2-3 days to keep it fresh and prevent bacterial growth. You’ll start to see roots forming in a few weeks. Once the roots are about an inch long, you can plant them into your potting mix.
The “Secret Sauce” (Pro Tips)
Here are a few little tricks I’ve learned over the years that can really make a difference.
- Bottom Heat: Aquarius grandiflorus loves a little warmth from below. Placing your pots on a heating mat designed for seedlings can significantly speed up root formation. It mimics the natural warmth of the soil in its ideal growing conditions.
- Don’t Overwater the Soil: While humidity is key, waterlogged soil is the enemy of cuttings. Ensure your potting mix is damp but not soaking wet. You want it to feel like a wrung-out sponge. Overwatering is probably the most common reason for cuttings to fail.
- Patience with Leaves: Sometimes cuttings will look a bit sad and droopy for a while. Don’t give up too soon! As long as the stem is still firm and you don’t see signs of molding or rot, there’s still hope. They can be surprisingly resilient.
Aftercare & Troubleshooting
Once you see those lovely little roots emerging from the drainage holes of your pot or the cutting has clearly taken off in water, it’s time for a little shift in care.
- Gradual Acclimation: If you used a plastic bag, gradually start to open it up over a few days to let the new plant get used to the lower humidity of your home. Avoid direct, harsh sunlight initially; bright, diffused light is best.
- Watering: Water when the top inch of soil feels dry.
- Troubleshooting Rot: The most common problem is rot, which often shows up as a black, mushy stem at the soil line or a yellowing, wilting leaf that doesn’t perk up. This is usually a sign of overwatering or poor air circulation. If you spot it, sadly, that particular cutting is probably a goner. Remove it immediately to prevent it from spreading.
- No Roots? If after several weeks you see no sign of roots, don’t despair. Some plants are just slower. Ensure the cutting is still firm and hasn’t dried out. Sometimes, a fresh cutting or a bit more consistent warmth can help.
A Little Encouragement
There you have it! Propagating Aquarius grandiflorus is a truly satisfying journey. Don’t be discouraged if your first few attempts aren’t perfect. Every gardener learns through trial and error. Be patient, observe your cuttings, and most importantly, enjoy the process of bringing new life into your garden. Happy propagating!
Resource: