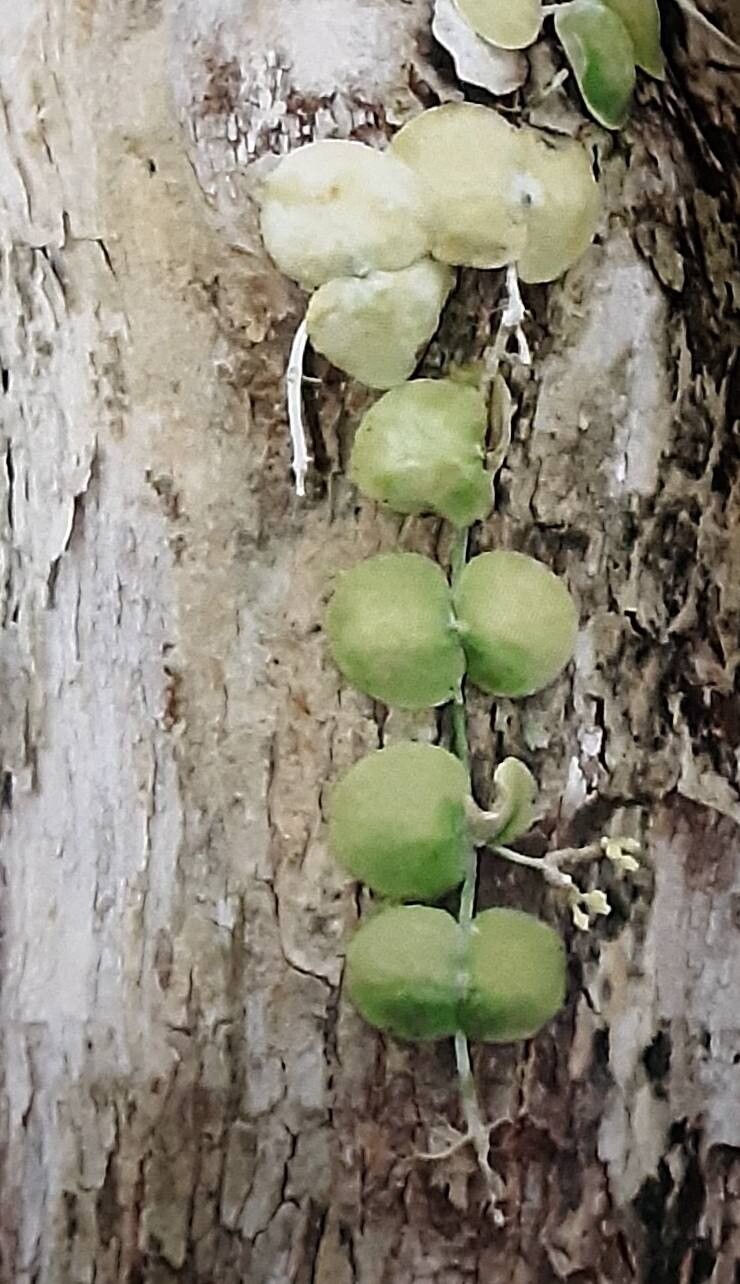
Hey there, fellow plant lover! I’m so excited to chat with you today about a truly special plant: Dischidia imbricata. If you’ve ever admired those gorgeous, coin-like leaves that seem to overlap perfectly, creating a cascade of green, then you’re in for a treat. Propagating these beauties is incredibly rewarding, and honestly, it’s a great way to share your plant passion with friends. For beginners? I’d say it’s moderately easy. A little patience goes a long way, but it’s definitely doable!
The Best Time to Start
While you can attempt propagation pretty much year-round, I find the late spring through early summer gives the best results. This is when the plant is really in its growing groove, with plenty of energy to put into new root development. Think of it as giving your cuttings the best chance to thrive when the weather is warm and bright.
Supplies You’ll Need
Gathering your tools beforehand makes the whole process so much smoother. Here’s what you’ll want to have on hand:
- Sharp, sterilized pruning shears or scissors. Cleanliness is key to preventing disease!
- A well-draining potting mix. I love a blend of orchid bark, perlite, and coco coir for Dischidia. It breathes well and doesn’t hold too much moisture.
- Small pots or propagation trays. Terracotta pots are great because they wick away excess moisture.
- Rooting hormone (optional, but it can give a little boost!). I use a powder or gel.
- Watering can with a fine rose or a spray bottle.
- A transparent plastic bag or cloche to create a humid environment for cuttings.
- A well-lit spot that gets bright, indirect light.
Propagation Methods
Dischidia imbricata is quite versatile, and I’ve had the most success with stem cuttings.
Stem Cuttings:
- Select a healthy stem: Look for a piece of stem that has several leaves on it, maybe 4-6 inches long. Make sure it’s not too old and woody, but also not super soft and new growth.
- Make your cut: Using your sterilized shears, make a clean cut just below a leaf node (the point where a leaf attaches to the stem). This is where roots are most likely to form.
- Prepare the cutting: Gently remove the bottom one or two leaves from the cutting. This exposes the nodes and prevents leaves from rotting if they touch the soil or water.
- Apply rooting hormone (optional): Lightly dip the cut end of the stem into your rooting hormone powder or gel. Tap off any excess.
- Plant your cutting: Fill your small pot with your prepared potting mix. Make a little hole in the center with your finger or a pencil. Gently insert the cut end of the stem into the hole, ensuring at least one node is buried beneath the soil surface. Pat the soil gently around the stem to secure it.
- Water and cover: Water the soil lightly until it’s evenly moist, but not soggy. Then, cover the pot with a clear plastic bag, a cloche, or place it inside a mini greenhouse. This traps humidity, which is crucial for cuttings to root.
Water Propagation (Alternative):
You can also try rooting cuttings in water! This is a bit more visual.
- Follow steps 1-3 above.
- Find a clean jar or glass. Fill it with room-temperature water.
- Place the cutting in the water, making sure that the submerged leaf nodes are not touching the water surface. If they are, you can remove more leaves. You can suspend the cutting using a piece of tape across the jar opening or by letting the upper leaves rest on the rim.
- Place the jar in a bright, indirect light location.
- Change the water every few days to keep it fresh and prevent bacterial growth.
The “Secret Sauce” (Pro Tips)
Here are a couple of things I’ve learned over the years that really make a difference:
- Don’t let those lower leaves touch the water if you’re water propagating! They’ll rot faster than you can say “oops,” and that can take down the whole cutting.
- Bottom heat is your best friend for stem cuttings. If you have a propagation mat, placing your potted cuttings on it will really encourage root development. The warmth signals the plant that it’s actively growing season.
Aftercare & Troubleshooting
Once you see signs of new growth or feel a gentle tug when you lightly pull on the cutting, you know roots are forming!
- For potted cuttings: Gradually acclimate them to normal humidity levels by opening the plastic bag a little each day. Continue to keep the soil consistently moist, but never waterlogged. Once the roots have established and you see more significant new growth, you can treat it like a mature Dischidia.
- For water-propagated cuttings: Once the roots are at least an inch long, you can carefully transplant them into your well-draining potting mix. Water just like you would a newly potted cutting.
- Watch out for rot: This is the most common issue. If your cutting turns black or mushy, it’s likely rotting. This usually means it’s too wet or not getting enough air circulation. If it’s a stem cutting, you might be able to salvage a healthy section and try again. For water propagation, if the water smells off or looks cloudy, it’s a sign of bacteria, and you should start with fresh water and a clean jar.
A Little Patience, A Lot of Green
Watching a new plant emerge from a small cutting is pure magic. Don’t get discouraged if your first attempt isn’t perfect. Every plant and every situation is a bit different. Just enjoy the process, learn from each step, and soon you’ll have a whole collection of these stunning Dischidia imbricata! Happy propagating!
Resource:
https://identify.plantnet.org/k-world-flora/species/Dischidia%20imbricata%20(Blume)%20Steud./data