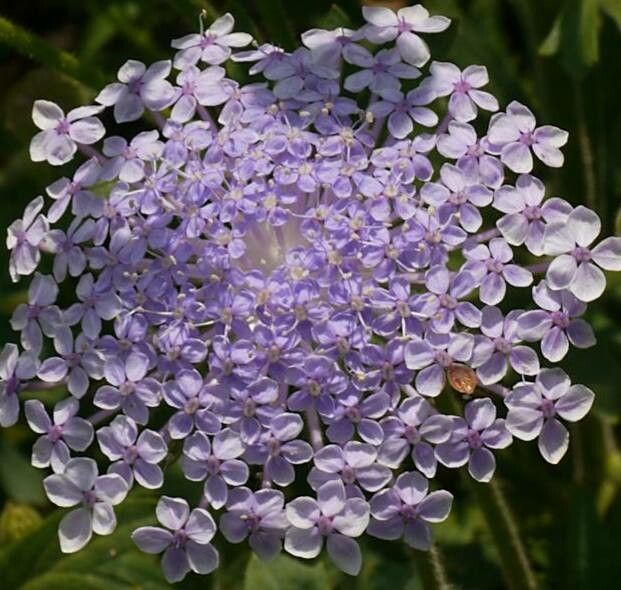
Oh, Oxypetalum coeruleum! If you haven’t met this beauty, let me introduce you. Also known as Tweedia or Blue Star Creeper, it’s got these exquisite, star-shaped, sky-blue flowers that just make my heart sing. They attract pollinators like crazy, and the velvety texture of the petals is just divine. And oh, the satisfaction of growing more of them yourself! It’s like giving a gift to your future garden.
Is it a breeze for beginners? I’d say it’s moderately easy. You’ll have a good chance of success, especially if you follow a few key steps. Don’t be intimidated; think of it as a rewarding challenge!
The Best Time to Start
Honestly, the spring is your golden ticket for propagating Oxypetalum coeruleum. Once the danger of frost has passed and your plant is happily putting on new growth, that’s your cue. You want to take cuttings from semi-hardwood, meaning stems that are beginning to harden off but are still somewhat flexible. Taking them when the plant is actively growing usually means faster rooting.
Supplies You’ll Need
Here’s what I like to have on hand when I’m getting ready to propagate:
- Sharp Pruning Shears or a Craft Knife: For clean cuts.
- Rooting Hormone: This isn’t strictly essential, but it does give cuttings a real boost. I prefer powder or gel.
- Potting Mix: A light, well-draining mix is crucial. I love a blend of equal parts peat moss or coco coir and perlite or coarse sand.
- Small Pots or Seedling Trays: Clean ones are a must to prevent disease.
- Plastic Bags or a Humidity Dome: To keep those cuttings from drying out.
- Watering Can or Spray Bottle: For gentle watering.
- Labels: Don’t forget to label what you’ve planted!
Propagation Methods
For Oxypetalum coeruleum, taking stem cuttings is my tried-and-true method. It’s reliable and gives you multiple new plants from one healthy parent.
- Take Your Cuttings: In spring or early summer, look for healthy, non-flowering stems. Using your clean shears, take cuttings that are about 4-6 inches long. Make the cut just below a leaf node (where a leaf attaches to the stem).
- Prepare the Cuttings: Gently remove the lower leaves from the cutting, leaving just the top couple of leaves. If the leaves are very large, you can even snip them in half to reduce water loss.
- Apply Rooting Hormone: Dip the cut end of the stem into your rooting hormone, coating about an inch. Tap off any excess.
- Pot Them Up: Fill your small pots or trays with your prepared potting mix. Make a small hole in the center of the mix with your finger or a pencil. Carefully insert the cutting into the hole, ensuring the leaf nodes are below the soil surface as this is where roots will emerge. Gently firm the soil around the stem.
- Water Gently: Water the soil thoroughly but gently, so you don’t dislodge the cuttings.
- Create a Humid Environment: Place the pots inside a clear plastic bag that’s secured with a rubber band, or cover them with a humidity dome. This is where the magic happens for root development.
The “Secret Sauce” (Pro Tips)
Here are a couple of things I’ve learned that can really make a difference:
- Avoid the milky sap! When you cut Oxypetalum, it will ooze a milky white sap. Try to wash this off with cool water before dipping in rooting hormone. This sap can sometimes inhibit rooting or cause issues.rinsing ensures a cleaner start.
- Bottom heat is your friend! If you have a heat mat made for propagation, using it under your pots significantly speeds up the rooting process. It mimics the warmth of spring soil and gives those roots the encouragement they need to grow. Don’t go too hot, just a gentle warmth.
Aftercare & Troubleshooting
Once your cuttings are potted up, place them in a bright spot with indirect light. Avoid direct, hot sun, which can scorch them. Keep the soil consistently moist but not waterlogged. You’ll know they’re happy when you see new leaf growth. This can take anywhere from 3-8 weeks, so be patient!
The main troubleshooting issue you might encounter is rot. If a cutting turns yellow and mushy or develops soft, dark spots, it’s usually a sign of too much moisture and not enough air circulation. Unfortunately, those are usually lost causes. If you see one or two looking sad, increase air flow by opening the plastic bag for a few hours a day or by gently poking some holes in it.
A Encouraging Closing
Propagating plants is such a wonderful journey. It teaches you patience, observation, and the sheer joy of creation. Don’t get discouraged if every single cutting doesn’t make it – that’s part of the learning process. Just enjoy nurturing these little beginnings, and soon you’ll have more of those stunning blue stars to bloom and share! Happy gardening!
Resource: