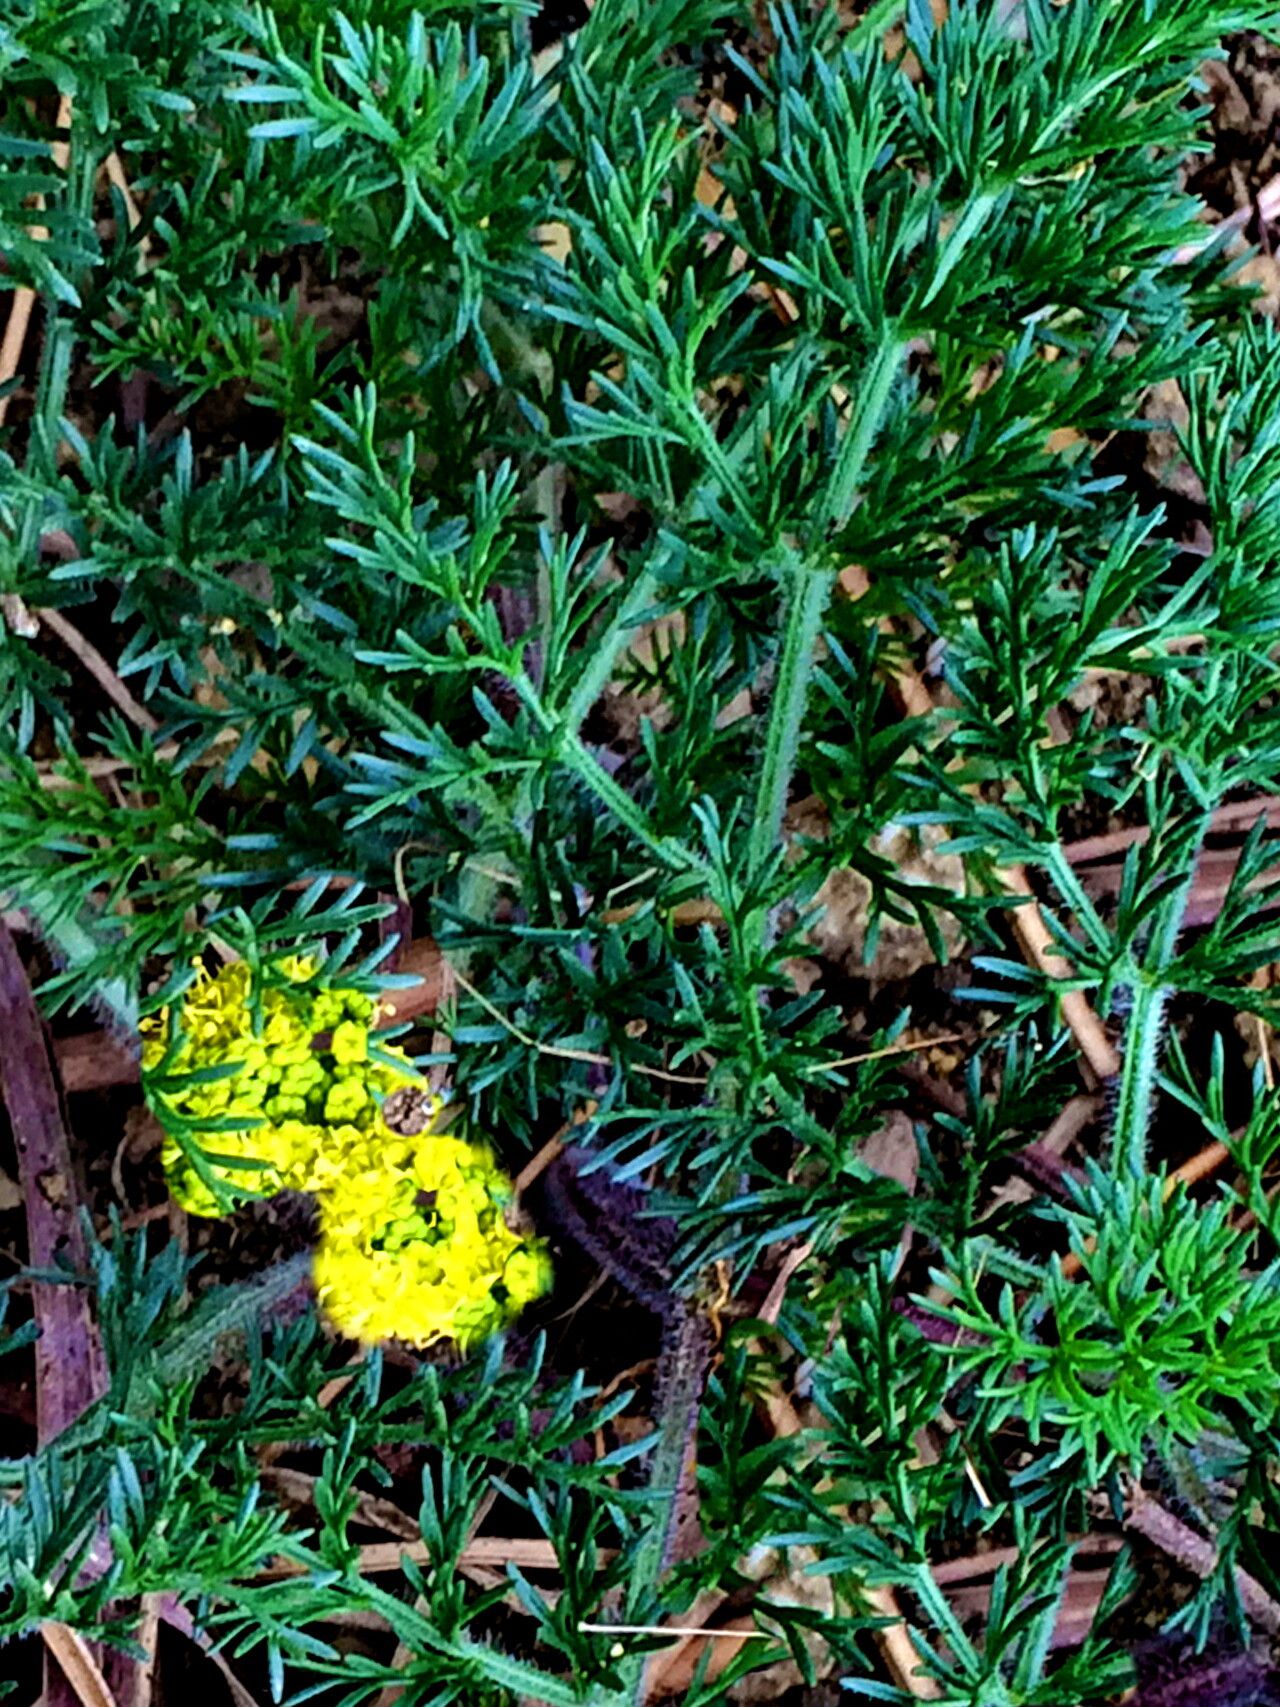
Oh, hello there! Pull up a chair and let’s chat about one of my absolute favorite native plants: Lomatium foeniculaceum, often called Fringeleaf Wild Parsley. If you’ve ever seen its delicate, lacy foliage and cheerful yellow flowers dotting a sunny meadow, you know its charm. It’s a beacon of the prairie ecosystem and a joy to have in a well-drained, sunny garden. Propagating it is a truly wonderful way to share its beauty and contribute to its presence. For newcomers to propagation, I’d say Lomatium can be a manageable challenge. It’s not quite a “stick it in the ground and it’ll grow” kind of plant, but with a little attention and the right approach, you’ll be successful.
The Best Time to Start
Honestly, I find the sweetest spot for propagating Lomatium foeniculaceum is late winter to early spring, just as the plant is waking up from dormancy. You’ll be looking for those fresh, new shoots emerging from the crown. This is when the plant has the stored energy to really push out roots. Waiting until the plant is actively growing also gives you nice, tender stems to work with for cuttings, if that’s your chosen method.
Supplies You’ll Need
Gathering your tools beforehand makes the whole process so much smoother. Here’s what I usually have on hand:
- Well-draining potting mix: I often use a blend of coarse sand, perlite, and a good quality potting soil. Think sharp drainage!
- Rooting hormone: A powder or gel works wonders for encouraging root development on cuttings.
- Sharp, sterile pruning shears or a clean knife: For making clean cuts.
- Small pots or seed trays: Clean ones are key to preventing disease.
- A watering can with a fine rose: For gentle watering.
- A propagation mat (optional but helpful): This provides bottom heat, which can significantly speed up root formation.
- Clear plastic bags or a propagator lid: To maintain humidity around cuttings.
Propagation Methods
Lomatium foeniculaceum can be propagated a couple of ways, but I’ve had the most consistent success with seed sowing and stem cuttings.
Seed Sowing:
This is often the most straightforward approach for Lomatium.
- Collect seeds in late summer or fall once the flower stalks have dried and produced seed heads. The seeds are usually small and oblong.
- Stratify the seeds: Lomatium seeds generally need a period of cold, moist stratification to break dormancy. I usually sow them in pots filled with my well-draining mix, cover them lightly with soil, and then place the pots in a plastic bag in the refrigerator for about 2-3 months.
- In late winter or early spring, bring the pots out and place them in a bright spot with slightly warmer temperatures.
- Keep the soil consistently moist but not soggy. Germination can be slow and sporadic, so don’t get discouraged if you don’t see immediate results. Tiny seedlings will eventually appear, and you can transplant them into individual pots once they are large enough to handle.
Stem Cuttings:
This method requires a bit more careful attention.
- In late winter or early spring, select healthy, non-flowering stems that are about 3-5 inches long.
- Make a clean cut just below a node (where a leaf attaches to the stem).
- Remove the lower leaves from the cutting, leaving just a few at the top.
- Dip the cut end of the stem into rooting hormone. Tap off any excess.
- Gently insert the treated end into your prepared, moistened potting mix. Make sure to place them in small pots or trays, giving each cutting a little space.
- Mist the cuttings lightly, and then cover the pots loosely with a clear plastic bag or propagator lid to create a humid environment.
- Place the pots in a bright location with indirect light, and if you have a propagation mat, set it to a comfortable 70-75°F.
The “Secret Sauce” (Pro Tips)
Here are a couple of my tried-and-true tips for getting those Lomatium cuttings to root:
- Don’t let the leaves touch the water in your humidity dome. If you’re misting, try to mist the air around the cuttings rather than directly on the leaves. Excess moisture on the leaves can encourage fungal issues.
- Bottom heat is your friend! For stem cuttings, a gentle warmth from below really encourages root formation. It mimics spring soil temperatures and makes a noticeable difference in speed and success rates.
Aftercare & Troubleshooting
Once you see signs of root development – like new leaf growth or resistance when you gently tug on the cutting – your new Lomatium is ready for a bit more independence.
- Gradually increase air circulation by opening the plastic bag or propagator lid a little more each day. This helps the young plants acclimatize to drier air.
- Continue to keep the soil consistently moist but not waterlogged. Overwatering is the fastest way to lose a newly rooted cutting.
- Transplant seedlings into individual pots once they have a few sets of true leaves. Handle them gently, as their roots can be delicate.
- Watch out for rot. This is the most common sign of trouble, usually caused by too much moisture and poor drainage. If you see stems turning mushy and brown, unfortunately, it’s often too late. Your best defense is excellent drainage and careful watering.
A Little Patience Goes a Long Way
Propagating plants is a dance with nature, and Lomatium certainly teaches us that. It demands a bit of patience, a keen eye for detail, and a willingness to learn. Don’t be discouraged if your first attempts aren’t perfect. Every gardener has had their share of failures! The joy of seeing a tiny seedling emerge or a cutting develop roots is so incredibly rewarding. So, gather your supplies, embrace the process, and enjoy the magic of growing your own Fringeleaf Wild Parsley. Happy propagating!
Resource: