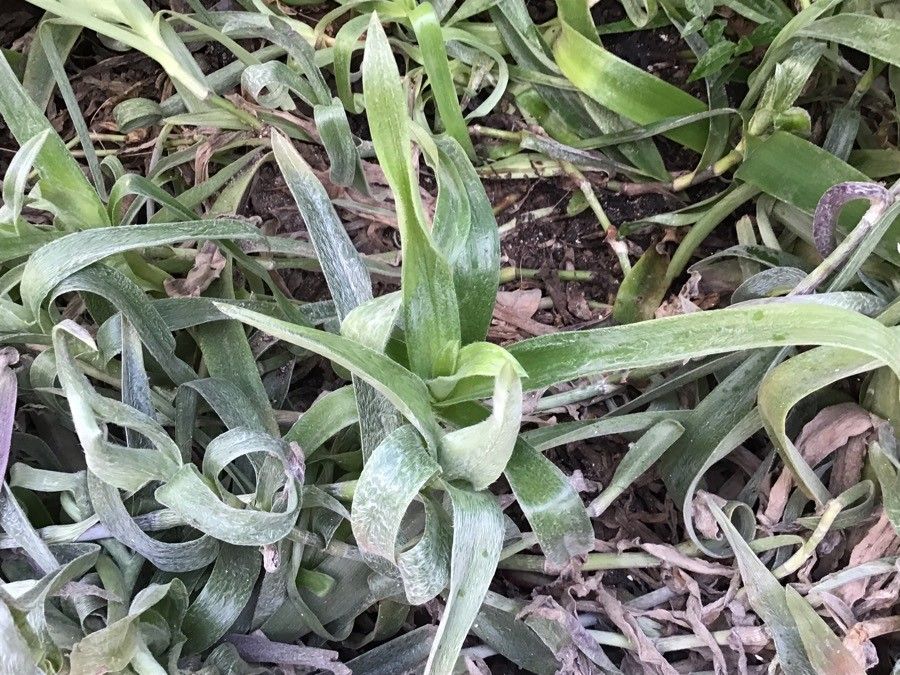
Oh, hello there! Come on in, let’s chat about something truly special – Cyanotis robusta. If you have a fondness for plants with a bit of pizzazz, a touch of the exotic even, then this one might just steal your heart. Its fuzzy leaves, with that lovely purple underside, create such a striking visual. And you know what’s even better than one gorgeous Cyanotis robusta? More of them, of course! Propagating this beauty is a wonderfully rewarding endeavor, and I’m happy to guide you through it. For beginners, I’d say it’s moderately easy – a little patience and a few key steps will see you through nicely.
When’s the Prime Time to Get Growing?
My favorite time to start propagating Cyanotis robusta is during its active growing season, usually from spring through summer. This is when the plant is full of energy and has the best chance of producing roots quickly. You’ll have the most success if you take cuttings from healthy, vigorous stems. Avoid taking cuttings from stressed or newly purchased plants. Let them settle in first!
Your Propagation Toolkit
Here’s what you’ll need to gather before we dive in:
- Sharp, clean pruning shears or a sharp knife: For clean cuts, which are crucial!
- A rooting hormone powder or gel: While not always strictly necessary for Cyanotis robusta, it can give your cuttings a nice boost.
- Small pots or containers: Clean ones, please! Small yogurt cups with drainage holes work in a pinch.
- A well-draining potting mix: I like a blend of peat moss or coco coir with perlite or coarse sand. A good commercial “seed starting mix” or “cacti and succulent mix” can also work well.
- A spray bottle: For misting.
- Optional: A clear plastic bag or dome: To create a mini-greenhouse effect.
- Optional: A heat mat: For bottom warmth.
Let’s Get Those Cuttings Rooting!
Cyanotis robusta is quite forgiving and can be propagated a couple of ways.
Stem Cuttings: My Go-To Method
This is generally the most efficient way to get a good number of new plants.
- Select a healthy stem: Look for a stem that’s at least 4-6 inches long and has plenty of healthy leaves.
- Make a clean cut: Just below a leaf node (where a leaf attaches to the stem). This is where the magic happens, where roots are most likely to form.
- Prepare the cutting: Gently remove the lower leaves from the bottom 1-2 inches of the stem. This prevents them from rotting when buried in soil.
- Apply rooting hormone (optional): Dip the cut end into your rooting hormone powder or gel, tapping off any excess.
- Plant your cuttings: Stick 2-3 cuttings into a pot filled with your prepared potting mix. Make a little hole with your finger or a pencil, then gently push the cutting in. Firm the soil around it.
- Water gently: Give the soil a light watering until it’s evenly moist. Don’t drench it.
Water Propagation: A Visual Treat
This is a super satisfying method because you can actually see the roots develop!
- Take your cuttings: Follow steps 1 and 2 above.
- Remove lower leaves: Just like with soil propagation.
- Place in water: Put the cuttings in a jar or glass filled with clean, room-temperature water.
- The crucial detail: Make sure no leaves are submerged in the water. Only the cut stem should be touching the water. This is vital to prevent rot.
- Change the water regularly: Every few days, refresh the water to keep it clean and oxygenated.
The Sweet Spot: My Insider Tips
Here are a couple of things I’ve learned over the years that really make a difference:
- Don’t bury too deeply in soil: For stem cuttings, I like to ensure at least one leaf node is buried under the soil surface. That’s where the roots prefer to emerge from.
- The magic of bottom heat: If you have a heat mat, placing your pots on it can significantly speed up rooting. Cyanotis robusta loves a bit of warmth from below, especially if the air temperature is cooler. This mimics the warmer conditions of their native habitat.
- Mist, don’t soak: When you’ve got cuttings in soil, a light misting a couple of times a day is often enough. Overwatering is the quickest way to invite rot.
Life After Roots & What to Watch For
Once you see roots starting to form, whether it’s a visible white nubs in water or a gentle tug on a soil-propagated cutting indicating resistance, it’s time to transition!
- For water-propagated cuttings: Once the roots are about 1-2 inches long, carefully transplant them into a pot with your well-draining potting mix. Water them in well.
- For soil-propagated cuttings: They’re ready to be treated as a new, albeit small, plant once they feel firm in the soil and new growth starts to appear.
Troubleshooting: The most common culprit for failed propagation is rot, usually caused by overwatering or poor drainage. You’ll see the stem turn mushy and black. If you spot it early, you can try to take a clean cutting from above the rotted section. Another sign of trouble is cuttings that wilt and refuse to perk up. This can also be a sign of not enough moisture, or sometimes, the cutting just wasn’t viable to begin with. Don’t be discouraged if a few don’t make it; that’s a normal part of the process.
Happy Growing!
Remember, propagating plants is a journey, not a race. Be patient with your cuttings, give them a little TLC, and celebrate those tiny roots as if they were the grandest blooms. Soon, you’ll have a whole collection of these fuzzy charmers! Happy gardening!
Resource:
https://identify.plantnet.org/k-world-flora/species/Cyanotis%20robusta%20Oberm./data