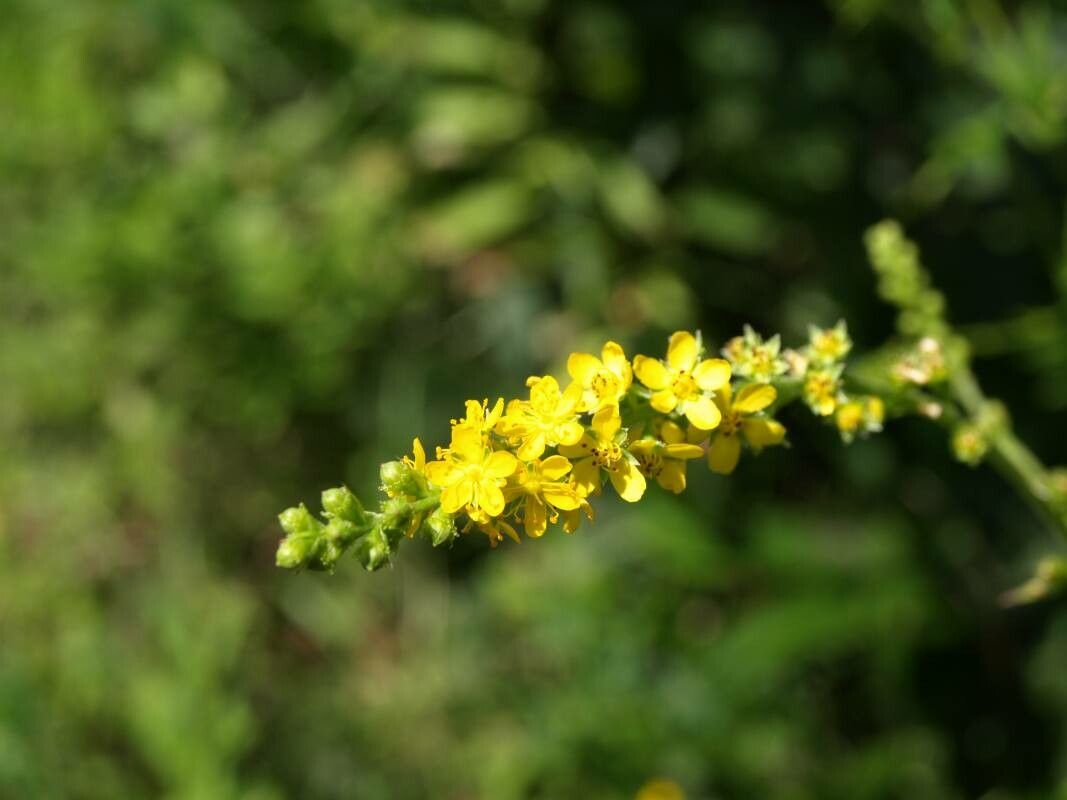
Hello fellow garden enthusiasts! It’s so lovely to have you here. Today, we’re going to dive into the wonderful world of propagating Agrimonia pilosa, often known as hairy agrimony. This charming plant, with its delicate spikes of yellow flowers and earthy, medicinal scent, is a delight to have in any garden. Its rosettes of fuzzy leaves are lovely even before it blooms, and the flowers attract some truly beneficial little visitors.
If you’re new to plant propagation, you might be wondering if Agrimonia pilosa is a good starting point. I’d say it’s moderately easy, which means it’s a great plant to learn with. You’ll get the satisfaction of success without too much fuss, and it’s incredibly rewarding to see a new plant emerge from a tiny cutting or division.
The Best Time to Start
For the highest success rate with Agrimonia pilosa, I find that early spring is your golden ticket. Right as the plant is waking up from its winter slumber and starting to put on new growth is the perfect time. You want to catch it at the beginning of its active growing season. If you miss spring, late summer, just as the real heat starts to mellow, can also work, but spring is generally more forgiving.
Supplies You’ll Need
Before we get our hands dirty, let’s gather our tools. You don’t need anything too fancy, but having the right supplies makes all the difference:
- Sharp pruning shears or a clean knife: For making clean cuts.
- Potting mix: A good quality, well-draining mix is key. I often use a blend of peat moss, perlite, and a little compost. You can also buy specific seed-starting or propagation mixes.
- Small pots or trays: For your cuttings or divisions. Make sure they have drainage holes!
- Rooting hormone (optional but recommended): This can give your cuttings a helpful boost.
- Watering can or spray bottle: For gentle watering.
- Labels: To keep track of what you’ve planted and when.
- A plastic bag or humidity dome: To create a mini greenhouse effect.
Propagation Methods
Let’s get down to the nitty-gritty! Agrimonia pilosa is quite happy to be propagated through a couple of straightforward methods.
1. Stem Cuttings
This is my go-to method when I want to quickly increase my stock.
- Take Cuttings: In early spring, select healthy, non-flowering stems. Using your sharp pruning shears or knife, cut stems that are about 4-6 inches long. Make your cut just below a leaf node (where a leaf attaches to the stem).
- Prepare the Cuttings: Gently remove the lower leaves from the stem, leaving just a few at the top. If the cutting is very long, you can even cut the remaining leaves in half to reduce water loss.
- Apply Rooting Hormone: Dip the cut end of the stem into your rooting hormone powder or gel. Tap off any excess.
- Plant the Cuttings: Fill your small pots with your prepared potting mix. Make a hole with your finger or a pencil, and then insert the cutting, ensuring the leaf nodes are buried. Gently firm the soil around the stem.
- Water and Cover: Water gently to settle the soil. Then, place the pot in a plastic bag or cover it with a humidity dome, ensuring the leaves don’t touch the plastic if possible. This helps maintain high humidity, which is crucial for cuttings to root.
2. Division
This is a wonderful way to rejuvenate established clumps and is best done when the plant isn’t actively flowering or setting seed.
- Dig Up the Plant: In early spring, carefully dig up the entire plant from the ground or its pot.
- Separate the Roots: Gently shake off excess soil. You’ll see that Agrimonia pilosa forms clumps with multiple shoots arising from a central root system. You can usually gently pull these clumps apart by hand. If they’re stubborn, you can use a clean spade or your pruning shears to divide the root ball.
- Prepare the Divisions: Make sure each division has plenty of healthy roots and at least one or two leafy shoots. Trim away any damaged roots.
- Replant: Plant your divisions into prepared pots or directly back into their garden beds. Ensure they are planted at the same depth they were previously growing. Water them well.
The “Secret Sauce” (Pro Tips)
Over the years, I’ve picked up a few tricks that really seem to give propagation a little nudge in the right direction.
- Bottom Heat is Your Friend: While not strictly necessary for Agrimonia pilosa, if you’re struggling with cuttings, placing your pots on a gentle heating mat can significantly speed up root development and increase success rates. It mimics the warmth of spring soil.
- Don’t Drown Your Cuttings: While humidity is vital, overwatering is the quickest way to kill a cutting. The soil should be consistently moist, but never soggy. Let the top layer of soil dry out slightly between waterings. If you’re using a plastic bag, peek inside – if you see heavy condensation, it might be time to briefly open it up for some fresh air.
- Patience with Division: When dividing, try to cause as little root disturbance as possible. The more intact the root system, the quicker your new plants will establish and start growing. Don’t be disheartened if they look a little droopy for a week or two; they’re just getting their bearings.
Aftercare & Troubleshooting
Once your cuttings have developed roots (this can take anywhere from a few weeks to a couple of months, so be patient!), or your divisions are settled in, it’s time for a little tender loving care.
- Gradually Acclimate: If your cuttings are under cover, slowly introduce them to drier air by gradually opening the plastic bag or humidity dome over a few days.
- Consistent Moisture: Keep the soil consistently moist, especially for young plants.
- Bright, Indirect Light: Place your new Agrimonia pilosa in a spot with bright, indirect light. Avoid harsh direct sun, which can scorch delicate new growth.
- Signs of Trouble: The most common issue you’ll face is rot, often caused by overwatering. If you see mushy stems or leaves turning yellow and dying, it’s usually a sign of too much moisture or poor drainage. If you catch rot early, you might be able to save the cutting by trimming away the affected parts and repotting in fresh, dry soil. Leggy growth (long, thin stems with few leaves) usually indicates not enough light.
A Encouraging Closing
Propagating plants is such a rewarding journey, and Agrimonia pilosa is a lovely companion for that journey. Remember, not every attempt will be a roaring success, and that’s perfectly okay! Each experience is a learning opportunity. So, take a deep breath, enjoy the process, and celebrate the little green shoots of life that emerge from your efforts. Happy propagating!
Resource:
https://identify.plantnet.org/k-world-flora/species/Agrimonia%20pilosa%20Ledeb./data