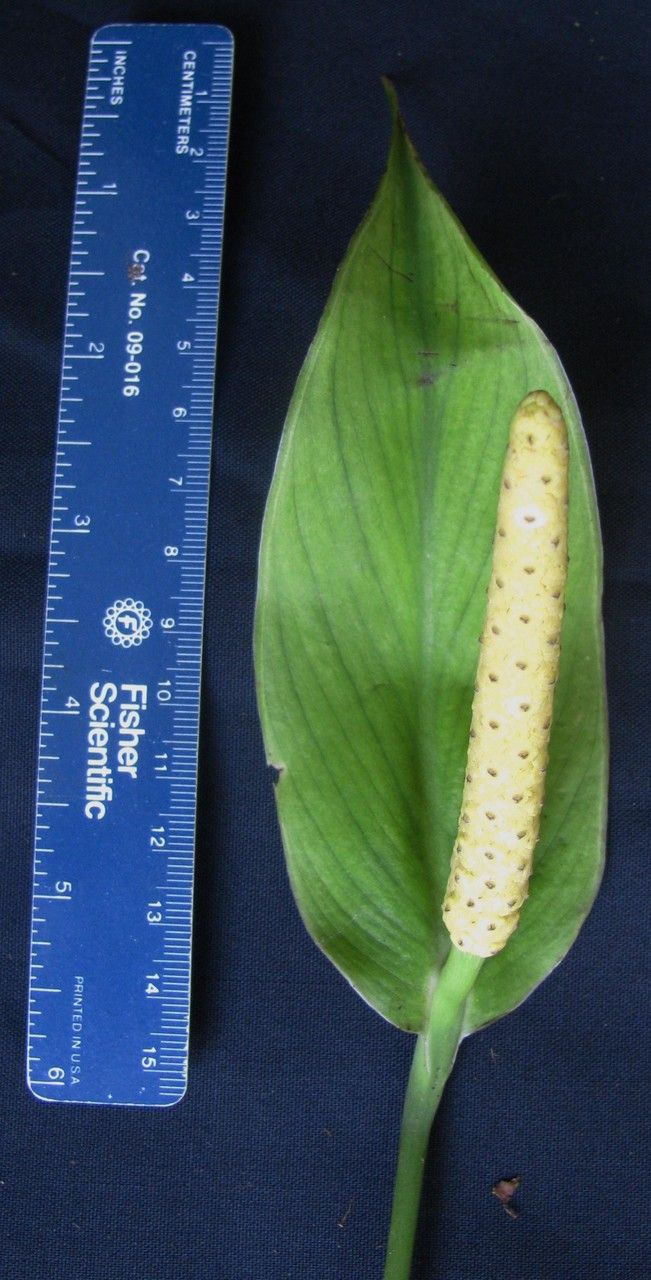
Oh, hello there! Come on in, pull up a chair. Let’s chat about one of my absolute favorites: the Spathiphyllum silvicola, or as most of us know them, Peace Lilies. They’re just so elegant, aren’t they? With those lovely white spathes that look like little sails against their glossy green foliage. And the best part? They’re surprisingly straightforward to multiply. Growing new plants from your existing ones is incredibly rewarding, and truthfully, Spathiphyllum silvicola is a fantastic plant for beginners looking to dip their toes into propagation. You’ll feel like a plant rockstar, I promise!
The Best Time to Start
Spring is your best bet for propagating Peace Lilies. This is when the plant is really waking up from its winter rest and has that strong, vigorous growth happening. You want to catch them at the peak of their energy, when they’re ready to put out new shoots and roots. Think of it like giving them a gentle nudge to share their abundance.
Supplies You’ll Need
Here’s what you’ll want to have on hand before you get started:
- Sharp Pruning Shears or a Clean Knife: For making clean cuts.
- Potting Mix: A well-draining mix is crucial. I like a blend of peat moss, perlite, and a bit of compost. You can also buy specific houseplant potting mixes.
- Small Pots or Propagation Trays: With drainage holes, of course!
- Rooting Hormone (Optional but Recommended): This isn’t strictly necessary for Peace Lilies, but it can give your cuttings a little boost.
- Water: Clean, room-temperature water.
- Plastic Bag or Dome: To create a mini-greenhouse effect for cuttings.
Propagation Methods
Peace Lilies are most easily propagated by division, which is essentially separating existing clumps into smaller, independent plants. It’s like giving your plant a much-needed haircut and ending up with a whole new family!
Method: Division
- Gently Remove from Pot: Carefully take your Peace Lily out of its current pot. If it’s stuck, try gently squeezing the sides of the pot or running a knife around the edge.
- Inspect the Roots: Turn the root ball upside down and gently shake off some of the excess soil. You’re looking for natural divisions – where the plant has grown into separate clumps with their own root systems.
- Separate the Divisions: This is the main event! You can often gently pull the divisions apart with your hands. If they seem a bit stubborn, use your clean pruning shears or knife to cut through the roots. Make sure each new division has at least one or two leaves and a healthy amount of roots.
- Pot Up the New Plants: Plant each division into its own pot filled with your well-draining potting mix. Water them thoroughly.
- Initial Care: Keep the newly potted divisions in a bright spot, but out of direct sunlight. Water when the top inch of soil feels dry.
While division is the tried-and-true method, some folks have success with stem cuttings in water, although it’s a bit less reliable for Peace Lilies. If you want to try it:
Method: Water Propagation (Less Common for Silvicola)
- Identify Suitable Stems: Look for a healthy stem with at least one or two leaves.
- Make the Cut: Using your sharp shears, cut the stem just below a leaf node (where a leaf attaches to the stem).
- Remove Lower Leaves: If there are any leaves close to the cut, remove them.
- Place in Water: Put the cutting in a clean jar or vase filled with room-temperature water. Make sure the leaf nodes are submerged, but don’t let the leaves themselves sit in the water. This can lead to rot.
- Find a Good Spot: Place the jar in a warm location with bright, indirect light.
- Change Water Regularly: Refresh the water every few days to keep it clean and oxygenated.
The “Secret Sauce” (Pro Tips)
- Don’t Rush the Separation: When you’re dividing, take your time. If a clump isn’t easily pulling apart, look for a clearer separation point. Forcing it can damage roots unnecessarily. Patience here really pays off!
- Consider Bottom Heat: If you’re trying water propagation or if your home is a bit on the cooler side, placing your pots or jars on a seedling heat mat can significantly speed up root development. It mimics the warmth of the soil surface.
- Don’t Over-Pot: When you’re potting up divisions, resist the urge to put them in pots that are too big. A pot that’s just slightly larger than the root ball is ideal. Too much soil holds too much moisture, which is the enemy of new roots at this stage.
Aftercare & Troubleshooting
Once your divisions have settled in, treat them much like your mature Peace Lily: keep them in bright, indirect light and water when the top inch of soil is dry. Avoid overwatering, as this is the most common culprit for root rot. You’ll know roots have formed when you see new leaf growth appearing.
If you notice yellowing leaves on your new plant, it could be a sign of overwatering or shock. Wilting, on the other hand, might mean it’s too dry. If you see mushy stems or roots, that’s definitely rot, and you’ll want to remove the affected parts immediately and repot in fresh, dry soil. Don’t be discouraged if a cutting or two doesn’t make it; it’s all part of the learning process!
So there you have it! Propagating your Spathiphyllum silvicola is a wonderfully accessible way to expand your indoor jungle and share the joy of these beautiful plants with friends. Be patient with yourself and your new little plantlets. You’ve got this, and I can’t wait to hear about your successes! Happy growing!
Resource:
https://identify.plantnet.org/k-world-flora/species/Spathiphyllum%20silvicola%20R.A.Baker/data