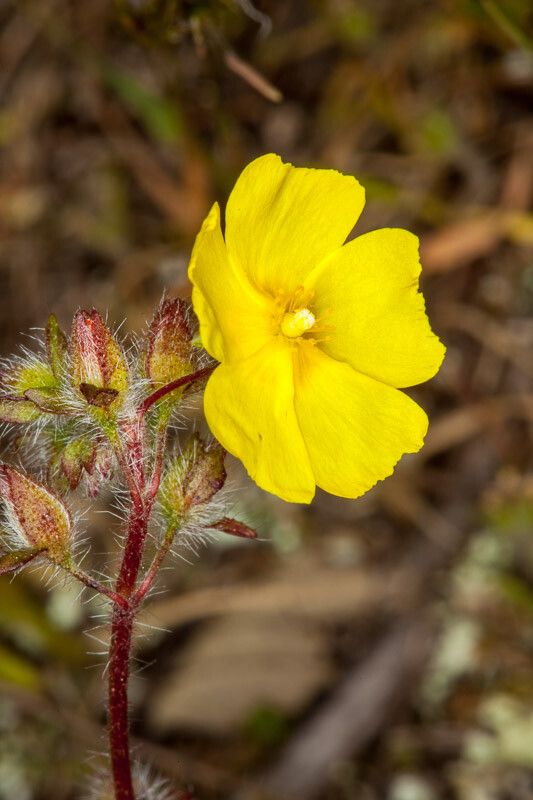
Hey there, fellow plant lovers! I’m so excited to chat with you today about Tuberaria praecox. You know, the one with those delightful, often velvety leaves and sometimes surprisingly vibrant blooms? It’s a real charmer to have in the garden, adding a touch of unique texture and, if you’re lucky, a splash of unexpected color. Propagating it yourself is incredibly satisfying. And honestly? It’s not as daunting as you might think, even for those of you just dipping your toes into the world of plant propagation.
The Best Time to Start
For Tuberaria praecox, I’ve found the sweet spot for taking cuttings is in late spring to early summer. This is when the plant is actively growing and has plenty of nice, new, non-woody stems to work with. You want to catch it at its most vigorous, before the intense summer heat really sets in or the plant starts to slow down in the fall.
Supplies You’ll Need
Here’s what you’ll want to gather before we dive in:
- Sharp pruning shears or a clean knife: For making clean cuts.
- Rooting hormone (optional but recommended): A little powder or gel can give your cuttings a boost.
- Well-draining potting mix: A blend of equal parts peat moss or coco coir, perlite, and vermiculite is my go-to. You can also buy pre-made cactus and succulent mixes.
- Small pots or seedling trays: With drainage holes, of course!
- A clear plastic bag or humidity dome: To create a mini greenhouse effect.
- A spray bottle: For gentle watering.
- Labels and a marker: To keep track of your efforts!
Propagation Methods
Let’s get our hands dirty! The most reliable way I’ve found for Tuberaria praecox is through stem cuttings.
- Take Your Cuttings: Using your sharp shears or knife, select a healthy stem that’s about 3-5 inches long. Make a clean cut just below a leaf node (the spot where a leaf attaches to the stem). It’s best to choose stems that are actively growing but not yet flowering.
- Prepare the Cuttings: Gently remove the lower leaves from the cutting, leaving just a few at the top. This prevents them from rotting when buried.
- Apply Rooting Hormone (Optional): Dip the cut end of the stem into your rooting hormone. Tap off any excess.
- Plant Your Cuttings: Fill your small pots or trays with your prepared potting mix. Make a small hole in the center of the soil with your finger or a pencil. Carefully insert the cut end of the stem into the hole, ensuring it’s snug.
- Water Gently: Lightly water the soil with your spray bottle. You want it moist, but not waterlogged.
- Create a Humid Environment: Place a clear plastic bag over the pot, securing it with a rubber band, or use a humidity dome. This traps moisture, which is crucial for encouraging root development. Poke a few small holes in the bag for air circulation.
- Provide Bright, Indirect Light: Place your pots in a location that receives bright, indirect light. Avoid direct sunlight, as this can scorch the delicate cuttings.
The “Secret Sauce” (Pro Tips)
Here are a few tricks I’ve learned over the years that make a real difference:
- Don’t Crowd Your Cuttings: Give each cutting some space in its pot or tray. Overcrowding can lead to disease and make it harder for them to establish.
- Bottom Heat is Your Friend: If you can, place your pots on a gentle heating mat. This consistently warm soil temperature is a game-changer for encouraging root growth. It’s like giving those baby roots a cozy place to sprout.
- The Gentle Water Wiggle: When watering, aim for the soil, not the leaves. If any leaves do happen to touch the soil, gently remove them. Excess moisture on the leaves can invite fungal issues.
Aftercare & Troubleshooting
Once you see new leaf growth or feel a gentle resistance when you tug on the cutting, you know roots are forming! This usually takes anywhere from 2-6 weeks, depending on conditions.
At this point, you can gradually wean them off the humidity dome over a few days. Continue to keep the soil moist but not soggy. As they grow stronger, you can transplant them into slightly larger pots.
If your cuttings turn yellow and mushy, or seem to be dying off, it’s usually a sign of too much moisture and poor drainage, leading to rot. Don’t despair! It’s part of the learning process. Just try again, focusing on that well-draining soil and not overwatering. Sometimes, a cutting just doesn’t take, and that’s okay.
A Word of Encouragement
Propagating Tuberaria praecox is a wonderful way to expand your collection and share these beauties with friends. Be patient with yourself and the process. Gardening is a journey, and every success, big or small, is worth celebrating. Happy propagating!
Resource: