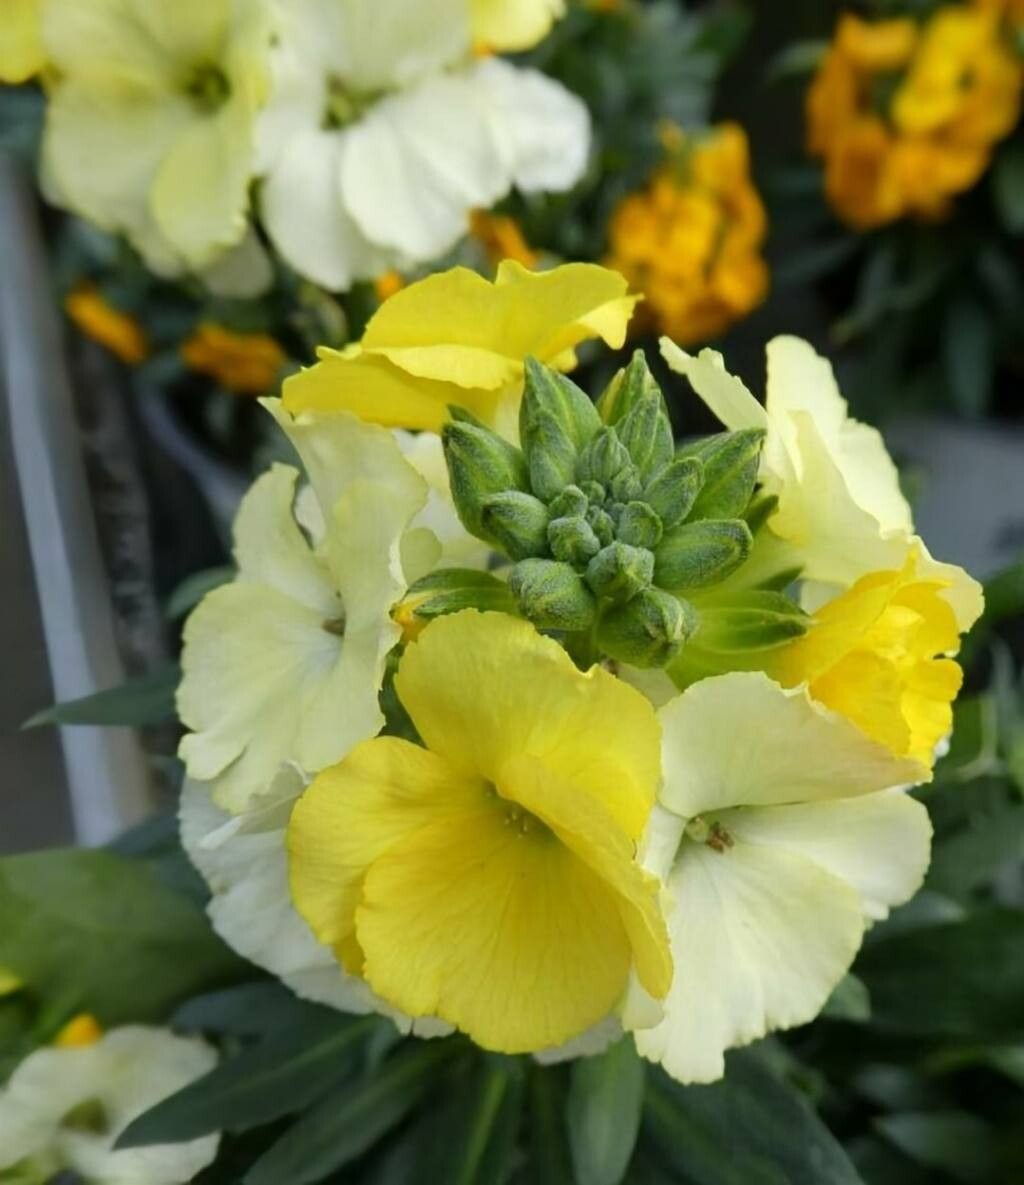
Oh, hello there! Pull up a chair and let’s chat about Erysimum franciscanum, or as I lovingly call it, the Franciscan Wallflower. If you’ve ever seen this beauty gracing a garden, you know why it’s special. Its cheerful, often fragrant, apricot or rosy blooms just sing of sunshine and gentle breezes. I’ve spent years nurturing these cheerful sprites, and let me tell you, bringing a new one into the world from your own garden feels like magic.
Now, you might be wondering if this is a beginner-friendly propagation project. I’d say it’s on the easier side of things, which is wonderful news! A little patience and a few trusty steps, and you’ll have more of these delightful plants to share or spread around your own beds.
The Best Time to Start
For the greatest success with Erysimum franciscanum, I find spring is your best bet. The days are getting longer, the weather is warming up, and your plants are bursting with new growth. Aim to take cuttings when the plant is actively growing but before it gets too hot and stressed. Early summer can also work, but spring often gives you that extra boost.
Supplies You’ll Need
Gathering your tools beforehand makes the whole process smooth sailing. Here’s what I always have on hand:
- Sharp Pruning Shears or a Craft Knife: Clean cuts are key to preventing disease.
- Rooting Hormone (Optional but Recommended): This gives your cuttings a little kickstart.
- Well-Draining Potting Mix: A good blend for cuttings is essential. I like a mix of perlite, peat moss, and a bit of compost.
- Small Pots or Seed Trays: Clean pots are a must!
- Plastic Bags or a Clear Dome: To create a humid environment.
- Watering Can with a Fine Rose: For gentle watering.
- Labels and a Marker: So you don’t forget what you’ve propagated!
Propagation Methods
When it comes to our Franciscan Wallflowers, stem cuttings are my favorite and most reliable method. It’s straightforward and often yields great results.
- Select Your Cuttings: Look for healthy, non-flowering stems. These are usually the softer, newer growth. You want stems that are about 4-6 inches long.
- Make the Cut: Using your sharp pruning shears or craft knife, make a clean cut just below a leaf node (where a leaf meets the stem).
- Prepare the Cuttings: Gently remove the lower leaves from the bottom half of the cutting. This is important! Any leaves left submerged in water or soil are a prime target for rot. You can leave a few leaves at the top to help with photosynthesis.
- Apply Rooting Hormone (If Using): Dip the cut end of the stem into your rooting hormone, tapping off any excess.
- Plant Your Cuttings: Moisten your well-draining potting mix. Insert the prepared cuttings into the pots or trays, spacing them a few inches apart. Make sure the leaf nodes where you removed leaves are buried in the soil.
- Create Humidity: Water gently to settle the soil around the cuttings. Then, cover the pots with a clear plastic bag or a propagation dome. This creates a mini-greenhouse, keeping the humidity high, which is crucial for new roots to form.
The “Secret Sauce” (Pro Tips)
After years of experimenting and a few spectacular failures (don’t worry, it happens to us all!), I’ve picked up a few tricks that really make a difference.
- Don’t Overwater: I know I just said to water gently, but it bears repeating. Soggy soil is the enemy of cuttings. They need moisture, yes, but not to be waterlogged. Allow the surface of the soil to dry slightly between waterings.
- Bottom Heat is Your Friend: If you have a heat mat designed for propagation, using it can significantly speed up the rooting process. Pop your pots on it, and those roots will appear much more quickly, especially if you’re trying this a bit later in the season.
- Watch for Signs of Life, Not Just Roots: Before you even see roots, look for a bit of new growth at the top of the cutting. This is a sign that your cutting is healthy and has taken energy from its leaves to start growing.
Aftercare & Troubleshooting
Once you see new growth emerging from the top of your cuttings, that’s a good sign that roots are forming! You can gently tug on a cutting. If there’s resistance, you’ve got roots. Now it’s time to transition them.
Carefully remove the plastic bag or dome for short periods, gradually increasing the time each day. This helps the plant acclimatize to drier air. Continue to water gently when the top inch of soil feels dry. Once they have a good root system, you can transplant them into individual pots.
The most common problem you’ll encounter is rot. If your cuttings turn black and mushy, it’s usually due to overwatering or poor drainage. If you spot this, sadly, it’s best to discard the affected cuttings and start again, making sure your soil is super well-draining and you’re not keeping them too wet. Don’t get discouraged; it’s just part of the learning curve!
A Little Encouragement
Propagating plants is a journey, and it’s so rewarding to witness that first tiny root or new leaf unfurl. The Franciscan Wallflower is a generous plant, and with a little patience and these tips, you’ll soon be enjoying more of its sunny disposition in your garden. So have fun with it, be patient with yourself, and revel in the joy of creating new life from your existing treasures. Happy gardening!
Resource:
https://identify.plantnet.org/k-world-flora/species/Erysimum%20franciscanum%20Rossbach/data