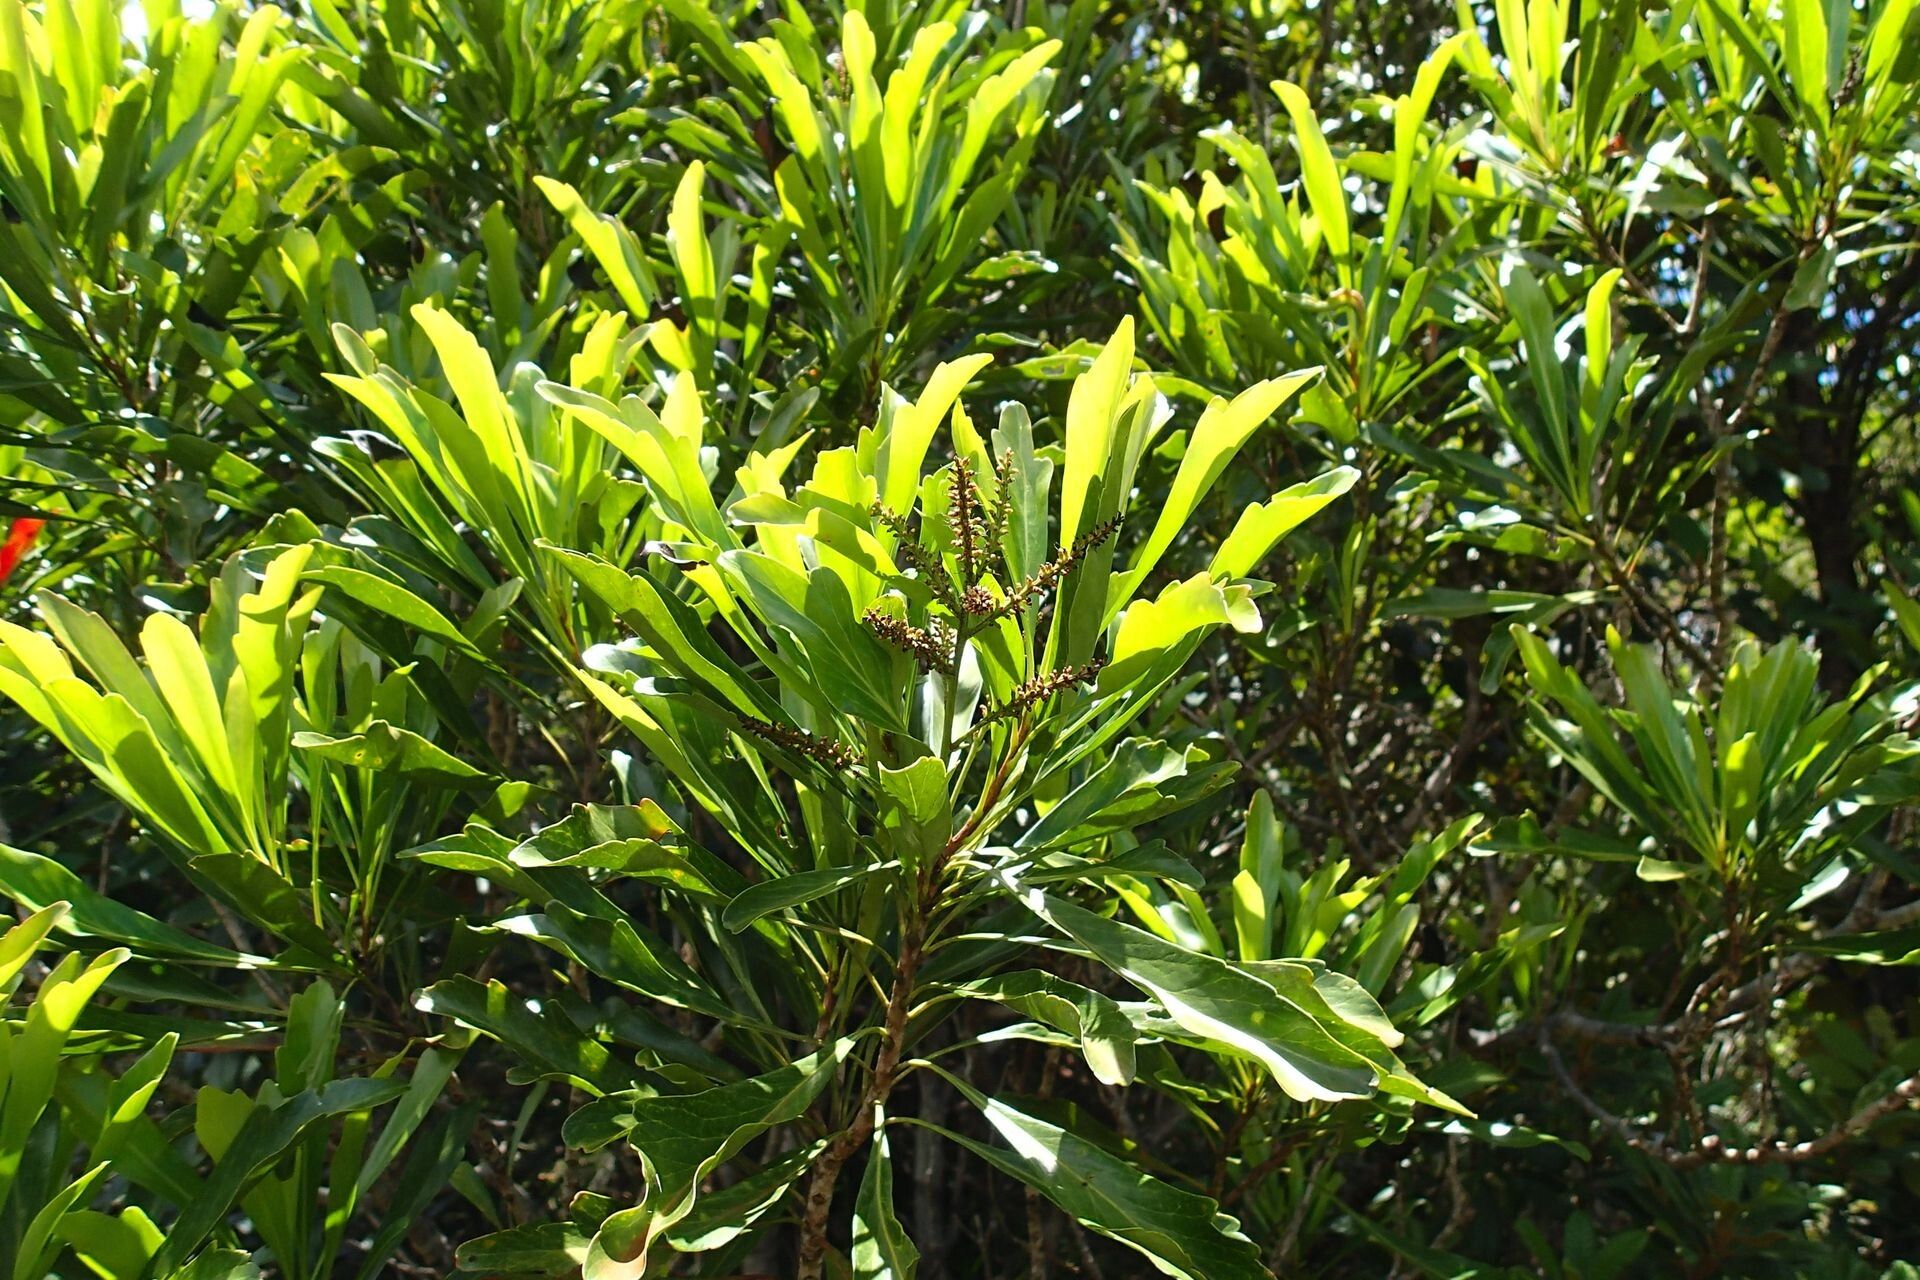
Oh, Beauprea spathulifolia! If you’ve seen one of these beauties, you know what I’m talking about. Their glossy, spatulate leaves have a way of just stopping you in your tracks. They bring a touch of the tropics, a little bit of architectural elegance, to any space. And the best part? You can bring that beauty home, again and again, by propagating them yourself.
Now, let me be honest with you: Beauprea spathulifolia isn’t what I’d call a beginner’s cakewalk. It requires a little more attention to detail than, say, a spider plant. But don’t let that deter you! With a bit of patience and the right approach, you’ll be rewarded with tiny versions of these magnificent plants, and that’s an incredibly satisfying feeling.
The Best Time to Start
Timing is everything in gardening, and propagation is no exception. For Beauprea spathulifolia, I find the late spring to early summer gives you the best shot. This is when the plant is actively growing and has plenty of energy to put into root development. You’ll want to take cuttings from healthy, vigorous new growth that’s firm but not woody.
Supplies You’ll Need
Gathering your supplies before you start makes the whole process much smoother. You’ll want:
- Sharp, clean pruning shears or a knife: For making clean cuts, which is crucial.
- Rooting hormone powder or gel: This isn’t strictly essential, but it really gives your cuttings a boost.
- Well-draining potting mix: I like a mix of equal parts perlite, peat moss, and good quality potting soil. For Beauprea, a bit more perlite helps keep things airy.
- Small pots or propagation trays: Clean ones, of course!
- A clear plastic bag or dome: To create a humid environment.
- Water: For misting and watering.
- Optional: A heat mat: This can speed up rooting, especially if your home is on the cooler side.
Propagation Methods
For Beauprea spathulifolia, I’ve had the most consistent success with stem cuttings.
- Take Your Cuttings: Using your clean shears, select a healthy stem and make a cut just below a leaf node (where a leaf attaches to the stem). You’re looking for cuttings that are about 4-6 inches long and have at least two to three sets of leaves. Remove the lower leaves, as these will be going under the soil and can rot.
- Apply Rooting Hormone: Dip the cut end of the stem into your rooting hormone, tapping off any excess.
- Plant Your Cuttings: Fill your small pots with your prepared potting mix. Make a hole in the center with your finger or a pencil. Gently insert the cut end of your stem into the hole, ensuring it’s snug. Water the soil gently.
- Create Humidity: This is key! Place the potted cuttings into a clear plastic bag, sealing it loosely, or cover them with a clear dome. This traps the humidity that your cuttings need to prevent drying out before they develop roots.
The “Secret Sauce” (Pro Tips)
Here are a few things I’ve learned over the years that can really make a difference:
- Don’t Let the Leaves Touch the Surface: When you water, aim for the soil directly. If the leaves of your cutting sit in water, they’re far more likely to rot before they can root.
- Bottom Heat is Your Friend: If you can, place your pots on a gentle heat mat. This warms the soil from below, encouraging the roots to develop more quickly and efficiently. It’s like a little spa day for your cuttings!
- Patience, Young Grasshopper: I know, I know, it’s hard to wait! But resisting the urge to constantly pull them up to check for roots is critical. Let them settle in.
Aftercare & Troubleshooting
Once your cuttings have rooted – and you can usually tell because you’ll see new leaf growth – it’s time for them to come out of their humid little world. Gradually acclimate them to lower humidity over a few days.
Water them when the top inch of soil feels dry. They’re still young and a bit delicate, so don’t let them dry out completely or drench them. You can start feeding them with a diluted liquid fertilizer once they show consistent new growth, perhaps once a month.
The most common sign of trouble is rot. If your cutting turns black and mushy, it’s usually a sign of too much moisture and not enough air circulation. Sometimes, if you catch it early and have multiple cuttings, you can save the healthy ones. If a cutting just looks sad and doesn’t root, don’t get discouraged. Sometimes, it’s just not meant to be, and that’s okay!
So there you have it! Propagating Beauprea spathulifolia is a rewarding journey. Be patient with your little green babies, give them the conditions they need, and before you know it, you’ll have a whole collection of these stunning plants. Happy propagating!
Resource: