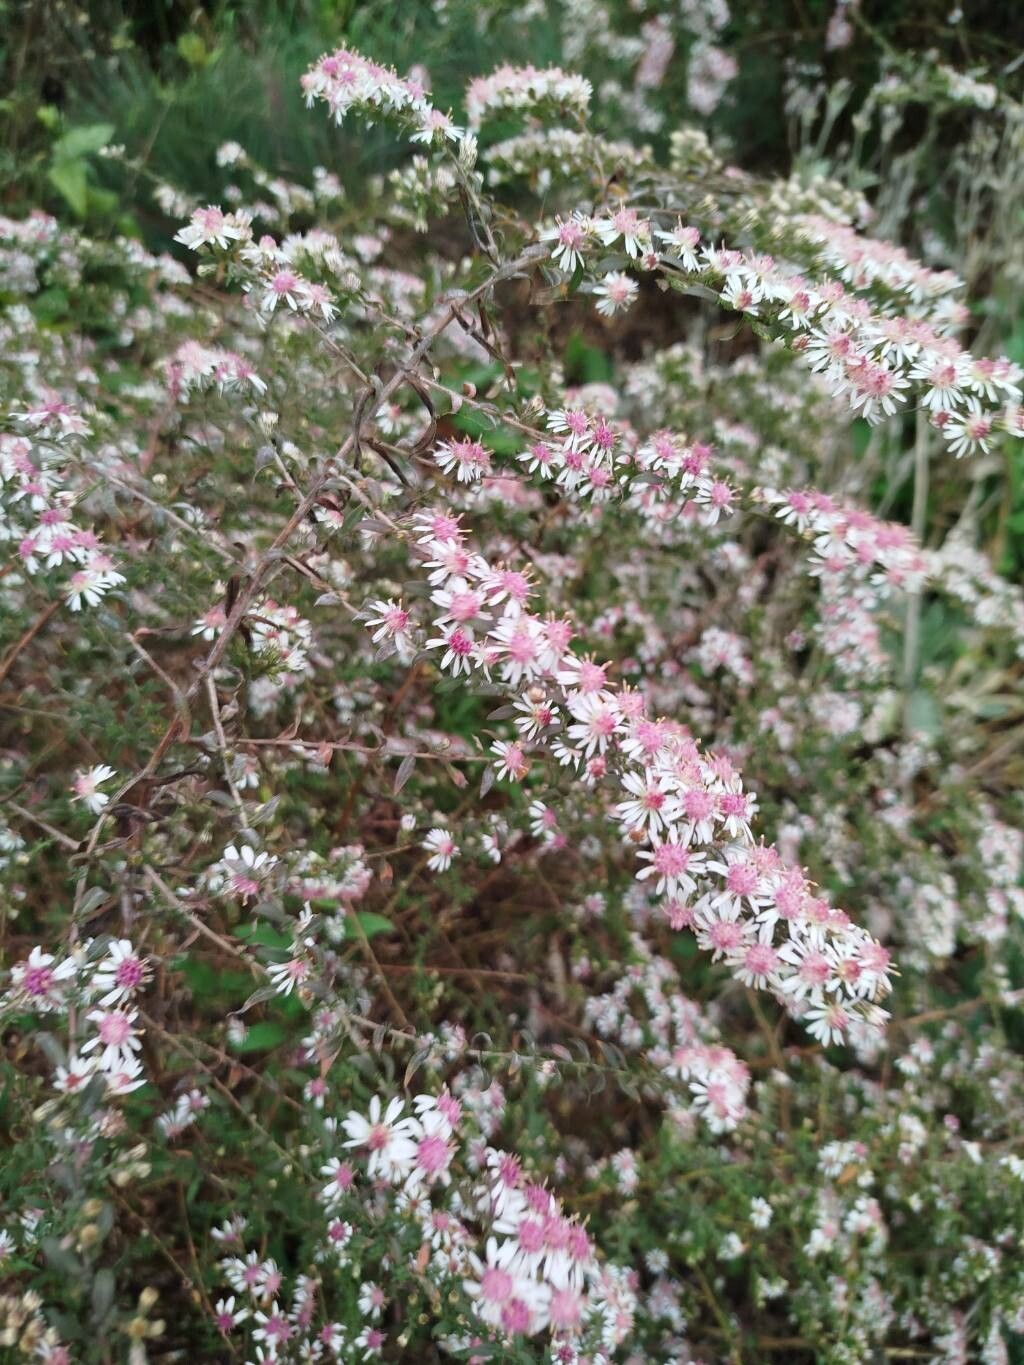
Hello fellow plant lovers! Today, we’re diving into the wonderful world of propagating Symphyotrichum lateriflorum, or as many of us lovingly call it, Calico Aster. This beauty, with its dainty star-shaped flowers in shades of white, pink, and lavender, is a late-season champion, bringing a splash of color to the garden when everything else is winding down. Trust me, growing your own through propagation is incredibly satisfying, and the good news is, Calico Aster is a pretty forgiving plant to work with. So, don’t be shy, dive right in!
The Best Time to Start
When it comes to Symphyotrichum lateriflorum, I’ve found that the sweet spot for propagation is usually in late spring to early summer. This is when the plant is actively growing, and its stems are still relatively soft and pliable, making them ideal for taking cuttings. If you’re thinking about dividing them, then early spring, just as the new growth is starting to emerge, is your best bet. This gives the divisions a full growing season to establish themselves.
Supplies You’ll Need
Gathering your tools ahead of time makes the whole process smoother. Here’s what I always have on hand:
- Sharp pruning shears or a clean knife: For taking clean cuttings.
- Rooting hormone (optional but recommended): This really gives your cuttings a boost.
- Small pots or seed trays: Clean ones, of course!
- Well-draining potting mix: A good starting point is a blend of peat moss or coco coir, perlite, and a bit of compost.
- Watering can with a fine rose: For gentle watering.
- Plastic bags or a propagator: To create a humid environment.
- Labels and a permanent marker: So you don’t forget what you planted where!
- For division: A garden fork or spade.
Propagation Methods
Let’s get our hands dirty with the most common and effective ways to multiply your Calico Aster.
Stem Cuttings
This is my go-to method for Symphyotrichum lateriflorum, and it usually yields great results.
- Select healthy stems: Look for upright, non-flowering stems from your parent plant. You want stems that are about 4-6 inches long.
- Make your cuts: Using your clean pruners or knife, take cuttings just below a leaf node. A leaf node is where a leaf attaches to the stem. This is where the magic of root formation happens.
- Prepare the cuttings: Gently remove the lower leaves, leaving just a few at the top. This reduces water loss. If you’re using rooting hormone, dip the cut end into it now, tapping off any excess.
- Pot them up: Fill your small pots with your well-draining potting mix. Make a hole with your finger or a pencil and insert the cutting, firming the soil gently around it.
- Water and cover: Water thoroughly but gently. Then, cover the pot with a clear plastic bag or place it in a propagator. This creates a mini-greenhouse, keeping the humidity high, which is crucial for those cuttings.
Division
This is a fantastic way to rejuvenate an established clump and get more plants.
- Dig up the clump: In early spring, carefully dig up the entire plant. You might need a spade for this, especially if it’s an older clump.
- Examine the roots: Gently shake off excess soil to see the root system.
- Separate the divisions: You can usually pull the clump apart with your hands, or you might need to use a spade or fork to divide it into sections. Each division should have a good amount of roots and some visible new shoots.
- Replant immediately: Plant your divisions back into prepared beds or pots. Make sure they’re planted at the same depth they were before. Water them in well.
The “Secret Sauce” (Pro Tips)
Here are a couple of things I’ve learned over the years that can really make a difference:
- Don’t let the leaves touch the water (in water propagation): While I didn’t detail water propagation above, it’s an option! If you ever try rooting asters in water, make sure only the stem is submerged, not the leaves. Leaves sitting in water will rot quickly and can take your cutting down with them.
- Bottom heat is your friend: For stem cuttings, placing your pots on a heat mat can significantly speed up root formation. It mimics the warmth of spring soil and gives those roots a little encouragement to develop. You can find affordable seedling heat mats at most garden centers.
Aftercare & Troubleshooting
Once you see those little roots popping out, it’s time to switch gears with your care.
- For cuttings: If you’ve had them covered, gradually acclimate them to normal humidity by opening the bag a little more each day over a week. Once they are robust enough, you can transplant them into larger pots. Keep them well-watered but not soggy.
- For divisions: Just keep them consistently moist as they establish. A light mulch can help retain moisture.
- Troubleshooting: The most common issue you’ll face is rot. This usually happens if the cuttings are kept too wet or lack good air circulation. If you see a cutting turning black and mushy, it’s likely gone. Discard it and try again, focusing on fresh cuttings and better drainage or air flow. A lack of root development might mean an impatient wait, or perhaps the conditions weren’t quite right. Don’t be discouraged, even experienced gardeners have their failures!
A Encouraging Closing
Growing new plants from your existing favorites is a truly rewarding part of gardening. It deepens your connection to your plants and allows you to share their beauty with others. Be patient with your Symphyotrichum lateriflorum; sometimes they take their time, but the satisfaction of seeing those new little plants thrive is absolutely worth the wait. Happy propagating!
Resource: