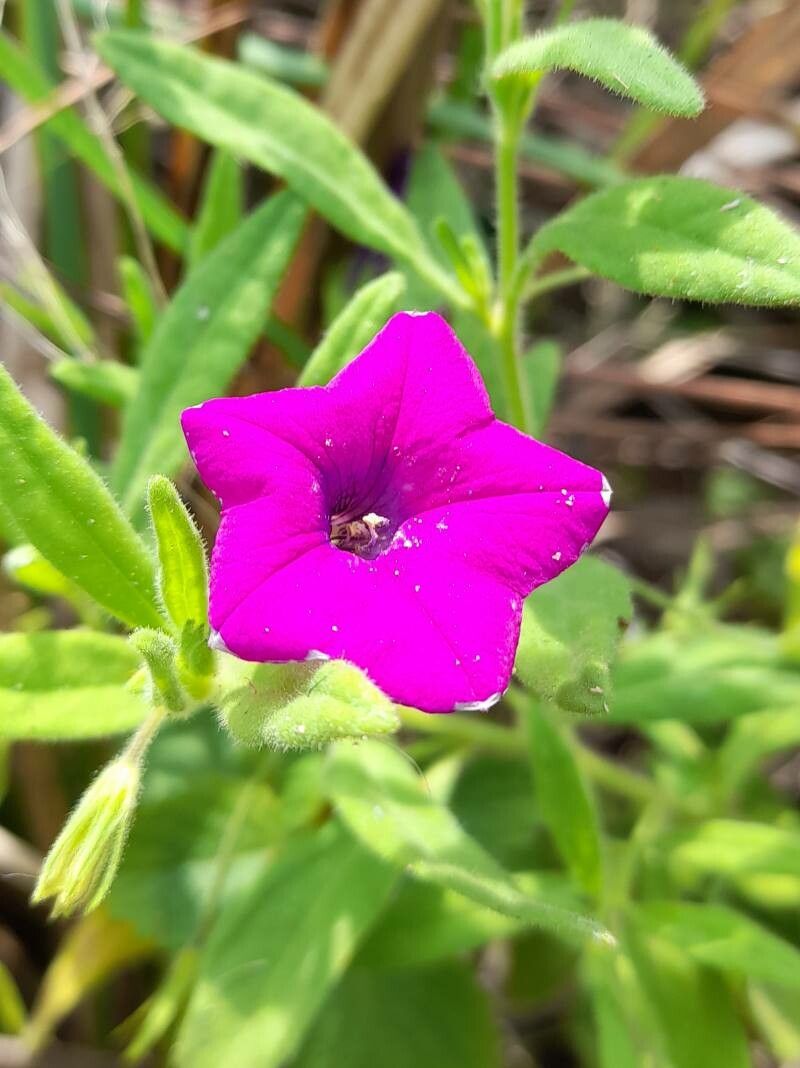
Hello, fellow garden enthusiasts! I’m so excited to chat with you today about a truly delightful plant: Petunia inflata. If you’re anything like me, you adore those charming, often unexpectedly vibrant purple blooms and the way they tumble so elegantly from hanging baskets and borders. Propagating Petunia inflata is a wonderful way to fill your garden with more of this beauty, and it’s not nearly as daunting as you might think. For beginners, I’d say it’s moderately easy – a little patience goes a long way here.
The Best Time to Start
When I’m looking to get a head start on my Petunias, I aim for late spring or early summer. This is when the plants are actively growing and have plenty of healthy, young stems to work with. Starting too early in the spring, when things are still a bit cool and growth is slower, can lead to disappointing results. Wait until your established plants are really putting on a show.
Supplies You’ll Need
Gathering your tools before you begin makes the whole process much smoother. Here’s what I usually have on hand:
- Sharp, clean pruning shears or scissors: You want a clean cut to prevent disease.
- Rooting hormone powder or gel: This isn’t strictly essential, but it really gives your cuttings a boost.
- A well-draining potting mix: I often use a mix of perlite and peat moss, or a specialized seed-starting mix.
- Small pots or trays: Cleaned thoroughly, of course!
- A mister or spray bottle: For keeping things nice and humid.
- Plastic bags or domes: To create a mini-greenhouse effect.
- Labels: To keep track of what you’ve planted!
Propagation Methods
For Petunia inflata, I find stem cuttings to be the most reliable and rewarding method.
-
Taking Cuttings: On a healthy, non-flowering stem, make a clean cut just below a leaf node (where a leaf attaches to the stem). You’re looking for cuttings that are about 3-4 inches long. Remove the lower leaves, leaving just the top couple of sets. This prevents them from rotting in the soil.
-
Prepping for Rooting: Dip the cut end of the stem into your rooting hormone. Gently tap off any excess.
-
Planting the Cuttings: Fill your small pots with your prepared potting mix. Make a small hole with your finger or a pencil. Insert the cutting into the hole, ensuring the leaf nodes are buried. Gently firm the soil around the stem.
-
Creating Humidity: Water the soil thoroughly, but avoid making it soggy. Then, cover the pot with a clear plastic bag or a plastic dome. This traps humidity, which is crucial for those cuttings to form roots.
-
Placement: Place the pots in a bright location but out of direct sunlight. Too much sun will scorch the delicate cuttings.
The “Secret Sauce” (Pro Tips)
Here are a couple of little tricks I’ve picked up over the years that really seem to make a difference with Petunias:
- Bottom Heat is Your Friend: If you have it, placing your pots on a heated propagation mat can significantly speed up root development. Petunias love warmth, and that gentle bottom heat encourages those roots to really get going.
- Don’t Over-Water from Above: Once your cuttings are planted and covered, resist the urge to keep watering them from the top. The sealed environment should keep the soil moist. If you see condensation on the inside of the plastic, that’s your cue that humidity is good. Too much moisture from above can lead to stem rot.
Aftercare & Troubleshooting
Once your Petunia inflata cuttings have been in their cozy, humid environment for a few weeks, you can start to gently check for roots. You’ll know they’re rooted when you feel a slight resistance when you tug gently on the stem, or if you see new leaf growth appearing.
At this point, you can gradually acclimate them to drier air by lifting the plastic bag or dome for a few minutes each day, slowly increasing the time. Continue to keep them in bright, indirect light and water when the top inch of soil feels dry.
The most common problem you might encounter is rot. If you see a cutting turning black or mushy at the base, it’s usually a sign of too much moisture and not enough air circulation. Sadly, these are usually lost, but don’t get discouraged! It’s a learning process. Ensure your soil is well-draining and that you’re not keeping them too waterlogged.
A Encouraging Closing
Propagating Petunia inflata is a truly rewarding endeavor that allows you to multiply your garden’s charm for pennies. Be patient with your young plants, observe them closely, and don’t be afraid to experiment. Before you know it, you’ll have a whole new generation of these lovely blooms to enjoy. Happy growing!
Resource:
https://identify.plantnet.org/k-world-flora/species/Petunia%20inflata%20R.E.Fr./data