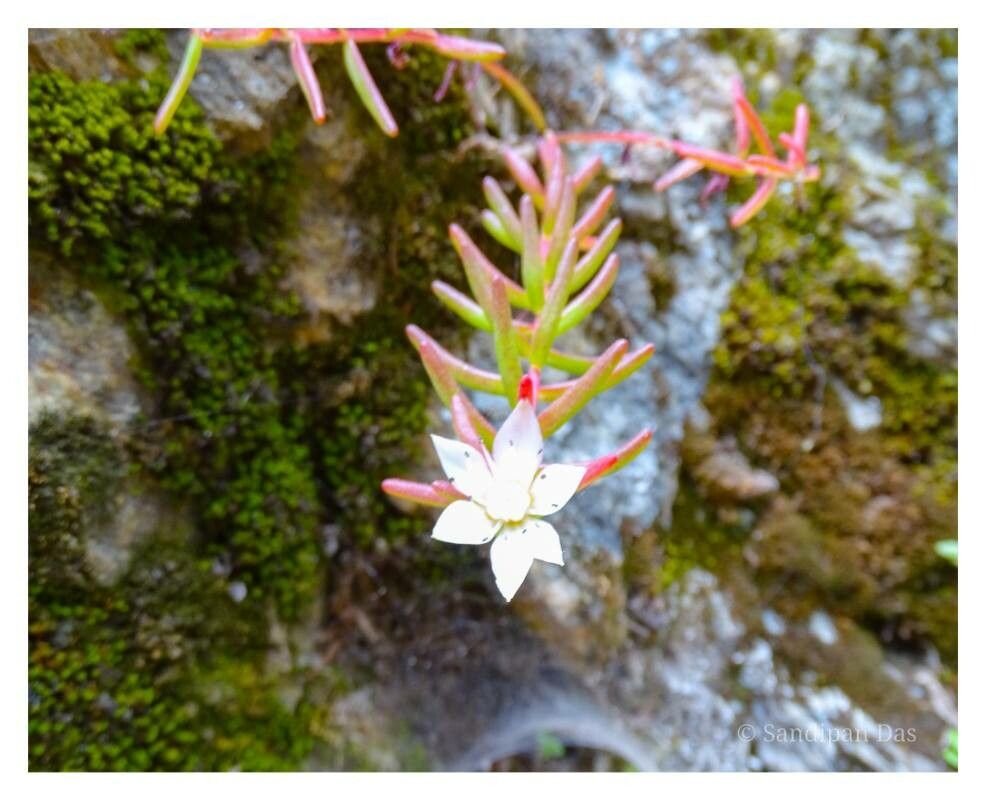
Oh, Rhodiola amabilis! What a gorgeous little plant. Its delicate pinky-red blooms are just a delight, peeking out from sturdy, succulent-like leaves. If you’ve ever admired this charmer in a friend’s garden or spotted it at the nursery and wished you had more, I’ve got great news for you. Propagating Rhodiola amabilis is a really rewarding experience, and while it’s not quite a “stick it in the ground and forget it” situation, it’s definitely accessible for most gardeners, even those just starting out. Watching a tiny cutting transform into a new, thriving plant is pure magic, don’t you think?
The Best Time to Start
For the highest chance of success with Rhodiola amabilis, I always recommend spring or early summer. This is when the plant is actively growing and has the energy to put into developing new roots. You want to work with healthy, vigorous stems that aren’t flowering or setting seed. Looking for new growth, the kind that’s soft and pliable but not overly floppy, is your cue.
Supplies You’ll Need
Gathering your tools beforehand makes the whole process smoother. Here’s what I typically have on hand:
- Sharp, clean pruning shears or a sharp knife: For making clean cuts.
- Rooting hormone (optional but recommended): Encourages faster root development.
- Small pots or trays: With drainage holes, of course!
- Well-draining potting mix: A special succulent or cactus mix works wonderfully, or you can amend regular potting soil with perlite or coarse sand.
- A spray bottle: For misting.
- Clear plastic bags or a propagator lid: To create a humid environment.
- Labels and a marker: To keep track of your projects.
Propagation Methods: Stem Cuttings
Stem cuttings are my go-to for multiplying Rhodiola amabilis. It’s straightforward and incredibly effective.
- Take Your Cuttings: Using your clean shears, snip off stem sections that are about 3-4 inches long. You’re looking for healthy, non-flowering stems. Make the cut just below a leaf node (where a leaf attaches to the stem).
- Prepare the Cuttings: Gently remove the lower leaves from the cutting. This is crucial! Having leaves buried in the soil will just invite rot. You want to expose the leaf nodes where roots will emerge.
- Apply Rooting Hormone (Optional): If you’re using rooting hormone, dip the cut end of each stem into the powder or gel. Tap off any excess. This step can really give your cuttings a boost.
- Plant Your Cuttings: Fill your small pots with your well-draining soil mix. Make a small hole in the center of the soil with your finger or a pencil. Insert the cut end of the stem into the hole, burying the leaf nodes you exposed. Gently firm the soil around the cutting.
- Water and Cover: Lightly water the soil. Then, cover the pot with a clear plastic bag or place it inside a propagator with a lid. This is key to maintaining humidity, which prevents the cuttings from drying out before they can form roots.
The “Secret Sauce” (Pro Tips)
Here are a couple of things I’ve learned over the years that can really make a difference:
- Avoid letting leaves touch the water (if water propagating): Even though you’re removing lower leaves for cuttings, I sometimes see people try to root small sprigs in water. If you go that route, ensure no leaves are submerged. They’ll just rot and foul the water, which is counterproductive.
- Bottom heat is your friend: If you happen to have a seedling heat mat, placing your pots on it can significantly speed up root formation. It mimics that lovely warm soil environment that plants thrive in.
Aftercare & Troubleshooting
Once your cuttings are planted, find a bright spot that gets indirect sunlight. Direct sun can scorch those tender young stems. Mist the soil surface lightly every few days to keep it consistently moist but not soggy. The plastic cover will help retain this moisture, so you won’t need to water too often.
You’ll know your cuttings have rooted when you see new leaf growth or feel a slight resistance when you gently tug on the stem. This usually takes a few weeks, sometimes longer.
The most common issue you might encounter is rot. If your cuttings turn mushy or black, it’s a sign they’ve gotten too wet for too long and the environment wasn’t airy enough. Be sure to use that free-draining soil and don’t overwater. Sometimes, if it’s very humid, you might lift the plastic cover for an hour or two each day to allow some air circulation.
A Rewarding Journey
Don’t get discouraged if every single cutting doesn’t make it. Gardening is all about learning and experimenting! Be patient with your new Rhodiola amabilis babies. The thrill of seeing those first tiny roots and new leaves emerge is truly worth the effort. Happy propagating!
Resource:
https://identify.plantnet.org/k-world-flora/species/Rhodiola%20amabilis%20(H.Ohba)%20H.Ohba/data