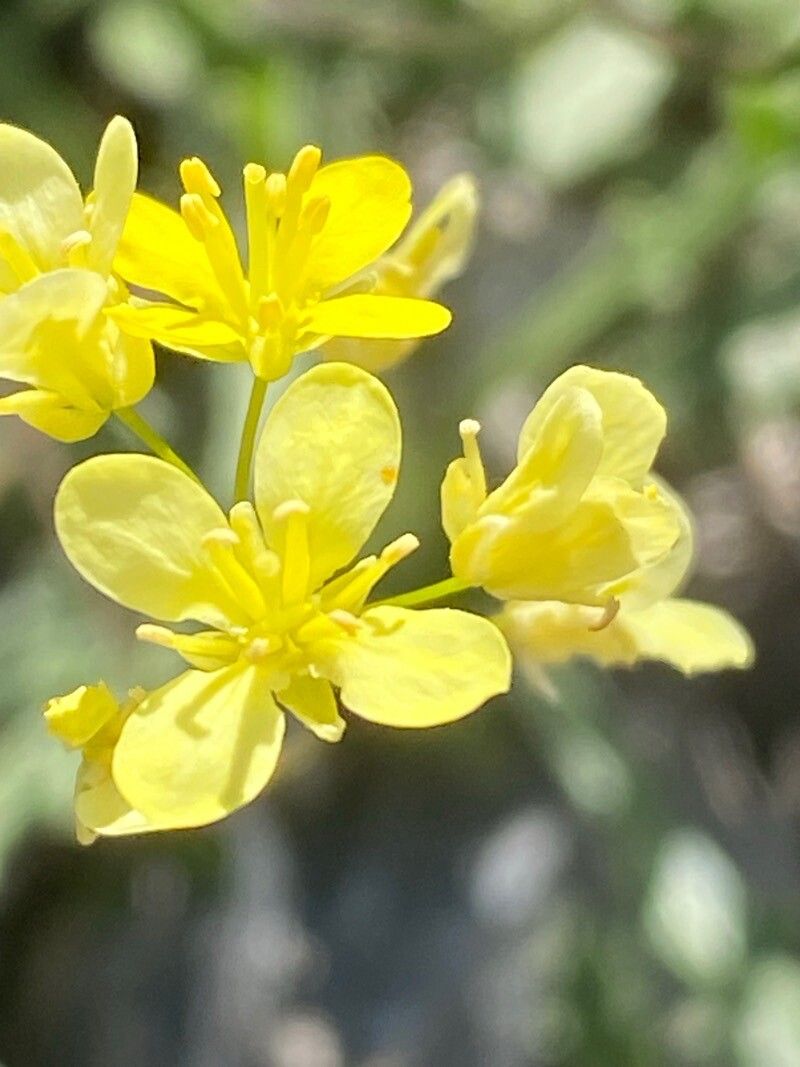
Oh, hello there, fellow plant lover! I’m so excited to chat with you today about one of my absolute favorites: Biscutella brevicaulis. If you’re not familiar with it yet, imagine tiny little stars bursting forth in a delightful, often yellow, cascade. It’s that perfect little jewel for rock gardens or containers, adding a touch of understated charm.
Propagating Biscutella brevicaulis is such a rewarding experience. You get to witness new life emerge from just a sliver of the original, and honestly, who doesn’t love a good plant baby? Now, for beginners, I’d say this is a moderately easy plant to propagate, but with a few good practices, you’ll be hooked.
The Best Time to Start
For the highest success rate, I always reach for my pruning shears in late spring to early summer. This is when the plant is actively growing, and its cuttings are most vigorous. Waiting until the heat of mid-summer can be a bit too stressful for young propagules.
Supplies You’ll Need
Here’s what I usually have on hand when I’m ready to get busy:
- Sharp pruning shears or a clean knife: Essential for making clean cuts.
- Well-draining potting mix: A mix of perlite, sand, and a good quality potting soil works wonders. You want it to feel airy!
- Small pots or seed trays: Clean ones, of course!
- Rooting hormone (optional but recommended for cuttings): A powder or gel can really give those roots a boost.
- A watering can with a fine rose or a spray bottle: For gentle watering.
- Labels and a waterproof marker: Don’t forget to label your efforts!
- A propagator or plastic bag: To create a humid environment.
- A tray of pebbles and water: For maintaining humidity.
Propagation Methods
Biscutella brevicaulis is quite cooperative, and I find the most reliable method is through stem cuttings.
- Taking the Cuttings: Select healthy, non-flowering stems. Look for pieces that are about 4-6 inches long and are firm but not woody. Using your sharp pruning shears or knife, make a clean cut just below a leaf node (where a leaf attaches to the stem).
- Preparing the Cuttings: Gently remove the lower leaves from the cutting, leaving just a few at the top. This prevents them from rotting once they’re in the soil. If you’re using rooting hormone, dip the cut end of the stem into the powder or gel.
- Planting the Cuttings: Fill your small pots with your well-draining potting mix. Make a pilot hole with a pencil or your finger. Insert the cut end of the stem into the hole, ensuring the node where you removed the leaves is buried. Gently firm the soil around the cutting.
- Creating Humidity: Water the soil lightly. Then, place the pot into a propagator or cover the pot loosely with a clear plastic bag. Make sure the leaves aren’t touching the sides of the bag if you can help it. You can also place the pots on a tray filled with pebbles and a little water – this creates a lovely humid microclimate.
The “Secret Sauce” (Pro Tips)
Here are a couple of things I’ve learned over the years that really make a difference:
- Don’t let the leaves touch the water! Whether you’re using a plastic bag or a pebble tray, anything that causes the leaves to sit in moisture is an invitation for fungal problems. Green leaves need air circulation too!
- Consider a little warmth. Biscutella brevicaulis cuttings are happiest with a bit of gentle warmth from below. A seedling heat mat set to a low temperature (around 70°F or 21°C) can dramatically speed up root development.
Aftercare & Troubleshooting
Once your cuttings are potted, find them a spot with bright, indirect light. Keep the soil consistently moist but not waterlogged. This is key! You don’t want them to dry out, but you also don’t want them sitting in a soggy mess.
You’ll know your cuttings have rooted when you see new leaf growth or feel a slight resistance when you gently tug on the cutting. This usually takes anywhere from 3-6 weeks.
The most common problem you’ll encounter is rot. This is usually due to overwatering or poor air circulation. If you see your cuttings wilting, turning black, or becoming mushy, it’s a sign things aren’t going to work out. Remove any affected cuttings immediately to prevent the problem from spreading.
A Encouraging Closing
Propagating plants is a journey, and sometimes it’s a dance of patience. Don’t be discouraged if not every cutting takes. Each attempt is a learning experience, and the joy of seeing those tiny roots form and a new plant emerge is truly unmatched. So, get your hands dirty, enjoy the process, and soon you’ll have an abundance of your own Biscutella brevicaulis to share! Happy gardening!
Resource:
https://identify.plantnet.org/k-world-flora/species/Biscutella%20brevicaulis%20Jord./data