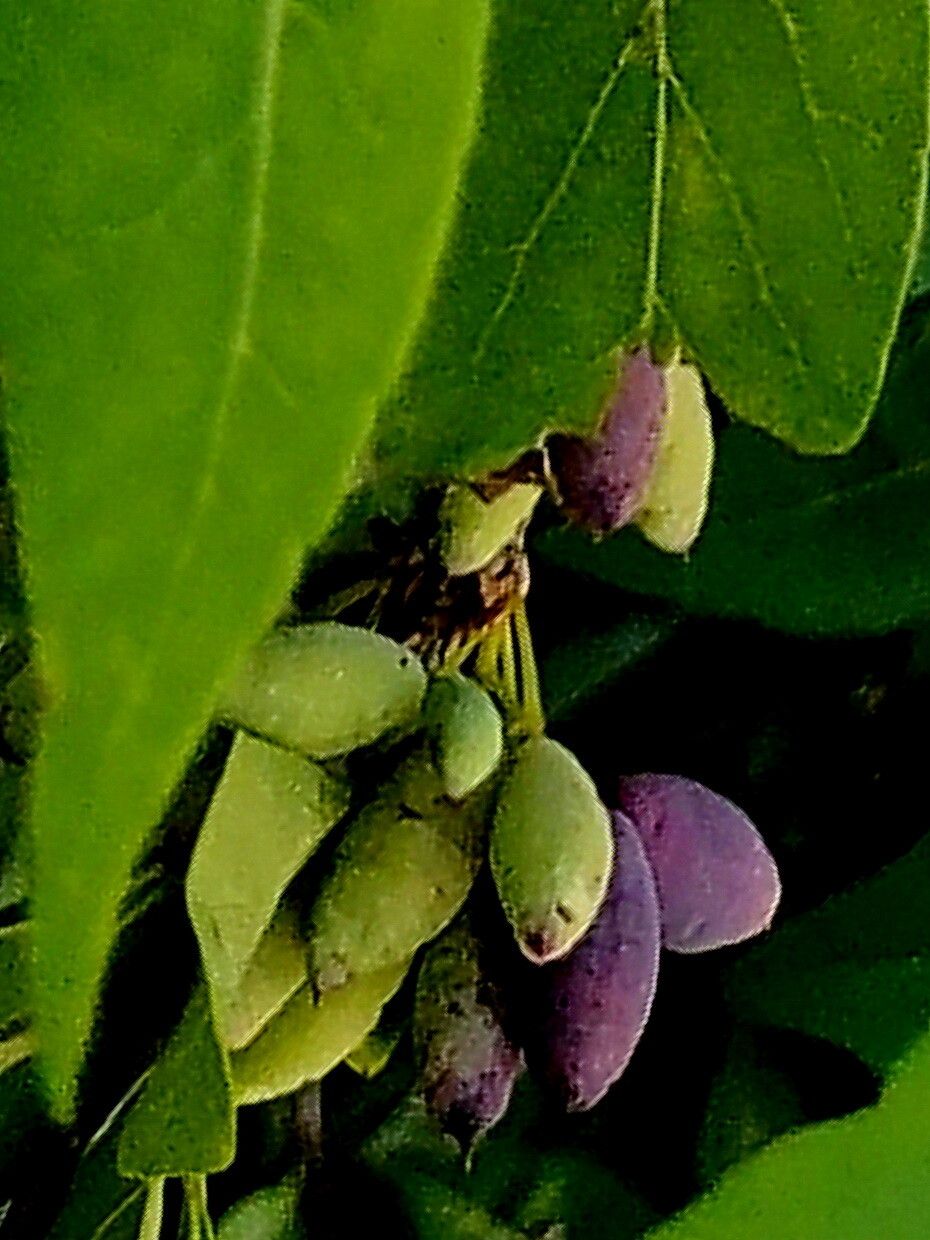
Oh, hello there! Pull up a chair and let’s talk about a really wonderful native plant that I’ve grown to love over the years: Forestiera acuminata, also known as Swamp Privet or Jointwood. It’s such a charming shrub, isn’t it? With its glossy green leaves and often a lovely, understated elegance, it adds a touch of the wild to any garden. Plus, it’s a favorite for our local pollinators, which always makes me happy. And the best part? It’s surprisingly easy to propagate! If you’re new to the gardening world, this is a fantastic plant to start with. You’ll feel like a garden wizard in no time.
The Best Time to Start
For Forestiera acuminata, I find that late spring into early summer is your sweet spot. This is when the plant is in its active growing phase, and the new, semi-hardwood shoots have a good balance of flexibility and firmness. Trying to take cuttings too early, when they’re still completely soft, or too late in the fall, when things are starting to shut down, just won’t give you the best results. We want that vigorous energy, that “go-go-go” feeling in the plant!
Supplies You’ll Need
Here’s a little list of what I usually have on hand when I’m ready to propagate:
- Sharp Pruning Shears or a Craft Knife: Make sure they’re clean and very sharp. We don’t want to crush those delicate stems.
- Rooting Hormone: A powder or gel works beautifully. It’s like a little boost of encouragement for those roots to form.
- Potting Mix: I prefer a well-draining mix. A good blend is equal parts peat moss or coir, perlite, and a bit of compost. You can also buy specialized cutting mixes.
- Small Pots or Trays: Clean pots are important! I usually go for 4-inch pots for cuttings.
- Plastic Bags or Domes: These create a mini greenhouse effect, which is crucial for keeping humidity high.
- Watering Can with a Fine Rose: Gentle watering is key!
Propagation Methods: Stem Cuttings
This is my go-to method for Forestiera acuminata. It’s straightforward and yields great results.
- Select Your Cuttings: Look for healthy stems that are about Pencil-thick and between 4 to 6 inches long. You want the current year’s growth, ideally with a few sets of leaves. I usually snap a stem to see if it bends a bit before breaking – that’s usually a good sign.
- Prepare the Cuttings: Make a clean cut just below a leaf node. This is where roots are most likely to form. Remove the lower leaves, leaving just two or three at the top. You can even trim the larger top leaves in half to reduce water loss.
- Apply Rooting Hormone: Dip the cut end of the stem into your rooting hormone, tapping off any excess. Make sure the bottom 1-2 inches are covered.
- Plant Your Cuttings: Fill your pots with your prepared potting mix. Make a small hole with a pencil or your finger, and gently insert the cutting. Firm the soil gently around the stem.
- Water and Cover: Water the soil thoroughly until it drains from the bottom. Then, place a clear plastic bag over the pot, or use a propagator lid. Stake it up a bit so the plastic doesn’t touch the leaves.
The “Secret Sauce” (Pro Tips)
Here are a couple of things I’ve learned that really make a difference:
- Keep them Humid, but not Soggy: That plastic bag is your best friend for humidity, but make sure the soil isn’t waterlogged. If you see condensation pooling heavily inside, you can briefly open the bag to let it air out. The goal is a consistently moist environment, not a swamp!
- Bottom Heat is Your Friend: If you have a seedling heat mat, placing your pots on it can really speed up root development. It mimics the warmth of the soil in spring and gives those roots an extra kickstart.
Aftercare & Troubleshooting
Once your cuttings are planted, find them a bright spot out of direct, scorching sun. I usually place mine in a greenhouse or a bright windowsill indoors. Be patient! Roots can take anywhere from 4 to 8 weeks to develop. You can gently tug on a cutting after a few weeks; if you feel resistance, you’ve got roots!
The biggest issue you might encounter is rot. This usually happens if the soil is too wet or the humidity is too high without enough air circulation. If you see your cutting turning mushy or blackening, it’s usually a sign of rot. Unfortunately, there’s not much you can do once that happens, so it’s best to discard it and try again. Sometimes, a cutting just won’t take, and that’s okay! It’s part of the learning process.
A Encouraging Closing
Propagating Forestiera acuminata is such a rewarding way to expand your garden or to share these beautiful plants with friends. Don’t be discouraged if every single cutting doesn’t make it – that’s just nature’s way! Celebrate the successes, learn from the failures, and most importantly, enjoy the journey of nurturing new life. Happy propagating!
Resource:
https://identify.plantnet.org/k-world-flora/species/Forestiera%20acuminata%20(Michx.)%20Poir./data