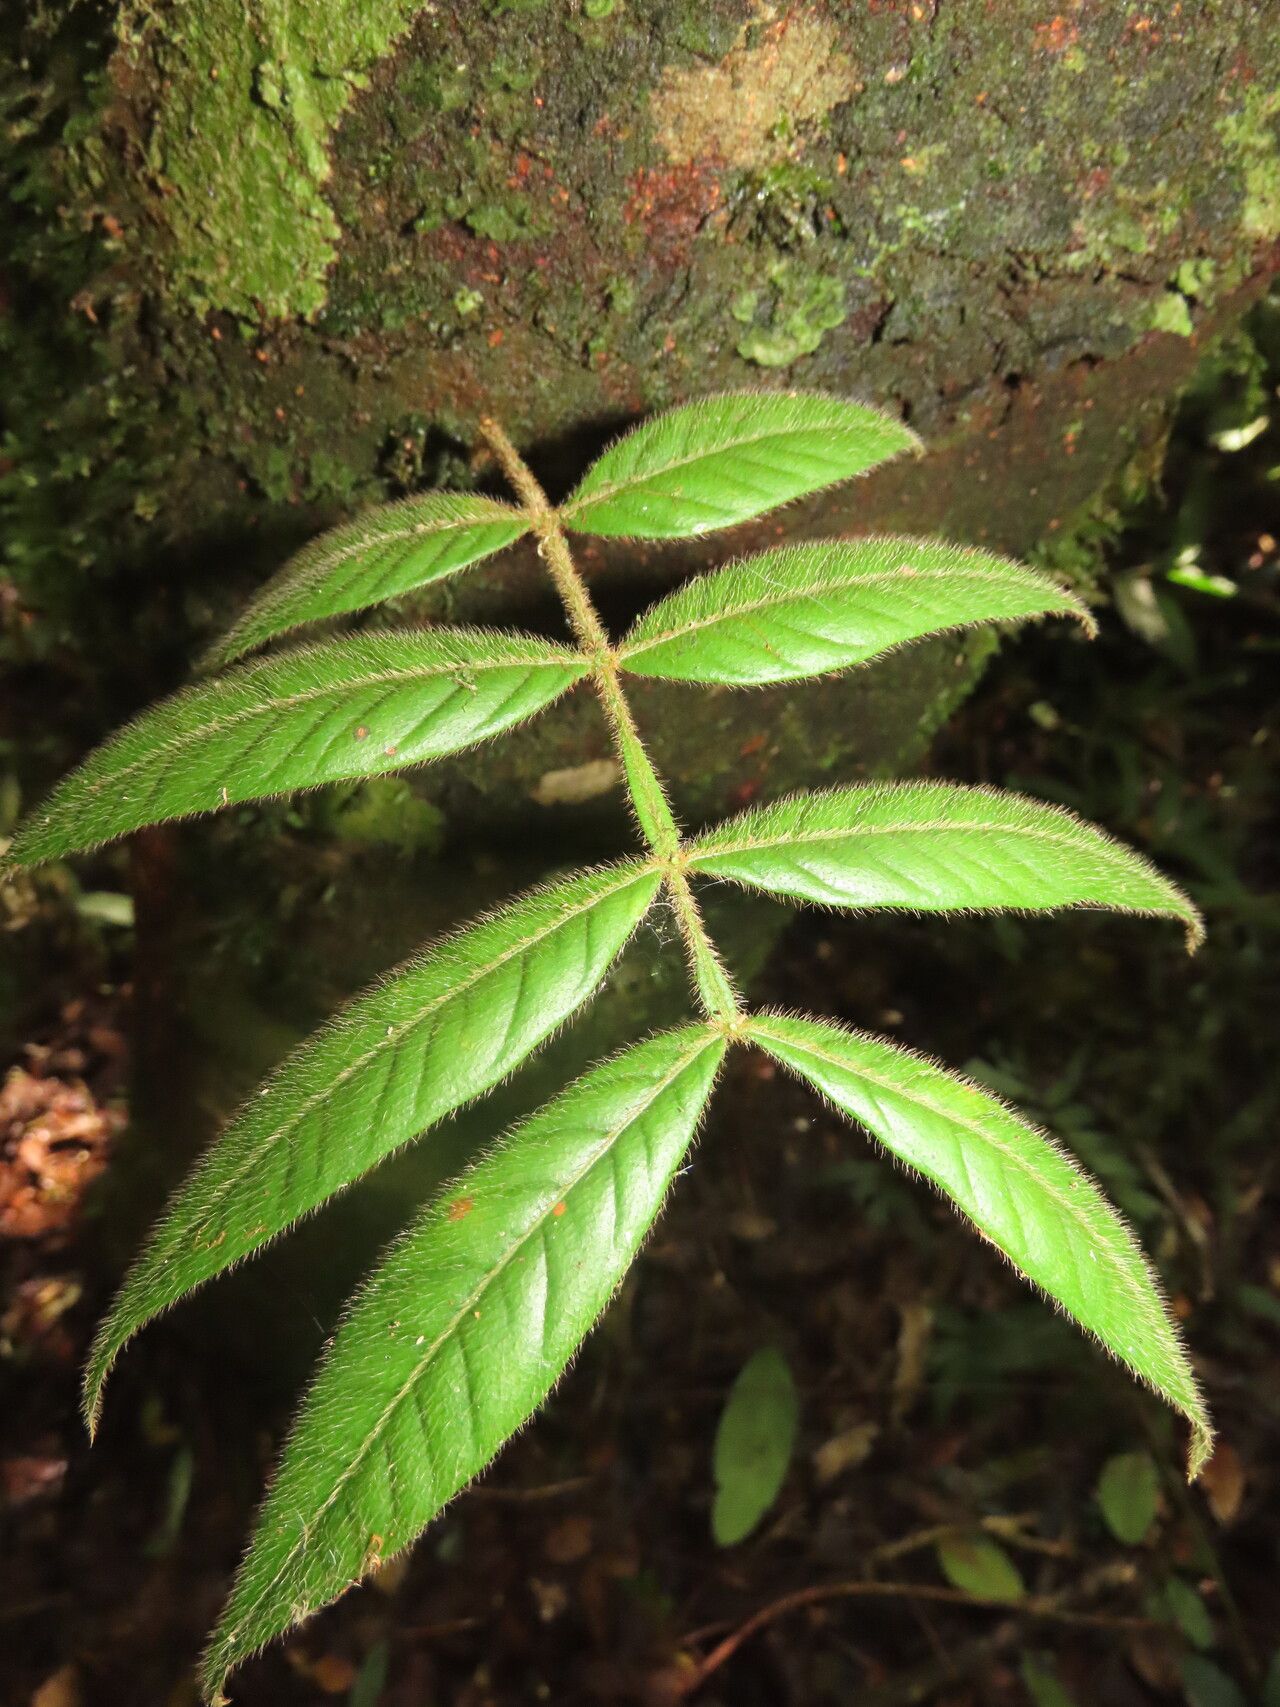
Oh, hello there! I’m so glad you’re interested in Inga exalata. This plant, also known as the “wingpod” or sometimes by a few other lovely common names, is just… special. Its delicate leaves and the way it seems to unfurl with such grace always bring a smile to my face. And the best part? Getting more of these beauties for yourself is incredibly satisfying.
Now, for beginners asking if Inga exalata is an easy plant to propagate, I’d say it’s moderately easy. It’s not a foolproof one-and-done, but with a little attention to detail, you’ll be celebrating success very soon.
The Best Time to Start
For the highest success rate with Inga exalata, I find spring and early summer to be the absolute sweet spot. This is when the plant is in its most vigorous growth phase. You’ll be taking cuttings from healthy, actively growing stems – that’s key! Waiting until after the main flush of spring growth has slowed a bit can also work beautifully.
Supplies You’ll Need
Here’s a little rundown of what you’ll want to have on hand:
- Sharp Pruning Shears or a Clean Knife: Dull tools can crush stems, which you absolutely don’t want.
- Rooting Hormone (Optional but Recommended): A good quality rooting powder or gel can really give your cuttings a boost.
- Well-Draining Potting Mix: I love a mix of equal parts peat moss, perlite, and a bit of coco coir for my propagations. A specially formulated seed-starting mix works well too.
- Small Pots or Propagation Trays: Clean ones are a must to prevent disease.
- Plastic Bag or Humidity Dome: To keep those cuttings nice and moist.
- Spray Bottle with Water: For misting.
- A Bright, Indirect Light Location: No harsh sun, please!
- Optional: Heat Mat: This can significantly speed up root development.
Propagation Methods
I’ve found stem cuttings to be the most reliable way to get new Inga exalata plants. Let’s walk through it.
Stem Cuttings:
- Select Your Cuttings: Look for healthy, non-flowering stems that are firm but not woody. You want stems that have several sets of leaves.
- Make the Cut: Using your sharp shears or knife, take a cutting about 4-6 inches long. Make the cut just below a leaf node (where a leaf attaches to the stem). This is where the magic happens, where rooting hormones are concentrated.
- Prepare the Cutting: Gently remove the lower leaves, leaving just a couple of sets at the top. This prevents them from rotting in the soil.
- Apply Rooting Hormone (if using): Dip the cut end of the stem into your rooting hormone, tapping off any excess.
- Potting Up: Fill your small pots with your well-draining potting mix. Make a small hole in the center of the soil with your finger or a pencil.
- Insert the Cutting: Place the cut end of the Inga exalata cutting into the hole and gently firm the soil around it.
- Water Lightly: Water the soil thoroughly until it’s moist but not waterlogged.
- Create a Humid Environment: Place the potted cutting inside a clear plastic bag, or cover it with a humidity dome. If it’s in a bag, inflate it slightly with air to keep the plastic from touching the leaves. Make a few small holes in the top for a little air circulation.
- Place in Bright, Indirect Light: Find a warm spot that gets plenty of bright, filtered light. Avoid direct sunlight, which can scorch your new baby.
The “Secret Sauce” (Pro Tips)
Here are a couple of things I’ve learned over the years that make a real difference:
- Don’t Let the Leaves Touch the Water (if using water propagation): If you decide to try rooting a cutting in water first (which I rarely do for Inga but some people prefer), make sure absolutely none of the leaves are submerged. They’ll rot very quickly, and that’s a fast track to failure.
- Bottom Heat is Your Friend: If you have a heat mat, put your pots on it! This gentle warmth from below encourages root formation much faster and generally increases your success rate significantly. It mimics those lovely warm soil temperatures the plant loves.
- Be Patient with Leaf Drop: Sometimes, a cutting might drop a leaf or two. Don’t panic! As long as the stem is still firm and green, it’s not necessarily a sign of doom. Focus on keeping the humidity up.
Aftercare & Troubleshooting
Once you start to see signs of new growth – a tiny new leaf unfurling at the tip is a great indicator – or if you gently tug on the cutting and feel resistance (meaning roots have formed), it’s time for a little shift.
- Acclimatize Slowly: Gradually reduce the humidity over a week or two. Start by opening the plastic bag or dome for a few hours each day.
- Water with Care: Water only when the top inch of soil feels dry. Overwatering is the most common killer of new propagations.
- Troubleshooting: The biggest enemy here is rot. If your cutting turns black and mushy, it’s likely succumbed to rot. This usually happens from too much moisture, poor drainage, or lack of air circulation. If you see any signs of mold on the soil surface, try to gently remove it and increase air flow. If a cutting simply refuses to root after several weeks and looks withered, it might not have had the best conditions or might just be a tough character. Don’t be disheartened; try again!
A Encouraging Closing
Propagating plants is such a joyful, rewarding journey. It’s a little bit of magic at your fingertips, watching something new spring to life from just a piece of a parent plant. Be patient with your Inga exalata cuttings, give them consistent, gentle care, and enjoy every step of the process. Happy growing!
Resource:
https://identify.plantnet.org/k-world-flora/species/Inga%20exalata%20T.S.Elias/data