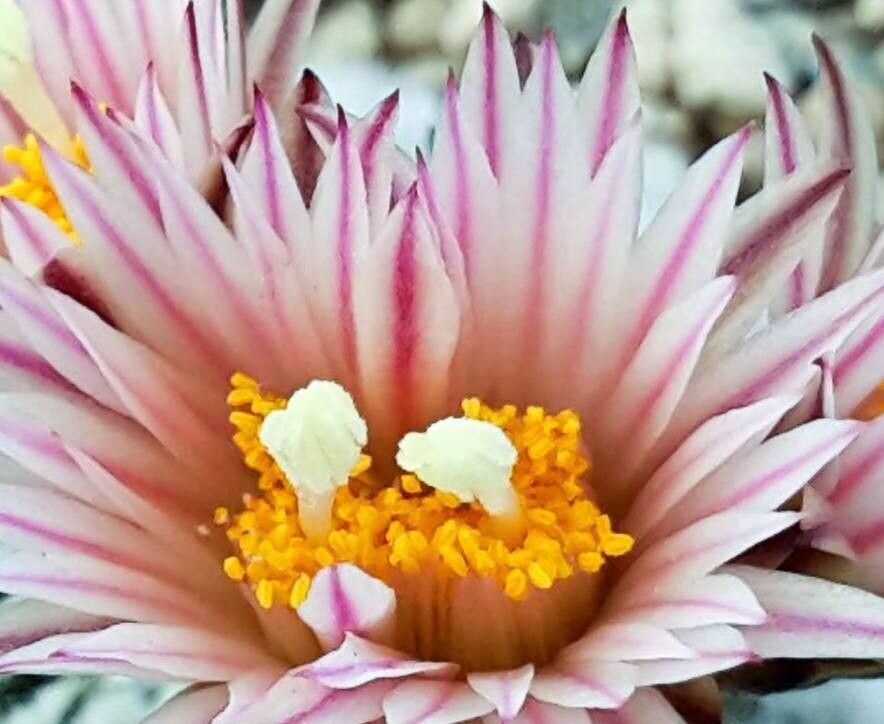
Ah, the beautiful Turbinicarpus pseudopectinatus. If you’ve ever marveled at its delicate, intricate spines that give it a wonderfully fuzzy appearance, you’re not alone. This little cactus truly is a jewel in any collection. And the joy of seeing a tiny new plant sprout from your own efforts? Priceless. Now, I won’t lie to you, Turbinicarpus can be a little more particular than some of your run-of-the-mill succulents, so it’s not necessarily an absolute beginner plant for propagation. But with a little attention to detail and patience, you can absolutely succeed!
The Best Time to Start
For Turbinicarpus pseudopectinatus, the time for propagation is definitely during their active growing season. Think spring and early summer. This is when the plant is full of energy, ready to put out new growth and, hopefully, readily form roots. Trying to propagate when the plant is dormant in winter is like trying to bake a cake without an oven – it just won’t happen.
Supplies You’ll Need
Here’s what I always have on hand when I’m working with my Turbinicarpus:
- Sterilized pruning shears or a sharp knife: Clean tools are crucial to prevent disease.
- Well-draining soil mix: A cactus and succulent mix is a good start, but I like to add extra perlite or pumice for even better drainage. Think grit!
- Small pots or trays: Nothing too large, as they can hold too much moisture.
- Optional: Rooting hormone: This can give cuttings an extra boost, especially for trickier plants.
- Rinsed and sterilized sand or fine gravel: For top dressing and to help support the new plants.
- A spray bottle: For gentle misting.
Propagation Methods
For Turbinicarpus pseudopectinatus, your best bet is usually through offsets – those little baby plants that sometimes emerge from the base of the parent. Cuttings can be much harder to root with cacti of this type.
Propagating by Offsets:
- Wait for the right moment: Look for offsets that are at least a quarter to half the size of the parent plant. They should look plump and healthy.
- Gently separate: Using your sterilized knife or shears, carefully cut or pry the offset away from the mother plant. Try to get a little bit of its own root system if possible.
- Let it callous: This is a vital step! Place the offset in a dry, well-ventilated spot away from direct sunlight for a few days to a week. You want the cut surface to dry and form a protective callus. This prevents rot when you plant it.
- Planting: Once calloused, gently press the base of the offset into your prepared, dry well-draining soil mix. You can add a layer of sand or fine gravel on top for stability. Don’t water it immediately.
- First watering: Wait about a week after planting before giving it its first light watering. You want to encourage it to seek out moisture.
The “Secret Sauce”
Here are a couple of things that have made a big difference for me:
- Don’t overwater, ever: This is the cardinal rule for cacti, and especially for new propagations. It’s so easy to drown a tiny new plant before it even gets started. Err on the side of too dry rather than too wet.
- A touch of bottom heat can work wonders: If you have a seedling heat mat, placing your pots on it during the warmer months can really encourage root development. It mimics the warmth of the soil they’d encounter naturally.
Aftercare & Troubleshooting
Once your offsets are planted and you’ve given them their first tentative drink, watch them closely. You’ll know they’re happy when they start to look a bit plumper and perhaps even show a tiny bit of new growth after a few weeks.
The biggest challenge you’ll face is rot. If you see the offset looking mushy, darkening, or developing soft, brown spots, it’s likely rot. This usually means it’s gotten too wet, too soon, or the callus wasn’t sufficient. If you catch it early, you might be able to cut away the rotten part, let the healthy bit callus again, and replant in even drier conditions. But honestly, sometimes it’s a lost cause, so prevention is key.
A Encouraging Closing
Remember, gardening is a journey, and propagation is a wonderful way to deepen your connection with your plants. Be patient with your Turbinicarpus. It might take its sweet time, but the reward of seeing those delicate spines emerge and knowing you helped bring a new life into being is incredibly satisfying. Enjoy the process, and happy growing!
Resource: