Hello fellow plant lovers! I’m so excited to talk to you today about a fern that’s really captured my heart: Asplenium erectum, often called the “upright spleenwort.” If you’re looking for a fern with a unique architectural presence, something a little different from your usual Boston fern, then this is it. Its upright fronds create such a lovely, naturalistic display. And the best part? Propagating it is a truly rewarding experience. While it might seem a tad more advanced than, say, a Pothos, I’ve found Asplenium erectum to be quite manageable once you understand its needs. Don’t be intimidated – with a little guidance, you’ll be on your way to multiplying your collection in no time!
The Best Time to Start
For the highest success rate with Asplenium erectum, I always aim for late spring or early summer. This is when the plant is actively growing and has plenty of energy to put into producing new roots. You want to work with healthy, vigorous fronds, not those that are looking a bit tired. Keep an eye on your mature plants; when you see new fronds unfurling, that’s a great indicator that they are in their prime for propagation.
Supplies You’ll Need
Here’s what I always have on hand when I’m ready to propagate:
- Sharp, clean pruning shears or a sharp knife: For making clean cuts.
- A well-draining potting mix: I love a blend of peat moss, perlite, and orchid bark. This airy mix prevents waterlogged soil, which is crucial for ferns.
- Small pots or propagation trays: With drainage holes, of course!
- Clear plastic bags or a propagator lid: To maintain high humidity.
- Watering can with a fine rose: For gentle watering.
- Optional: Rooting hormone (powder or gel): While not always essential for Asplenium erectum, it can give an extra boost.
Propagation Methods
There are a couple of ways to get more Asplenium erectum plants. My personal favorite is division, as it’s often the most straightforward.
Division
This method is best done when you have a mature plant that’s starting to clump up or produce offsets (baby plants) at its base.
- Gently unpot your Asplenium erectum. You want to be as careful as possible with the roots.
- Examine the root ball. Look for natural breaks where the plant is dividing itself. You’re aiming to separate a section that has its own healthy root system and at least a few fronds.
- Use your fingers or a clean knife to gently pull or cut the sections apart. Make sure each new division has a good chunk of roots attached. If roots are severely tangled, a gentle rinse under water can help you see where to separate them.
- Pot up each division into its own container. Use your prepared well-draining potting mix.
- Water thoroughly. Make sure the soil is evenly moist but not soggy.
- Place the newly potted divisions in a humid environment. This is where your plastic bag or propagator lid comes in handy. Tent it over the pot to create a mini-greenhouse.
Spore Propagation (For the Adventurous!)
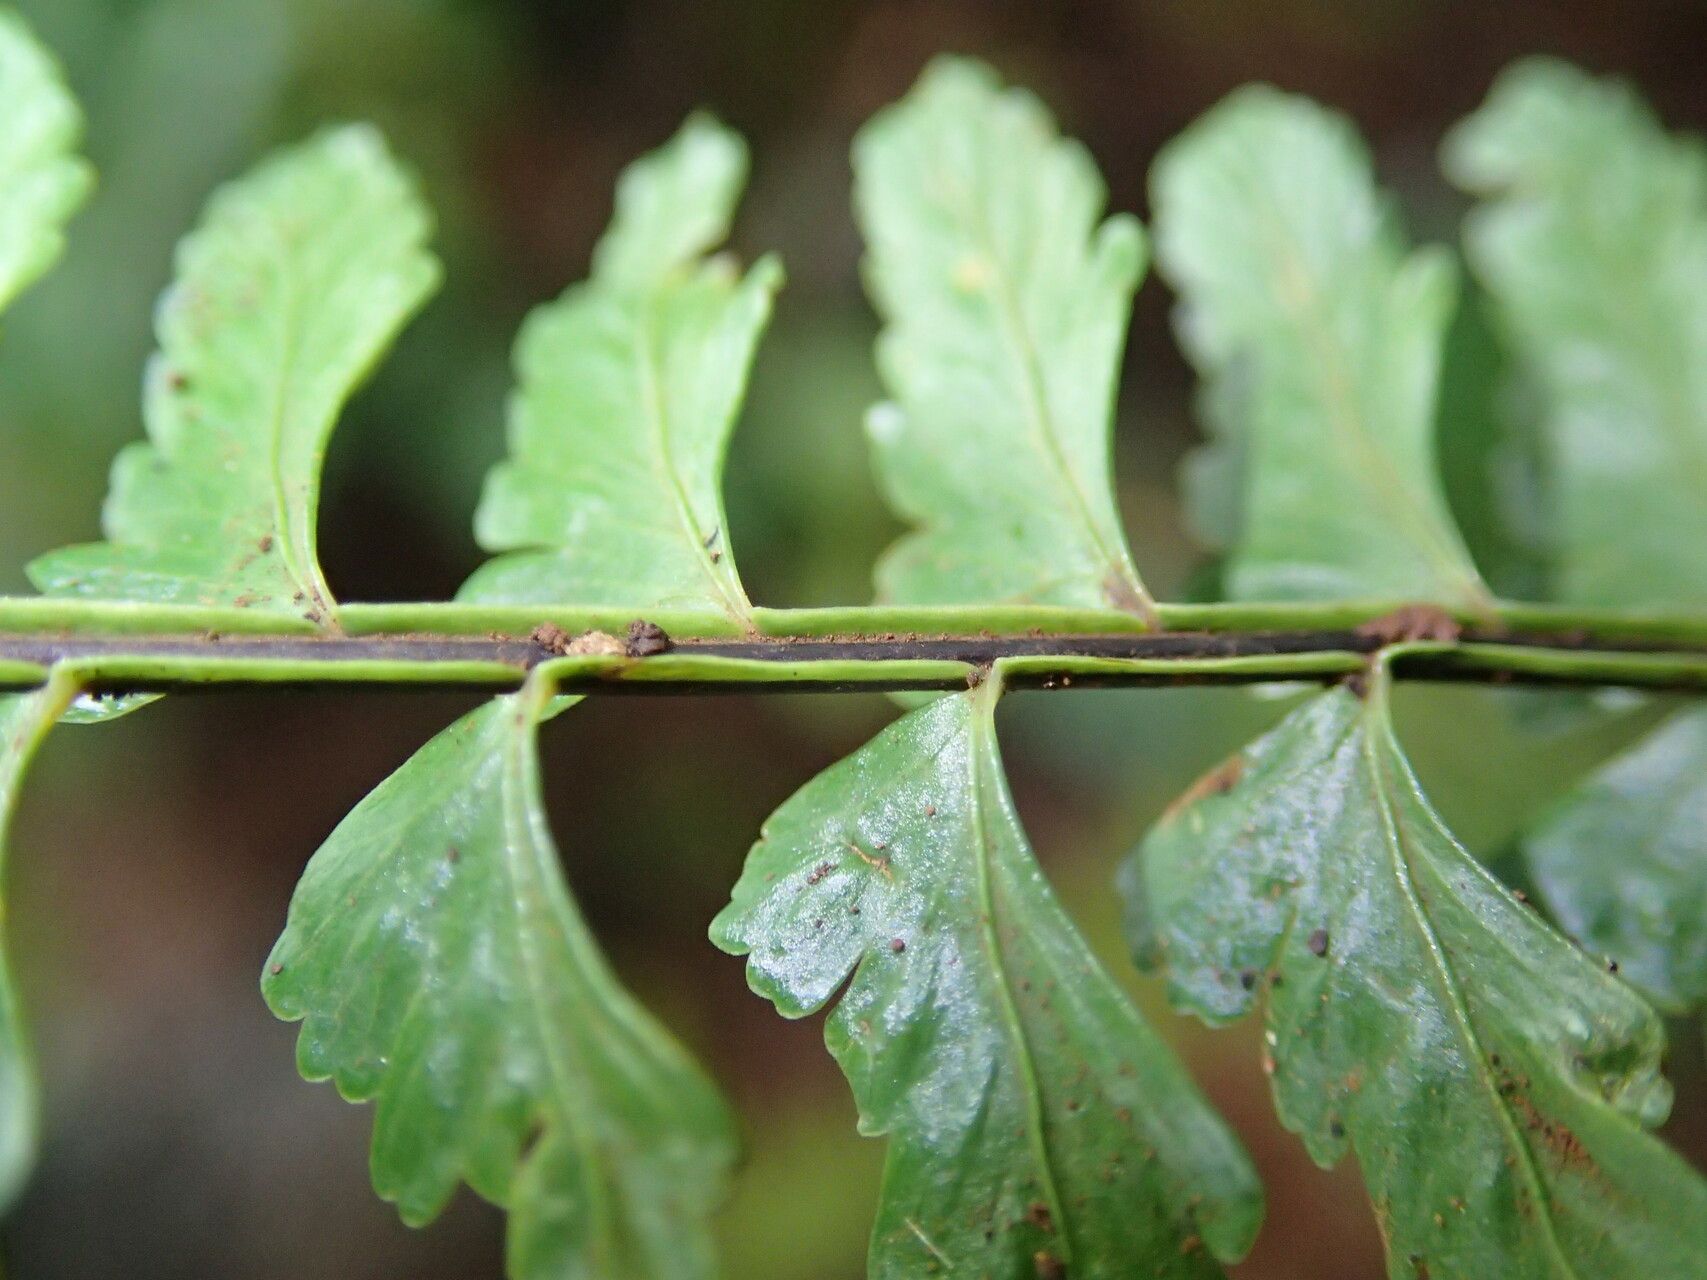
This is a more advanced technique and requires patience, but it’s fascinating to watch life begin from spores. Asplenium erectum produces spores on the underside of its mature fronds, often in little brown dots called sori.
- Harvest the spores. Carefully scrape spores from a mature, healthy frond into a clean paper envelope. Let them dry completely.
- Prepare your propagation medium. I use a sterile, finely-sifted mix of peat moss and perlite, or even just sterilized sphagnum moss. Sterilize it by baking it in the oven at a low temperature for about 30 minutes.
- Sow the spores. Sprinkle the spores thinly over the surface of the slightly moistened medium in a clean tray or pot. Don’t bury them; they need light to germinate.
- Cover and maintain humidity. Cover the container with a clear lid or plastic wrap. Maintain consistent moisture. You’ll want to mist this very, very gently.
- Be patient! Spore germination can take weeks or even months. You’ll eventually see tiny green gametophytes, and from those, the new fernlets will emerge. This is a very slow process.
The “Secret Sauce” (Pro Tips)
Alright, time for a few little tricks I’ve picked up over the years.
- Don’t overdo the rooting hormone. For divisions, it’s often unnecessary. If you do use it, just a light dusting is enough. Too much can actually inhibit root growth.
- Humidity is king! For any fern propagation, especially if you’re trying from spores or cuttings (though I find division easier for Asplenium), keeping the humidity high is absolutely non-negotiable. Those plastic bags or propagator lids are your best friends.
- Avoid direct sunlight. Ferns, especially delicate new ones, can scorch easily. Bright, indirect light is perfect. Think of the dappled shade you’d find on a forest floor.
Aftercare & Troubleshooting
Once your divided Asplenium erectum has started to show signs of new growth (new fronds unfurling is the best sign!), you can gradually start to acclimatize it to lower humidity. Slowly lift the plastic bag for a few hours each day, increasing the time over a week or two. Continue to keep the soil consistently moist – never let it dry out completely.
Watch out for signs of rot. This is the most common problem and is usually caused by overwatering or poor drainage. If you see yellowing leaves and mushy stems, it’s a bad sign. You might be able to save a division if rot is caught very early, but often it’s too far gone. If you see this happening, check your watering habits and ensure your potting mix is draining well.
A Little Patience Goes a Long Way
Propagating plants, especially something as unique as Asplenium erectum, is a wonderful journey. It encourages you to observe your plants more closely and understand their life cycles. Don’t get discouraged if your first attempt isn’t a roaring success. Keep trying, learn from each experience, and most importantly, enjoy the process of coaxing new life from your beloved plants. Happy propagating!
Resource:
https://identify.plantnet.org/k-world-flora/species/Asplenium%20erectum%20Bory%20ex%20Willd./data