Hello there, fellow plant lovers!
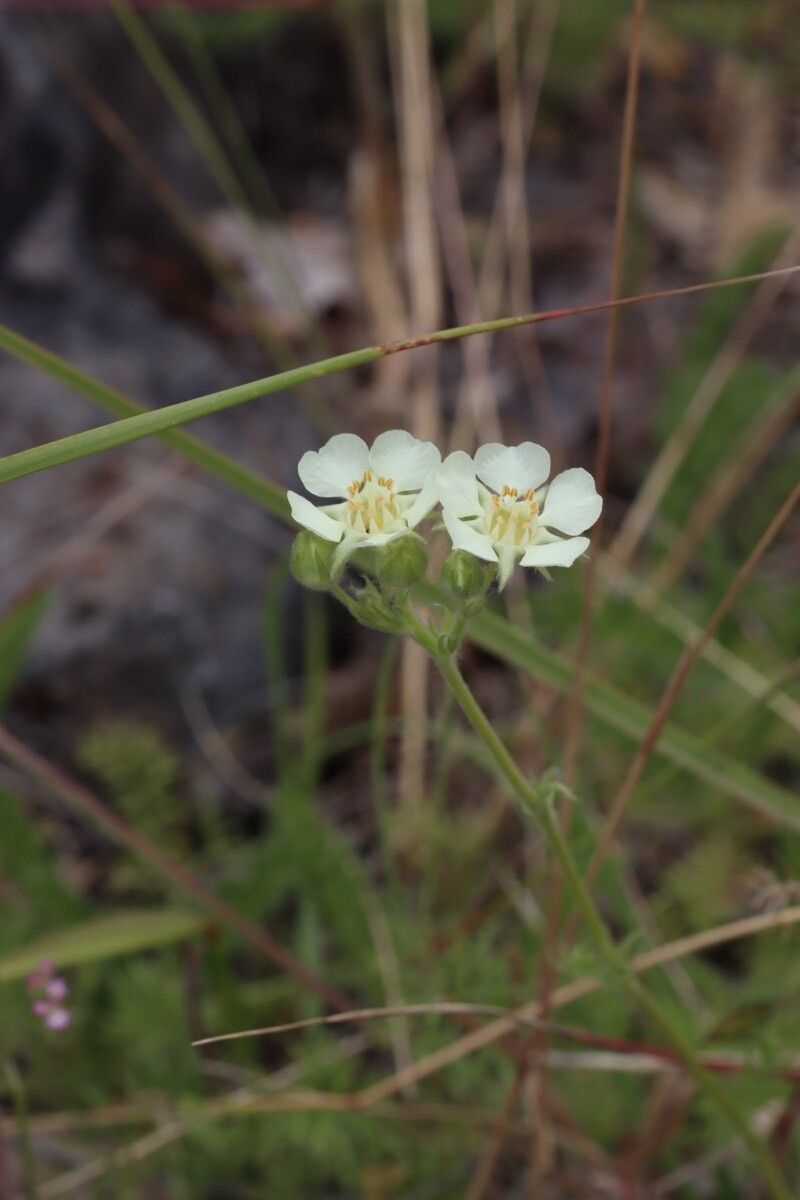
It’s such a joy to be sharing my garden secrets with you today. We’re diving into the wonderful world of Potentilla daucifolia, a plant that brings such a delightful splash of color and texture to any garden. Its delicate, fern-like foliage and cheerful blooms are truly captivating. And the best part? Propagating it is not only achievable but incredibly rewarding. Don’t worry if you’re new to this; Potentilla propagation is quite forgiving, making it a fantastic choice for beginners.
The Best Time to Start
You’ll have the most success when you can capture the plant in a healthy, active growth phase. For Potentilla daucifolia, late spring to early summer is usually your sweet spot. This is when the stems have some maturity but are still pliable enough for cuttings, and the days are getting longer and warmer, which is just what new roots need.
Supplies You’ll Need
Here’s what I always have on hand when I’m ready to propagate:
- Sharp, clean pruning shears or a sharp knife: For making clean cuts, which is crucial!
- Rooting hormone (powder or liquid): This isn’t strictly necessary for Potentilla, but it can give your cuttings a helpful boost.
- Small pots or trays: With drainage holes, of course.
- A good quality potting mix: I like a blend that’s light and drains well – a mix of peat moss, perlite, and a little bit of compost works wonders. Or, you can buy a seed starting or propagation mix.
- A plastic bag or a clear propagator lid: To create a humid environment.
- Water: For misting and watering.
- Labels and a marker: So you don’t forget what you’ve planted!
Propagation Methods
Potentilla daucifolia is quite versatile, but my go-to methods are stem cuttings and, for mature plants, division.
Stem Cuttings
This is my favorite way to get more of these beauties.
- Take the cuttings: On a mild day, select healthy, non-flowering stems from your established plant. Using your clean shears, cut a piece about 4-6 inches long. Make your cut just below a leaf node (where a leaf attaches to the stem).
- Prepare the cuttings: Gently remove the lower leaves from the cutting, leaving just a few at the top. This prevents them from rotting in the soil. If you’re using rooting hormone, dip the cut end into it now.
- Plant the cuttings: Fill your small pots with your prepared potting mix. Make a small hole in the center with your finger or a pencil. Insert the cut end of the stem into the hole, ensuring the nodes where you removed the leaves are buried. Gently firm the soil around the cutting.
- Water and cover: Water gently to settle the soil. Then, place the pots into a plastic bag or cover with a propagator lid. This creates a mini-greenhouse effect, keeping the humidity high.
Division (for mature plants)
If you have a well-established, multi-stemmed Potentilla, division is a great option.
- The right time: This is best done in early spring, just as new growth is starting, or in early fall after flowering has finished.
- Lift the plant: Carefully dig up the entire plant, trying to keep as much of the root ball intact as possible.
- Separate the roots: Gently shake off excess soil. You can usually pull or tease apart the clumps with your hands. If the roots are dense, you might need to use a clean spade or knife to cut through them. Aim for divisions that have a good amount of roots and at least a few shoots.
- Replant: Replant the divisions immediately into their new locations or into pots prepared with your potting mix. Water them in well.
The “Secret Sauce” (Pro Tips)
Here are a couple of things I’ve learned over the years that make a difference:
- Don’t overcrowd: When planting cuttings, give them a little breathing room. If they are too close, they can easily spread disease to each other. For stem cuttings, one to two cuttings per small pot is usually plenty.
- Bottom heat is your friend: While not essential, placing your pots on a gentle heat mat can significantly speed up root development. It mimics the warmth of spring soil and gives those tiny roots a warm invitation to grow.
Aftercare & Troubleshooting
Once your cuttings have roots (you may see new leaf growth or feel resistance when you gently tug them), it’s time for a little more attentive care.
- Gradual acclimatization: If you used a plastic bag or propagator lid, gradually remove it over a few days. This helps the new plant adjust to the drier air outside.
- Regular watering: Keep the soil consistently moist but not soggy. Overwatering is the quickest way to invite trouble.
- Light levels: Place your young plants in a bright, indirect light location. Avoid harsh, direct sun, which can scorch their delicate new leaves.
- Troubleshooting rot: The most common issue you might encounter is rot. This usually happens if the soil is too wet or the humidity is too high for too long. If you see mushy, black stems, it’s a sign of rot. Unfortunately, there’s not much you can do once rot sets in, so prevention through good drainage and air circulation is key.
Happy Propagating!
There you have it! Propagating Potentilla daucifolia is a wonderfully satisfying process. Be patient, observe closely, and remember that even experienced gardeners have their failures. Each attempt is a learning opportunity. Enjoy the journey of bringing new life into your garden!
Resource:
https://identify.plantnet.org/k-world-flora/species/Potentilla%20daucifolia%20Greene/data