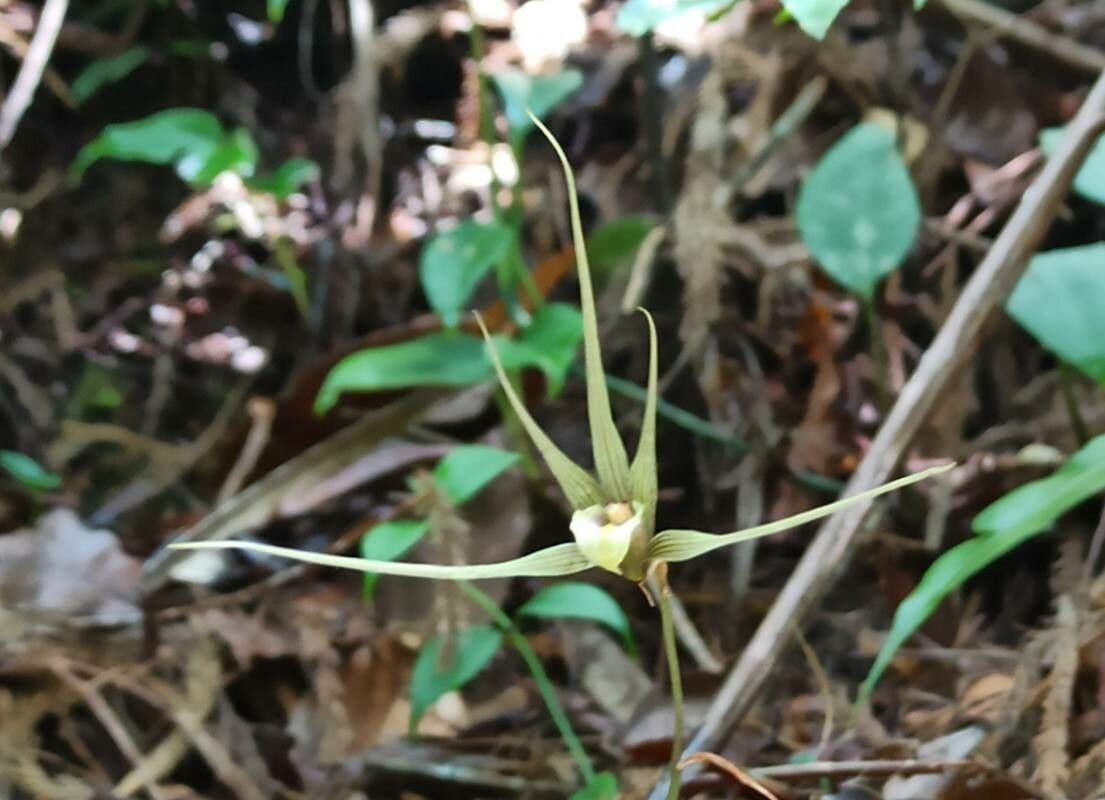
Oh, Tainia speciosa! If you’ve ever seen one of these beauties gracing a shaded corner, you know exactly why they capture our hearts. Those delicate, bell-shaped flowers, often in lovely shades of pink and purple, are just pure magic. And the joy of nurturing a new plant from nothing? Honestly, it’s one of the most fulfilling parts of this whole gardening adventure. Now, is Tainia speciosa a walk in the park for brand-new propagators? I’d say it’s more of a gentle stroll with a few interesting turns. It requires a bit of attention, but with a few simple steps, you’ll be well on your way to success.
The Best Time to Start
For Tainia speciosa, spring is truly your best friend. Think of it as the plant waking up after its winter nap. When you see those new shoots starting to emerge from the soil, that’s your cue. This is when the plant is full of vigor and ready to channel that energy into putting down new roots. Trying to propagate too early in spring, before there’s any real growth, or later in the season when things are winding down, can make your efforts a bit more challenging.
Supplies You’ll Need
Here’s what I always have on hand when I’m getting ready to propagate:
- Sharp, clean pruning shears or a sharp knife: Cleanliness is key to preventing disease.
- A well-draining potting mix: I often use a blend of orchid bark, perlite, and a little bit of peat moss. You want good aeration.
- Small pots or seed trays: Something that fits comfortably in your propagating space.
- Rooting hormone (optional but recommended): A gentle one for most plants works well here.
- Watering can with a fine rose: To water gently without disturbing things.
- A clear plastic bag or humidity dome: To keep humidity levels up.
- A warm, bright location (but no direct sun): Think a bright spot on your windowsill or a greenhouse.
Propagation Methods
For Tainia speciosa, division is probably the most straightforward and reliable method for home gardeners.
Division:
- Gently unpot your established Tainia speciosa plant. Try to do this when the soil is slightly moist, not bone dry or soaking wet. It makes it easier to work with.
- Carefully inspect the root system. You’re looking for distinct clumps or divisions, each with its own healthy roots and at least one or two healthy shoots.
- Using your clean hands or a dull knife, gently separate these divisions. You want to create sections that have a good amount of root attached. Don’t worry if you break a few tiny roots; it’s part of the process.
- Pot up each division in its own pot. Use your well-draining potting mix. Make sure the crown of the plant (where the roots meet the shoots) is just at or slightly above the soil line.
- Water them in gently. Don’t let them sit in soggy soil.
- Place them in a bright spot, out of direct sunlight.
The “Secret Sauce” (Pro Tips)
- Whisper sweet nothings to your divisions! Okay, maybe not literally, but talk to them, check on them daily. Your attention helps you spot any early signs of stress or success. It’s the “do they know they’re loved and being cared for?” factor.
- Don’t be afraid to trim back any damaged or overly leggy foliage before you pot them up. This encourages the plant to focus its energy on root development rather than trying to support struggling leaves.
- Consider a very weak, diluted liquid fertilizer after the first sign of new growth. Think of it as a little energy boost to celebrate them getting established, but always err on the side of less is more when they’re young and vulnerable.
Aftercare & Troubleshooting
Once your divisions are potted, keep that soil lightly moist but never waterlogged. The plastic bag or humidity dome is your friend here, creating a mini-greenhouse effect that will keep them hydrated. Gradually introduce them to more air over a few weeks by opening the bag a little more each day.
The biggest issue you might encounter is rot. If you see mushy, blackening stems or leaves, that’s a sure sign of too much moisture. Pull the plant out, trim away the rotten bits with sterile shears, and repot in fresh, dry mix. Ensure good air circulation is key! If your plant just sits there for weeks without doing anything, don’t despair. Some plants are just slow starters, especially after division. Be patient and keep providing consistent, albeit gentle, care.
A Encouraging Closing
There you have it! Propagating Tainia speciosa is a wonderful way to expand your collection and share the beauty of these plants with others. It might take a little patience, but watching those new roots emerge and new growth unfurl is incredibly rewarding. So grab your shears, get your hands dirty, and enjoy the journey! Happy propagating!
Resource:
https://identify.plantnet.org/k-world-flora/species/Tainia%20speciosa%20Blume/data