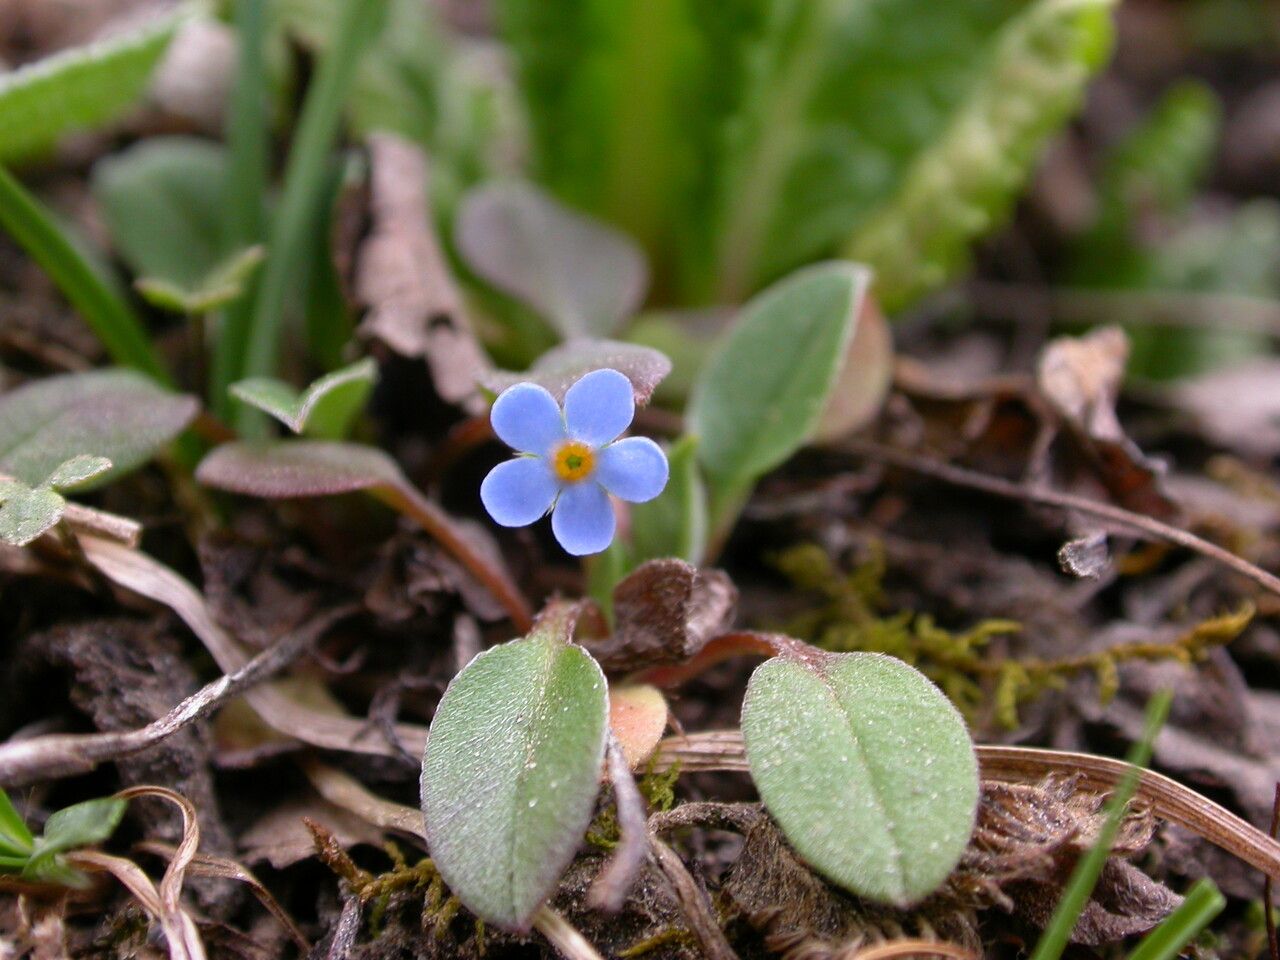
Hello fellow garden enthusiasts! Today, we’re diving into the wonderful world of propagating Actinocarya acaulis. This little gem, with its fascinating spiky foliage and often vibrant blooms, is such a joy to have in the garden or as an indoor companion. If you’re looking to expand your collection or share these beauties with friends, propagating them is a really rewarding venture. For those of you just starting out, I’d say Actinocarya acaulis can be a moderate challenge, but with a good understanding of its needs, you’ll be successful!
The Best Time to Start
For Actinocarya acaulis, the late spring to early summer is truly your golden window. This is when the plant is actively growing after its spring awakening. You’ll find it putting out plenty of fresh, healthy shoots, which are perfect candidates for propagation. Waiting until the plant has passed its initial burst of spring growth ensures you’re working with robust material that has good energy reserves.
Supplies You’ll Need
- Sharp, clean pruning shears or a knife: A clean cut is crucial to avoid disease.
- Rooting hormone (optional, but recommended for cuttings): This little helper can significantly boost your success rate.
- Well-draining potting mix: I like a blend of equal parts peat moss, perlite, and a bit of compost.
- Small pots or seed trays: Make sure they have drainage holes.
- Plastic bags or a propagator lid: To create a humid microclimate.
- Watering can with a fine rose or a spray bottle: For gentle watering.
Propagation Methods
Let’s get our hands dirty! Here are a couple of reliable ways to multiply your Actinocarya acaulis.
Stem Cuttings: This is my go-to method for Actinocarya acaulis.
- Take your cuttings: Select a healthy, non-flowering stem that’s about 3-4 inches long. Make a clean cut just below a leaf node (where a leaf attaches to the stem).
- Prepare the cutting: Gently remove the lower leaves to expose a few nodes. If using, dip the cut end into rooting hormone, tapping off any excess.
- Plant the cutting: Fill your small pots with your prepared potting mix. Make a small hole with your finger or a pencil and gently insert the cutting, ensuring the bottom nodes are buried. Firm the soil around the base.
- Create humidity: Water the soil lightly. Then, cover the pot with a plastic bag or propagator lid. This traps moisture and keeps the humidity high, which is essential for new root development.
Division: If your Actinocarya acaulis has become quite bushy and mature, division is a straightforward approach.
- Remove from pot: Gently unpot the entire plant.
- Separate the clumps: Look for natural divisions in the root ball. You can often gently pull sections apart with your hands. If the roots are tightly matted, you might need to use a clean, sharp knife or spade to divide them. Ensure each section has a good amount of roots and at least one healthy shoot.
- Replant: Pot each division into its own pot with fresh, well-draining soil. Water thoroughly.
The “Secret Sauce” (Pro Tips)
Here are a few little tricks I’ve picked up over the years that make a big difference:
- Don’t let the leaves touch the water when water propagating (if you choose that route for other plants): While Actinocarya acaulis is better suited to cuttings in soil, this is a general rule for many. Excess moisture on leaves can lead to rot. For our Actinocarya, this translates to avoiding waterlogging the soil. Keep it consistently moist, but never soggy.
- Bottom heat is your friend: If you can provide a little warmth from below, especially when taking stem cuttings, it really encourages root formation. A heated propagator mat or even placing pots on top of a warm (not hot!) appliance can work wonders.
- Be patient with the soil method: For cuttings in soil, resist the urge to tug on them to “check for roots.” You’ll damage delicate new growth. Give them at least 4-6 weeks before gently tugging. If there’s resistance, you’ve got roots!
Aftercare & Troubleshooting
Once your cuttings have developed a good root system (you might see new leaf growth appearing, a great sign!), it’s time for a little more attention.
- Acclimatize gradually: If you’ve used a propagator or plastic bag, slowly introduce your new plants to drier air over a few days. Remove the cover for longer periods each day.
- Watering: Keep the soil consistently moist but not waterlogged. Water when the top inch of soil feels dry to the touch.
- Light: Provide bright, indirect light. Avoid direct, harsh sunlight, which can scorch young leaves.
The most common sign of failure is rot. If your cuttings turn black and mushy, or if your divided sections look sickly and withered without signs of new growth after a reasonable time, it’s usually due to too much moisture and poor drainage. In such cases, it’s best to discard the rotted material to prevent it from spreading.
A Encouraging Closing
Propagating Actinocarya acaulis is a journey, and like any good garden adventure, it requires a touch of patience and a whole lot of love. Don’t be discouraged if your first attempt isn’t a runaway success. Each plant and each season offers a learning opportunity. Enjoy the process, celebrate every tiny new leaf or root, and soon you’ll have a thriving collection of these unique plants to admire and share! Happy gardening!
Resource: