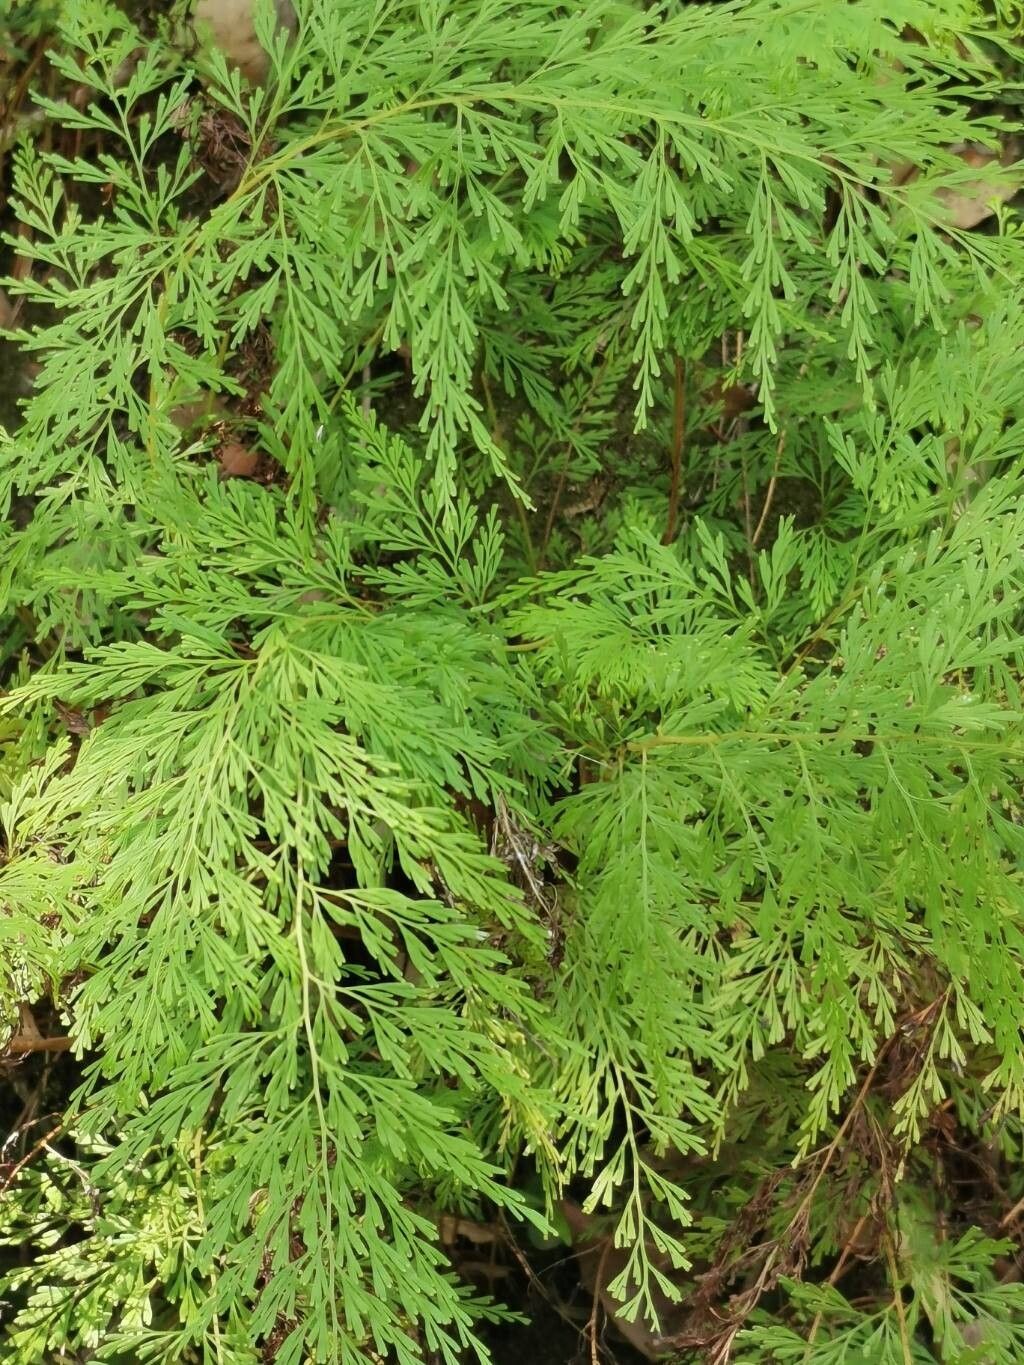
Hello fellow plant lovers! Today, we’re diving into the wonderful world of Odontosoria angustifolia, also known as the narrow-leaf odontosoria, or sometimes simply as a delicate lacy fern. If you’re drawn to plants with a bit of an ethereal charm, this one might just steal your heart. Its fine, airy fronds create such a beautiful, almost wispy texture in the garden or a shady corner. And the best part? Propagating it is incredibly rewarding, a chance to multiply that delicate beauty and share it with friends. Now, I won’t lie, Odontosoria angustifolia can be a tad more particular than some of your common houseplants, so if you’re a brand-new beginner, consider this a delightful challenge rather than a beginner’s guaranteed win. But with a little care and attention, you absolutely can succeed!
The Best Time to Start
For the highest chance of success with propagating Odontosoria angustifolia, I always aim for late spring or early summer. This is when the plant is actively growing and has plenty of energy to put into new roots. You’ll be looking for healthy, vigorous new shoots that haven’t yet become woody. It’s like harvesting a succulent piece of growth; it’s full of life and ready to start anew.
Supplies You’ll Need
Here’s what you’ll want to have on hand before you start:
- Sharp, clean pruning shears or a razor blade: Surgical precision is key to clean cuts. This prevents damage and disease.
- A well-draining potting mix: I like to use a blend of peat moss or coco coir, perlite, and a bit of orchid bark. This combination provides good aeration and moisture retention without becoming waterlogged.
- Small pots or propagation trays: Even small yogurt cups with drainage holes will work in a pinch.
- Rooting hormone (optional but recommended): A powdered or liquid rooting hormone can give your cuttings a significant boost.
- A clear plastic bag or a propagation dome: This is essential for creating a humid microclimate.
- Watering can with a fine rose or a mister: Gentle watering is crucial.
Propagation Methods
While Odontosoria angustifolia can be a bit fussy, the most reliable method for me has always been stem cuttings. Let’s walk through it:
- Select your cutting: Gently inspect a healthy, vigorous young stem. Look for one that’s about 4-6 inches long and has at least a couple of sets of leaves. Avoid any stems that look old, yellowing, or damaged.
- Make the cut: Using your sharp pruning shears or razor blade, make a clean cut just below a leaf node. This is where new roots are most likely to form.
- Prepare the cutting: If there are any leaves on the lower half of the stem, gently remove them. This prevents them from rotting in the soil. If your cutting has larger leaves, you can even cut them in half to reduce water loss through transpiration.
- Apply rooting hormone (optional): Dip the cut end of the stem into your rooting hormone. Gently tap off any excess.
- Planting: Fill your small pots or trays with your prepared potting mix. Make a small hole in the center with your finger or a pencil. Insert the cut end of your stem into the hole, ensuring the leaf nodes that you cleared are below the soil line. Gently firm the soil around the cutting.
- Water thoroughly: Water the potting mix gently until it’s evenly moist. You want it damp, not soggy.
- Create humidity: Place your potted cutting into a clear plastic bag or cover it with a propagation dome. This traps moisture and creates the humid environment the fern needs to thrive. Make sure the leaves don’t touch the sides of the bag or condensation chamber if possible; this can encourage rot.
The “Secret Sauce” (Pro Tips)
Here are a couple of things I’ve learned over the years that make a real difference:
- Bottom heat is your friend: Odontosoria angustifolia loves a little warmth from below. Placing your propagation vessel on a heating mat (specifically designed for plant propagation) can significantly speed up root development. It mimics the cozy conditions of undisturbed soil.
- Don’t overwater, but don’t let it dry out: This is a delicate balance. The soil should always feel slightly moist to the touch. I check mine daily. If it feels dry, I mist it lightly or give it a very gentle drink from the bottom (by placing the pot in a tray of water for a short while). Overwatering is the quickest way to lose a cutting to rot.
- Air it out: Even though humidity is key, it’s good practice to open the plastic bag or propagation dome for a few minutes each day to allow for some air circulation. This helps prevent fungal issues.
Aftercare & Troubleshooting
Once you see tiny white roots emerging from the drainage holes of your pot, or new frond growth appearing, that’s a fantastic sign! You can now gradually acclimate your new plant to lower humidity. Start by opening the bag or dome for longer periods each day. Water when the top inch of soil feels dry.
The most common problem you might encounter is rot, which usually manifests as a blackening and mushy stem at the soil line. This is almost always due to overwatering and poor air circulation. If you see this, sadly, the cutting is likely lost. Start again, ensuring your soil drains well and you’re monitoring moisture levels carefully. Another sign of unhappiness is wilting or yellowing leaves without new growth. This can also be a sign of too much or too little water, or insufficient humidity.
A Encouraging Closing
Propagating plants is a journey, and Odontosoria angustifolia is a particularly lovely one. Be patient with your cuttings. Some might take longer than others to show signs of life, and not every attempt will be a roaring success. That’s all part of the learning process! Celebrate every little root and every unfurling frond. Happy propagating, and enjoy the beautiful abundance you’re creating!
Resource: