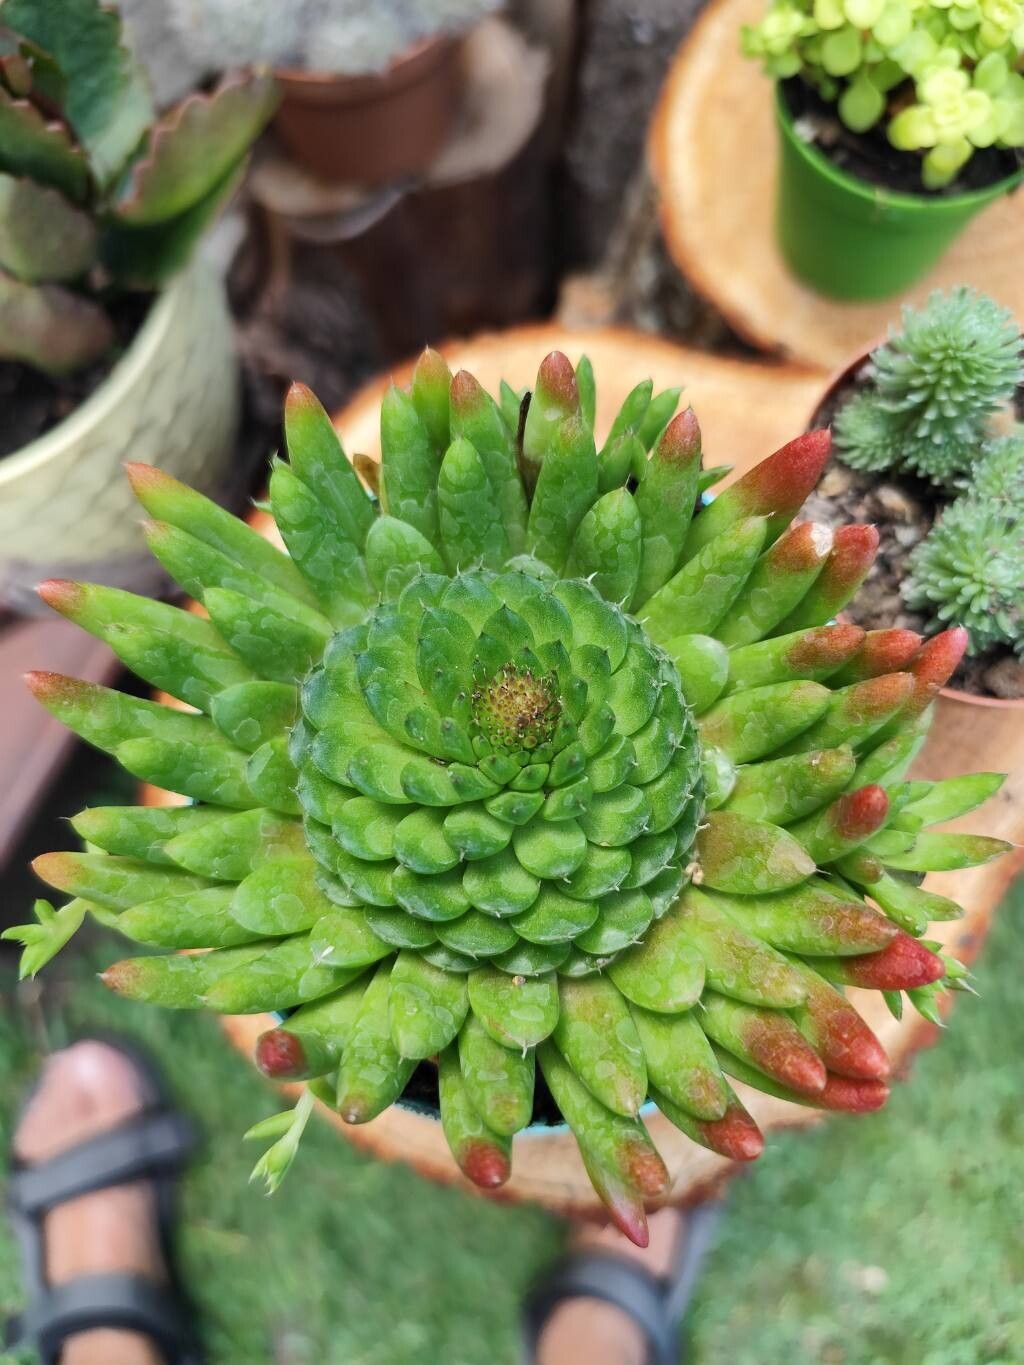
Hey there, fellow plant lovers! If you’ve ever admired those striking, architectural rosettes of Orostachys fimbriata, you’re not alone. This little charmer, often called Chinese Dunce Cap, has a way of captivating us with its unique form and vibrant colors. And the best part? It’s a joy to share! Propagating Orostachys fimbriata is a really rewarding endeavor, and I’m thrilled to guide you through it. Don’t worry if you’re new to propagating succulents; this is a wonderfully accessible plant to start with. You’ll be amazed at how easily you can multiply your collection.
The Best Time to Start
For Orostachys fimbriata, the sweet spot for propagation is definitely during its active growing season, which typically falls in late spring and early summer. This is when the plant is full of energy and has the best chance of successfully rooting. Trying to propagate when the plant is dormant, or at the height of extreme heat or cold, will only make things more challenging.
Supplies You’ll Need
Gathering your supplies beforehand makes the whole process so much smoother. Here’s what I usually have on hand:
- Sharp, clean pruning shears or a sharp knife. Sterilize them with rubbing alcohol between cuts to prevent disease.
- A well-draining potting mix. I love a blend of coarse sand, perlite, and a good quality succulent or cactus soil. You can also find commercially made mixes.
- Small pots or trays. Terracotta pots are fantastic because they breathe, helping to prevent waterlogged soil.
- Rooting hormone (optional but recommended). This little booster can speed up the process and increase success rates.
- A spray bottle for a gentle mist.
- A shallow tray or saucer if you plan on water propagation.
Propagation Methods
Orostachys fimbriata is pretty generous with its propagation options. You’ll find two main methods work like a charm:
1. Stem Cuttings (offsets)
This is by far my favorite and the most reliable method for Orostachys fimbriata. As the plant matures, it will often send out baby plants or offsets, usually from the base or along the stem.
- Identify a healthy offset. Look for a small rosette that’s at least an inch or two wide and seems to have its own little connection to the mother plant.
- Carefully detach the offset. Using your clean shears or knife, make a clean cut as close to the mother plant as possible. If the offset has already started to form its own tiny roots, that’s a bonus!
- Allow the cutting to callous. This is a crucial step! Place the detached offset in a dry, well-ventilated spot for 2-5 days. You’ll see the cut end dry out and form a protective scab. This prevents rot when you plant it.
- Plant the offset. Lightly mist your well-draining potting mix to moisten it (not soak it). Gently press the calloused end of the offset into the soil, burying it just enough to stand upright.
- Give it time. Keep the soil lightly moist but not soggy. You can mist the surface every few days. Place it in bright, indirect light. Roots should start to form within a few weeks.
2. Water Propagation (for detached offsets)
If you have an offset that’s already detached or you accidentally broke one off, don’t despair! You can try water propagation.
- Prepare your cutting. Ensure the cut end has calloused over for a day or two, as described above.
- Choose your container. Use a clean jar or glass.
- Fill with water. Add fresh water.
- Place the cutting. Crucially, ensure only the cut end touches the water. Don’t let the leaves or rosette be submerged. This is to prevent rot.
- Position and monitor. Place the container in bright, indirect light. Change the water every 2-3 days to keep it fresh.
- Look for roots. Once you see tiny roots emerging (usually within a week or two), it’s time to transplant it to soil. Plant it in your well-draining potting mix as you would a stem cutting.
The “Secret Sauce” (Pro Tips)
Here are a couple of things I’ve learned over the years that can really make a difference:
- Don’t waterlog! This is probably the biggest mistake new propagators make. Succulents are built to withstand drought, not drowning. Always err on the side of too dry rather than too wet. If the soil feels remotely damp, wait to water.
- Bottom heat helps. If you’re propagating in cooler months or want to give things a real boost, consider placing your pots on a seedling heat mat set to a low temperature (around 70-75°F or 21-24°C). This gently warms the soil and encourages root development from below.
Aftercare & Troubleshooting
Once you see signs of successful rooting – the offset is firm and begins to show new growth – it’s time to transition to more of a regular succulent care routine.
- Gradually increase light. Once rooted, you can slowly introduce your new plant to brighter light. Watch for signs of too much sun (scorching) or too little (etiolation/stretching).
- Water sparingly. Water only when the soil is completely dry. For a new prop, this might be every 7-10 days, but adjust based on your environment.
- Watch for rot. The most common sign of failure is rot, which looks like mushy, discolored stems or leaves. If you see this, act fast. Remove the affected parts with a clean knife, let any healthy sections callous, and try again. Overwatering is almost always the culprit.
- Patience is key. Sometimes it takes a little while for roots to establish before you see outward growth. Don’t give up too soon!
A Little Encouragement
There you have it! Propagating Orostachys fimbriata is a gentle dance between the plant’s natural instincts and your nurturing hand. Give it a try, be patient, and enjoy the magic of watching a new life emerge from a leaf or an offset. Happy propagating, and may your garden continue to grow!
Resource: