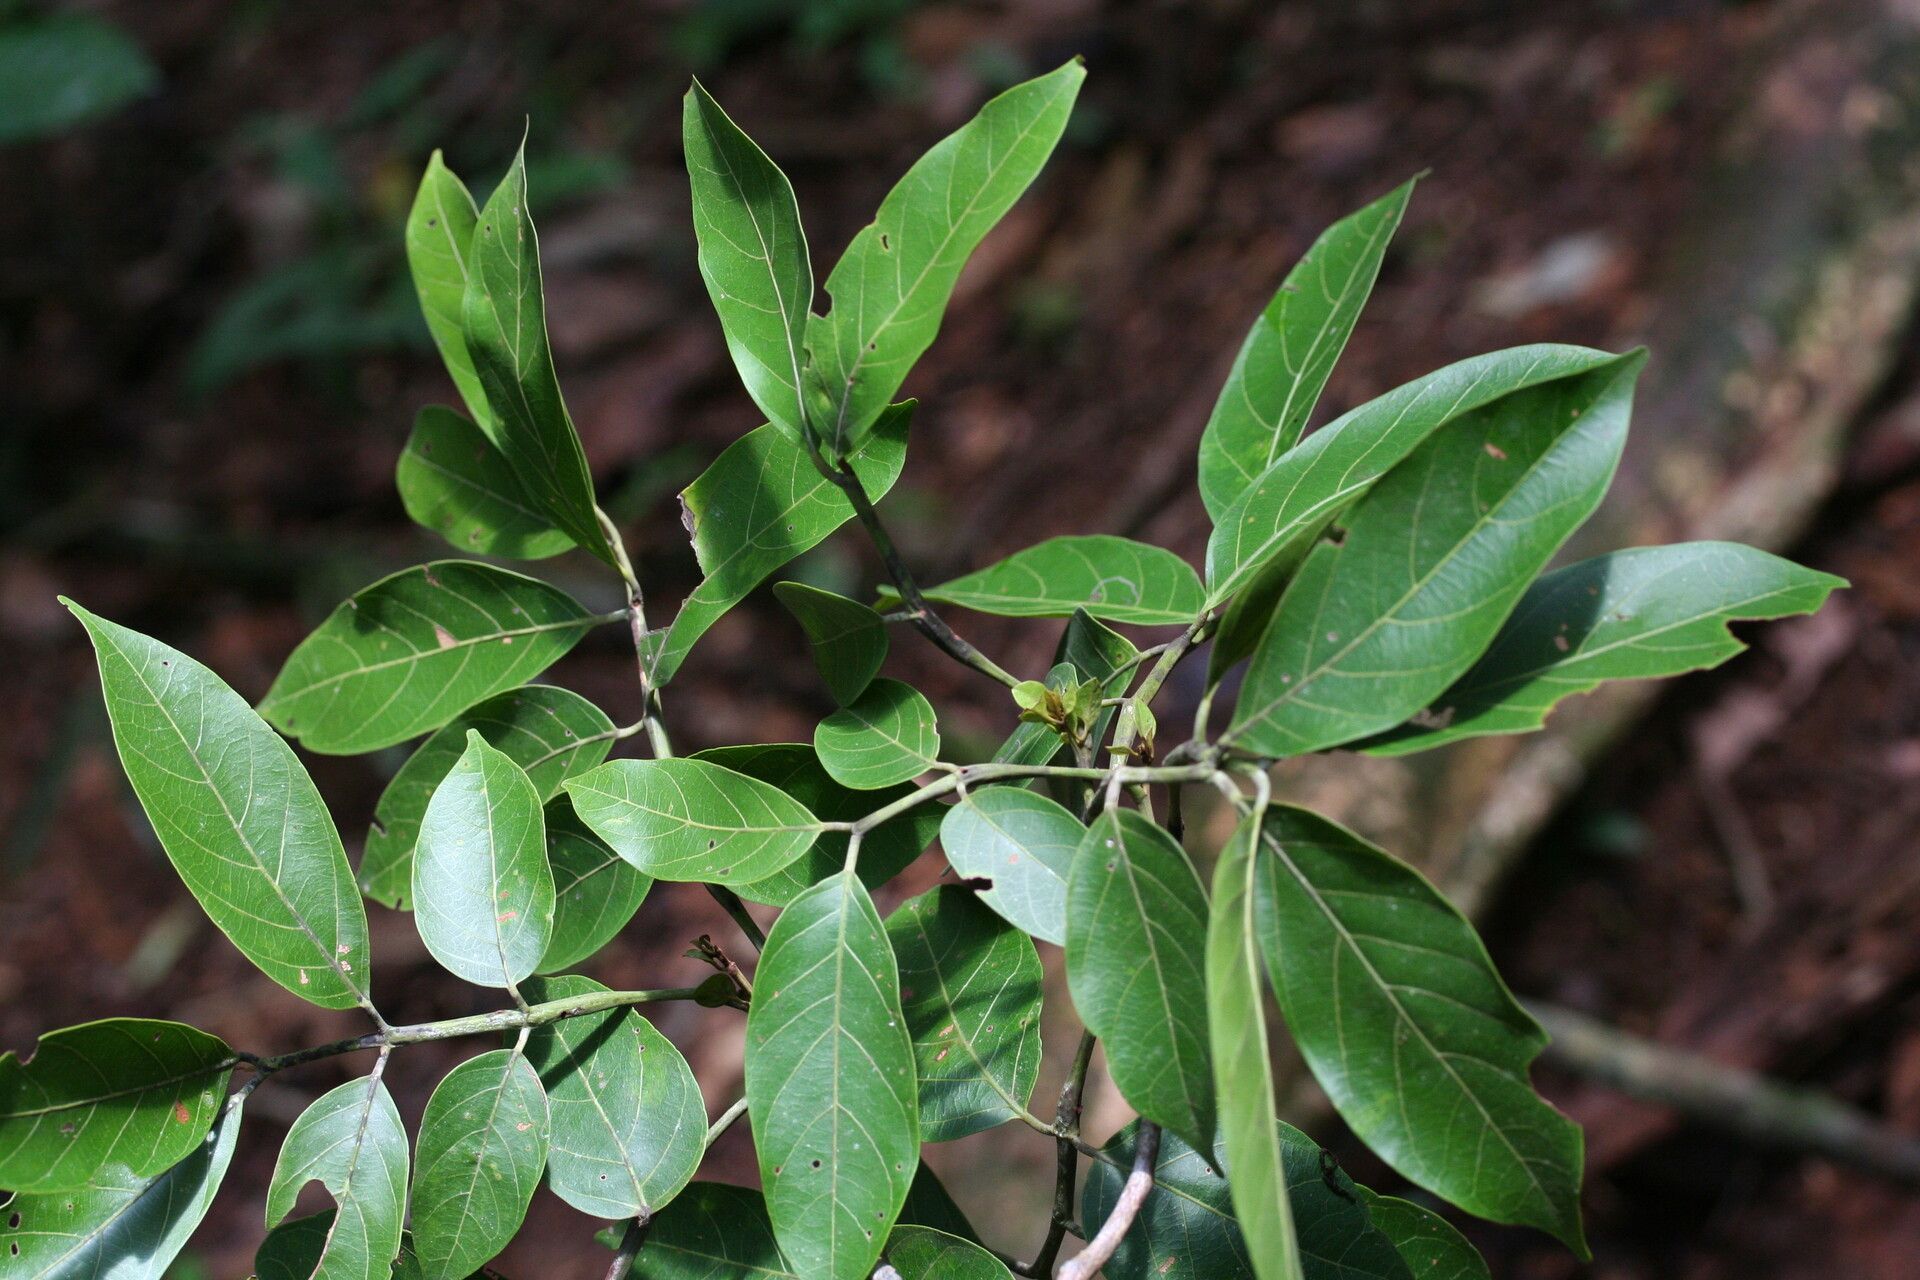
Hello, fellow garden lovers! It’s so wonderful to be sharing a cup of coffee and some plant wisdom with you today. We’re going to dive into the delightful world of Tachigali paniculata, often known as the graceful Brazilian plume flower.
Why Propagate Tachigali Paniculata?
Oh, this plant is a stunner! Its airy, cascading blooms are an absolute delight in the garden, attracting pollinators and bringing a touch of the tropics to our spaces. And the best part? Sharing its beauty is remarkably easy once you know a few little tricks. For many gardeners, tackling Tachigali paniculata propagation is a very rewarding experience. While it’s not quite “set it and forget it” like some tougher specimens, it’s certainly quite manageable for beginners with just a little guidance.
The Best Time to Start
Timing is everything in the garden, isn’t it? For the highest chance of success with Tachigali paniculata, aim to propagate during its active growing season, which is typically in late spring to early summer. That’s when the plant is bursting with energy, and your cuttings will have the best shot at rooting. You can also try in early fall if you have very mild winters, but spring is generally the sweet spot.
Supplies You’ll Need
Gathering your tools before you start makes the whole process smoother. Here’s what you’ll want on hand:
- Sharp, clean pruning shears or a knife: A clean cut is crucial to prevent disease.
- Rooting hormone (optional, but recommended): A little sprinkle of this powder or gel can give your cuttings a serious boost.
- Well-draining potting mix: A good blend of peat moss, perlite, and coir works wonders. You want something that holds moisture but doesn’t get waterlogged.
- Small pots or seed trays: Choose pots with drainage holes!
- Watering can or spray bottle: For gentle watering.
- Plastic bag or propagator: To create a humid environment.
- Gravel or perlite (optional, for bottom watering): More on this later!
Propagation Methods
While Tachigali paniculata can sometimes be coaxed from seed, the most reliable and quickest way to get more plants is through stem cuttings. It’s quite straightforward, so let’s get to it!
Stem Cuttings: Your Best Bet
- Take the Cuttings: With your clean shears, select a healthy, non-flowering stem from a mature plant. Look for stems that are semi-hardwood, meaning they’re not brand new and flimsy, but also not woody and old. You want a length of about 4-6 inches.
- Prepare the Cuttings: Gently remove the lower leaves, leaving just a few at the top. This helps the plant conserve energy and prevents leaves from rotting in the soil.
- Apply Rooting Hormone (Optional): If you’re using rooting hormone, dip the cut end of the stem into the powder or gel, tapping off any excess.
- Plant the Cuttings: Fill your small pots with your well-draining potting mix. Make a hole with your finger or a pencil in the center of the soil. Insert the cut end of your prepared cutting into the hole, and gently firm the soil around it.
- Water Gently: Water the soil thoroughly but gently. You don’t want to disturb the cutting.
Water Propagation (A Quick Way to See Progress)
If you’re eager to see roots form, water propagation can be very satisfying.
- Prepare the Cuttings: Follow steps 1 and 2 from the stem cutting method.
- Place in Water: Put the prepared cuttings in a clean glass or jar filled with room-temperature water.
- Positioning is Key: Crucially, ensure no leaves are submerged in the water. Any leaves below the waterline will rot and can ruin your cutting.
- Change Water Regularly: Change the water every few days to keep it fresh and prevent bacterial growth. You’ll start to see tiny white roots emerge in a few weeks.
- Transplant When Ready: Once the roots are about an inch long, you can transplant them into pots with soil, just like you would with cuttings that have rooted in soil.
The “Secret Sauce” (Pro Tips)
Now, here are a few little nuggets of wisdom from my years in the soil.
- The Bottom Heat Secret: Tachigali paniculata absolutely loves a bit of warmth from below. Using a heat mat placed under your pots can dramatically speed up rooting. It mimics the warm soil temperatures the plant craves. If you don’t have a heat mat, you can place your pots in a warm spot, perhaps on top of a router or refrigerator if they emit gentle warmth.
- Humidity is Your Friend: These tropical beauties thrive in humidity. After planting your cuttings, cover the pot loosely with a clear plastic bag or place it inside a propagator. This traps moisture and creates a mini greenhouse effect. Just make sure to open the bag for a short period each day to allow for air circulation and prevent fungal issues.
- Don’t Rush! Patience Pays: I know it’s tempting to prod and poke, but try your best to leave your cuttings undisturbed. They need time to do their magic beneath the soil. Resist the urge to yank them out to check for roots too soon.
Aftercare & Troubleshooting
Once you start seeing new growth or those beautiful roots peeking out the bottom of the pot, congratulations! You’re on your way to a new plant.
- Gradual Acclimation: When your cuttings have developed a good root system, slowly acclimate them to drier air. Start by opening the plastic bag for longer periods each day.
- Watering: Water when the top inch of soil feels dry. Avoid overwatering, which is the most common cause of failure.
- Light: Place your new plants in a bright spot with indirect sunlight. Direct, scorching sun can be too much for young, tender growth.
Troubleshooting:
- Yellowing Leaves: This can indicate overwatering, underwatering, or a lack of nutrients. Check your watering habits first!
- Wilting: Usually a sign of insufficient water or shock. Ensure the soil is moist but not soggy.
- Rotting at the Base: This is a clear sign of overwatering and poor drainage. If you see this, your cutting has likely succumbed. It’s a tough lesson, but often happens. Clean up and try again, focusing on that well-draining mix and careful watering.
Enjoy the Journey!
Propagating Tachigali paniculata is a wonderful way to expand your collection or share the joy of gardening with friends. Be patient with your new green babies, offer them a little extra care, and soon you’ll be rewarded with beautiful new plants. Happy propagating!
Resource:
https://identify.plantnet.org/k-world-flora/species/Tachigali%20paniculata%20Aubl./data